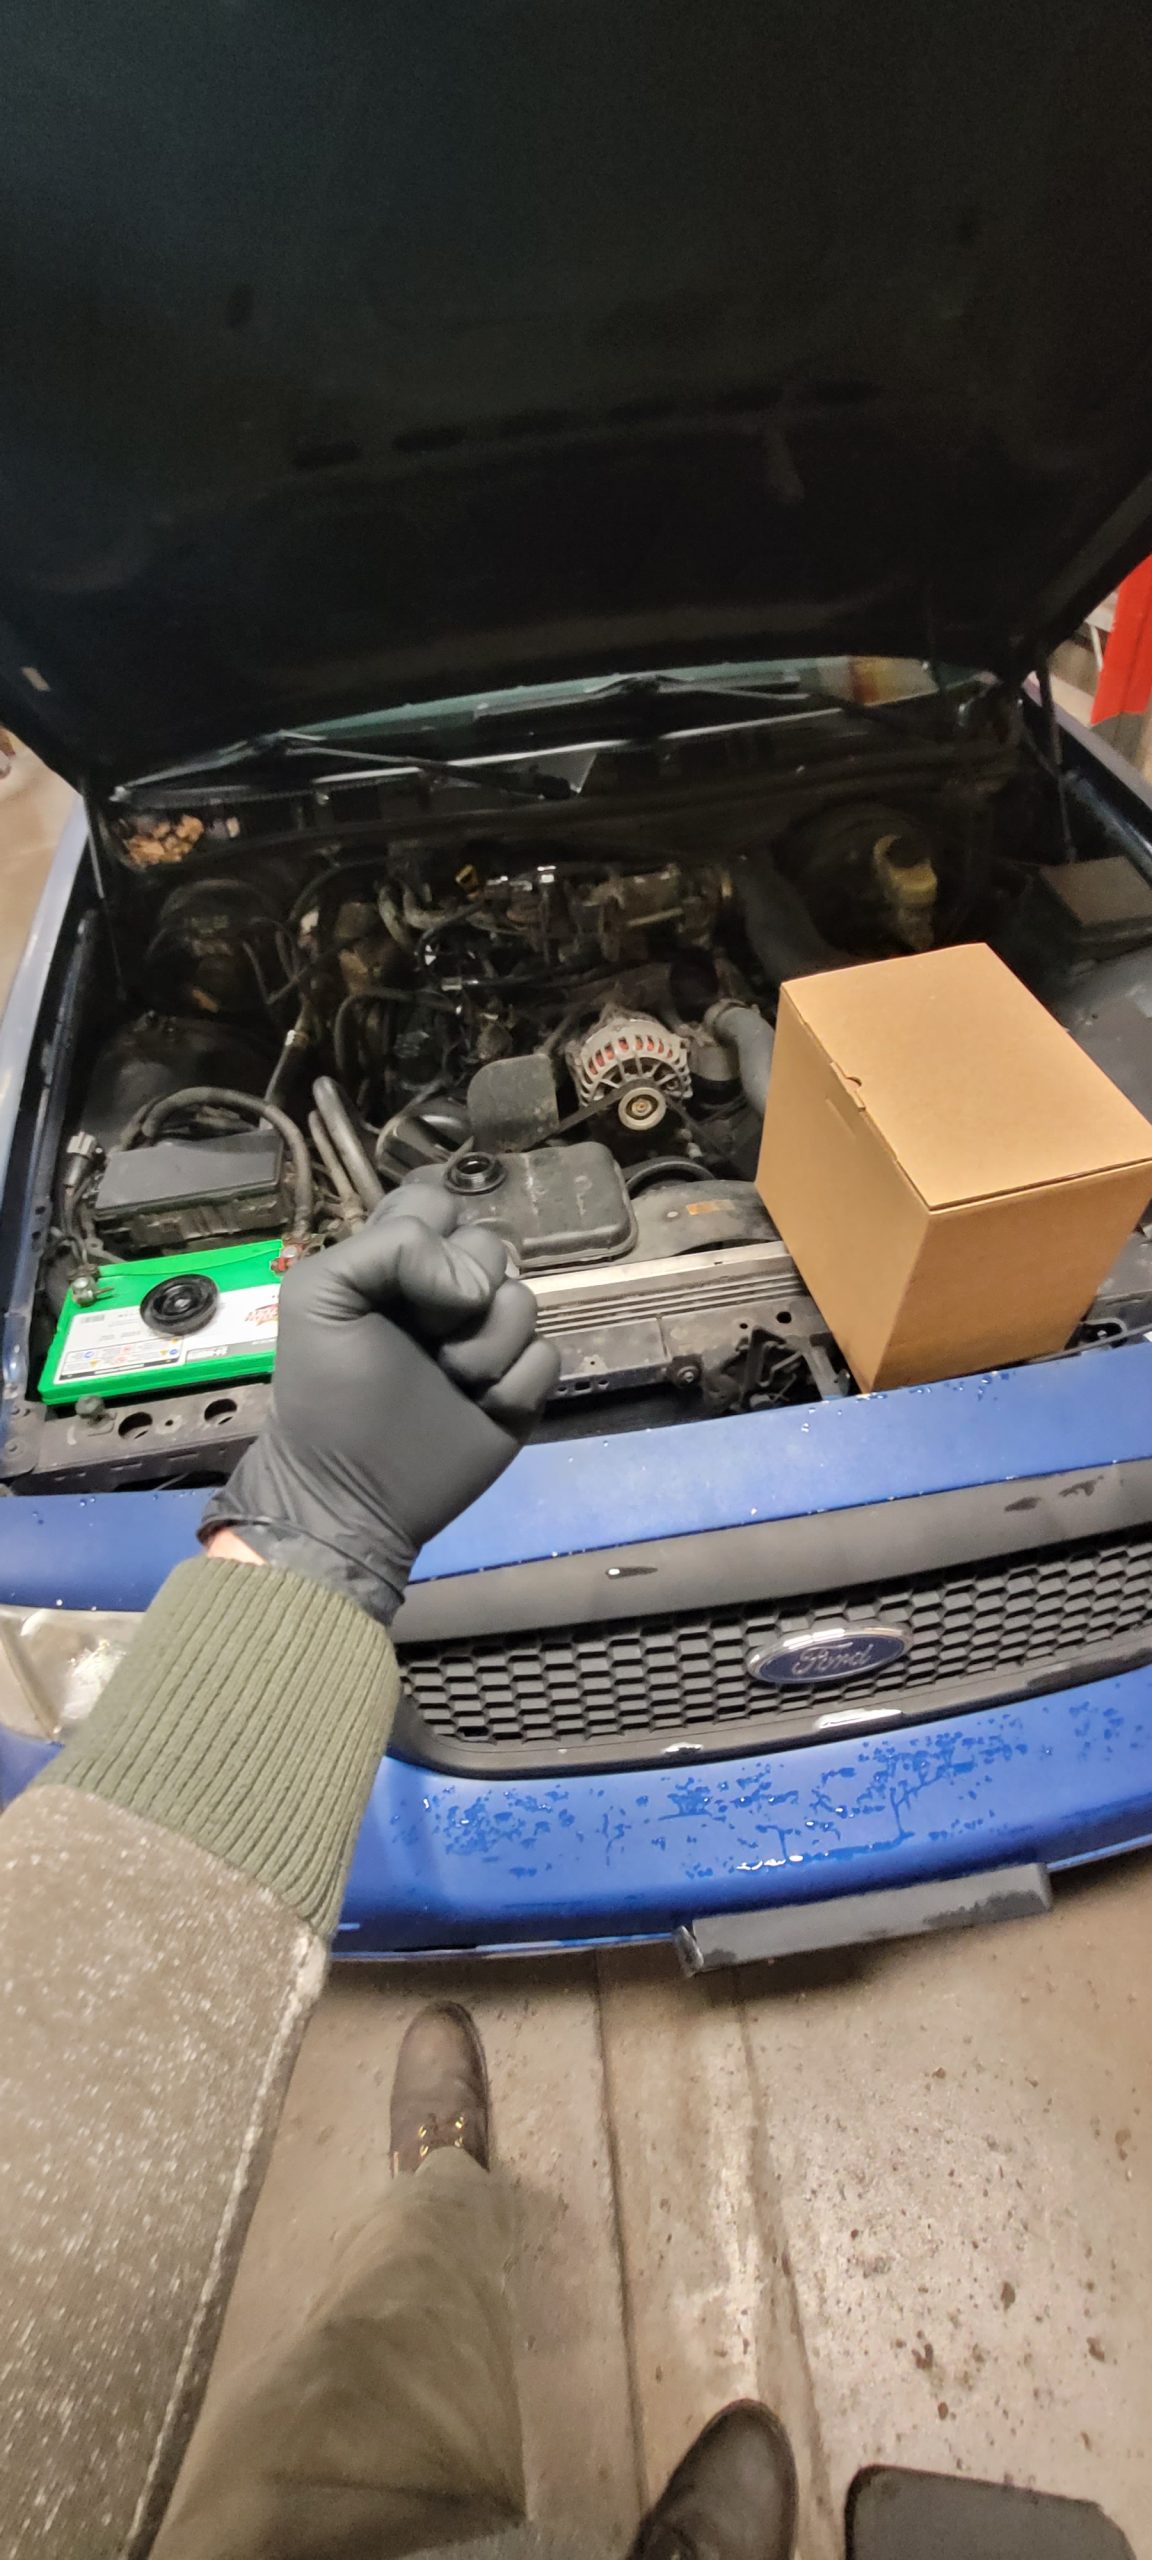
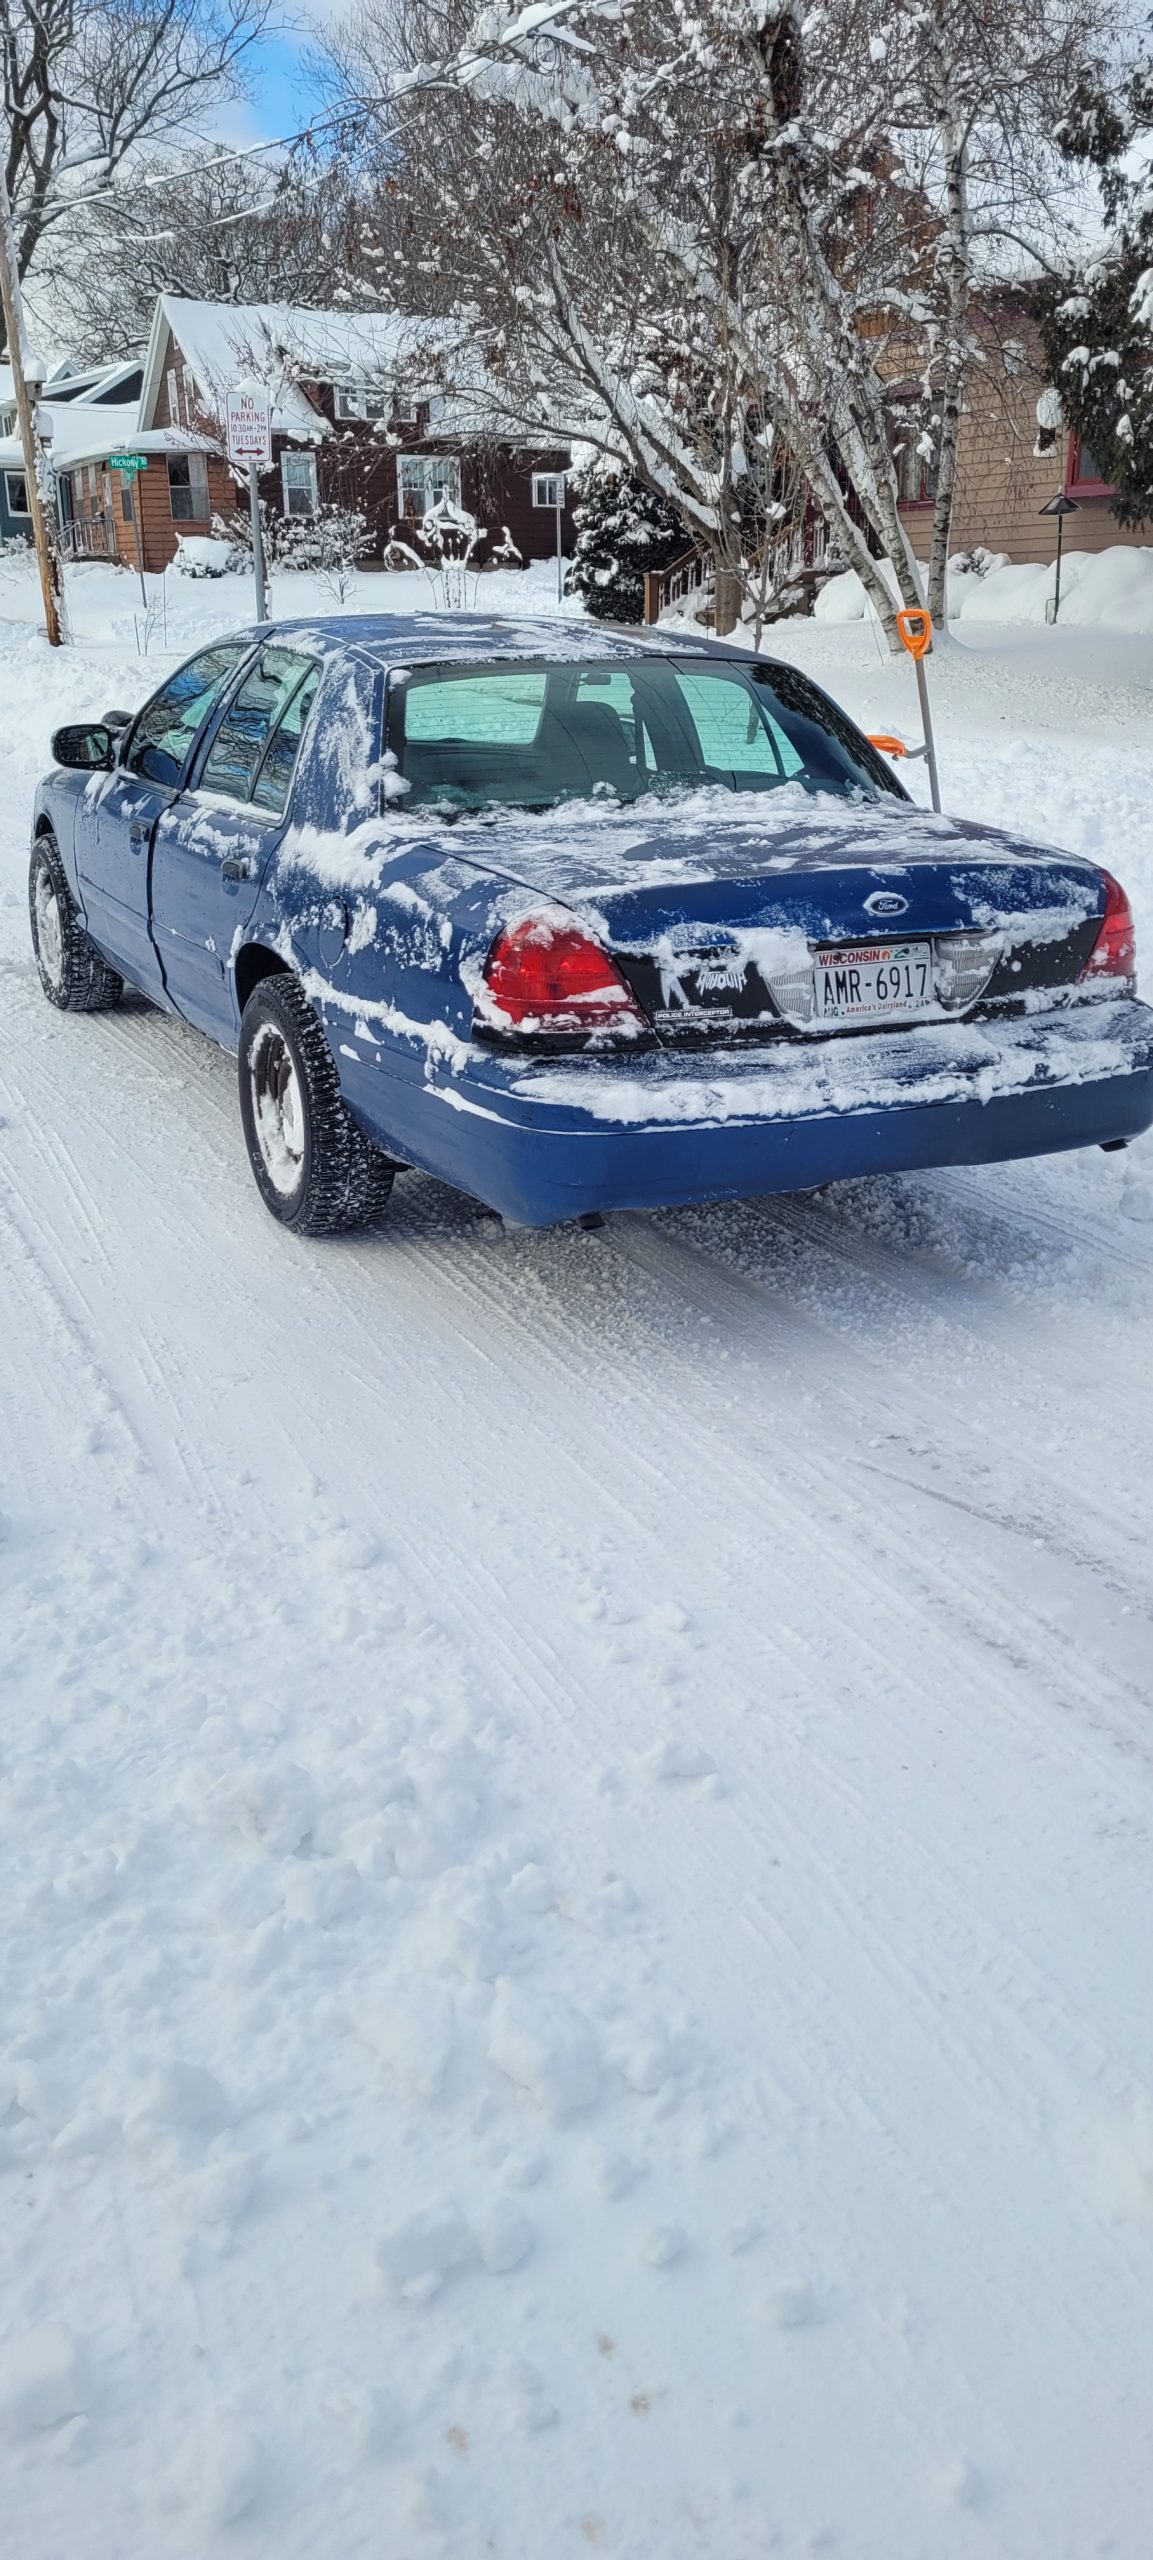
Ringing in 2024 with much needed upgrades to the Vic. Subwoofer for the low end Bass (which honestly was MUCH needed for the bass and metal head in me.) The heater core was also needed since I was having issues keeping heat in the cabin and the motor itself. But it could be the fact that I have a lower temperature thermostat that is also the cause as well. On to the pictures!
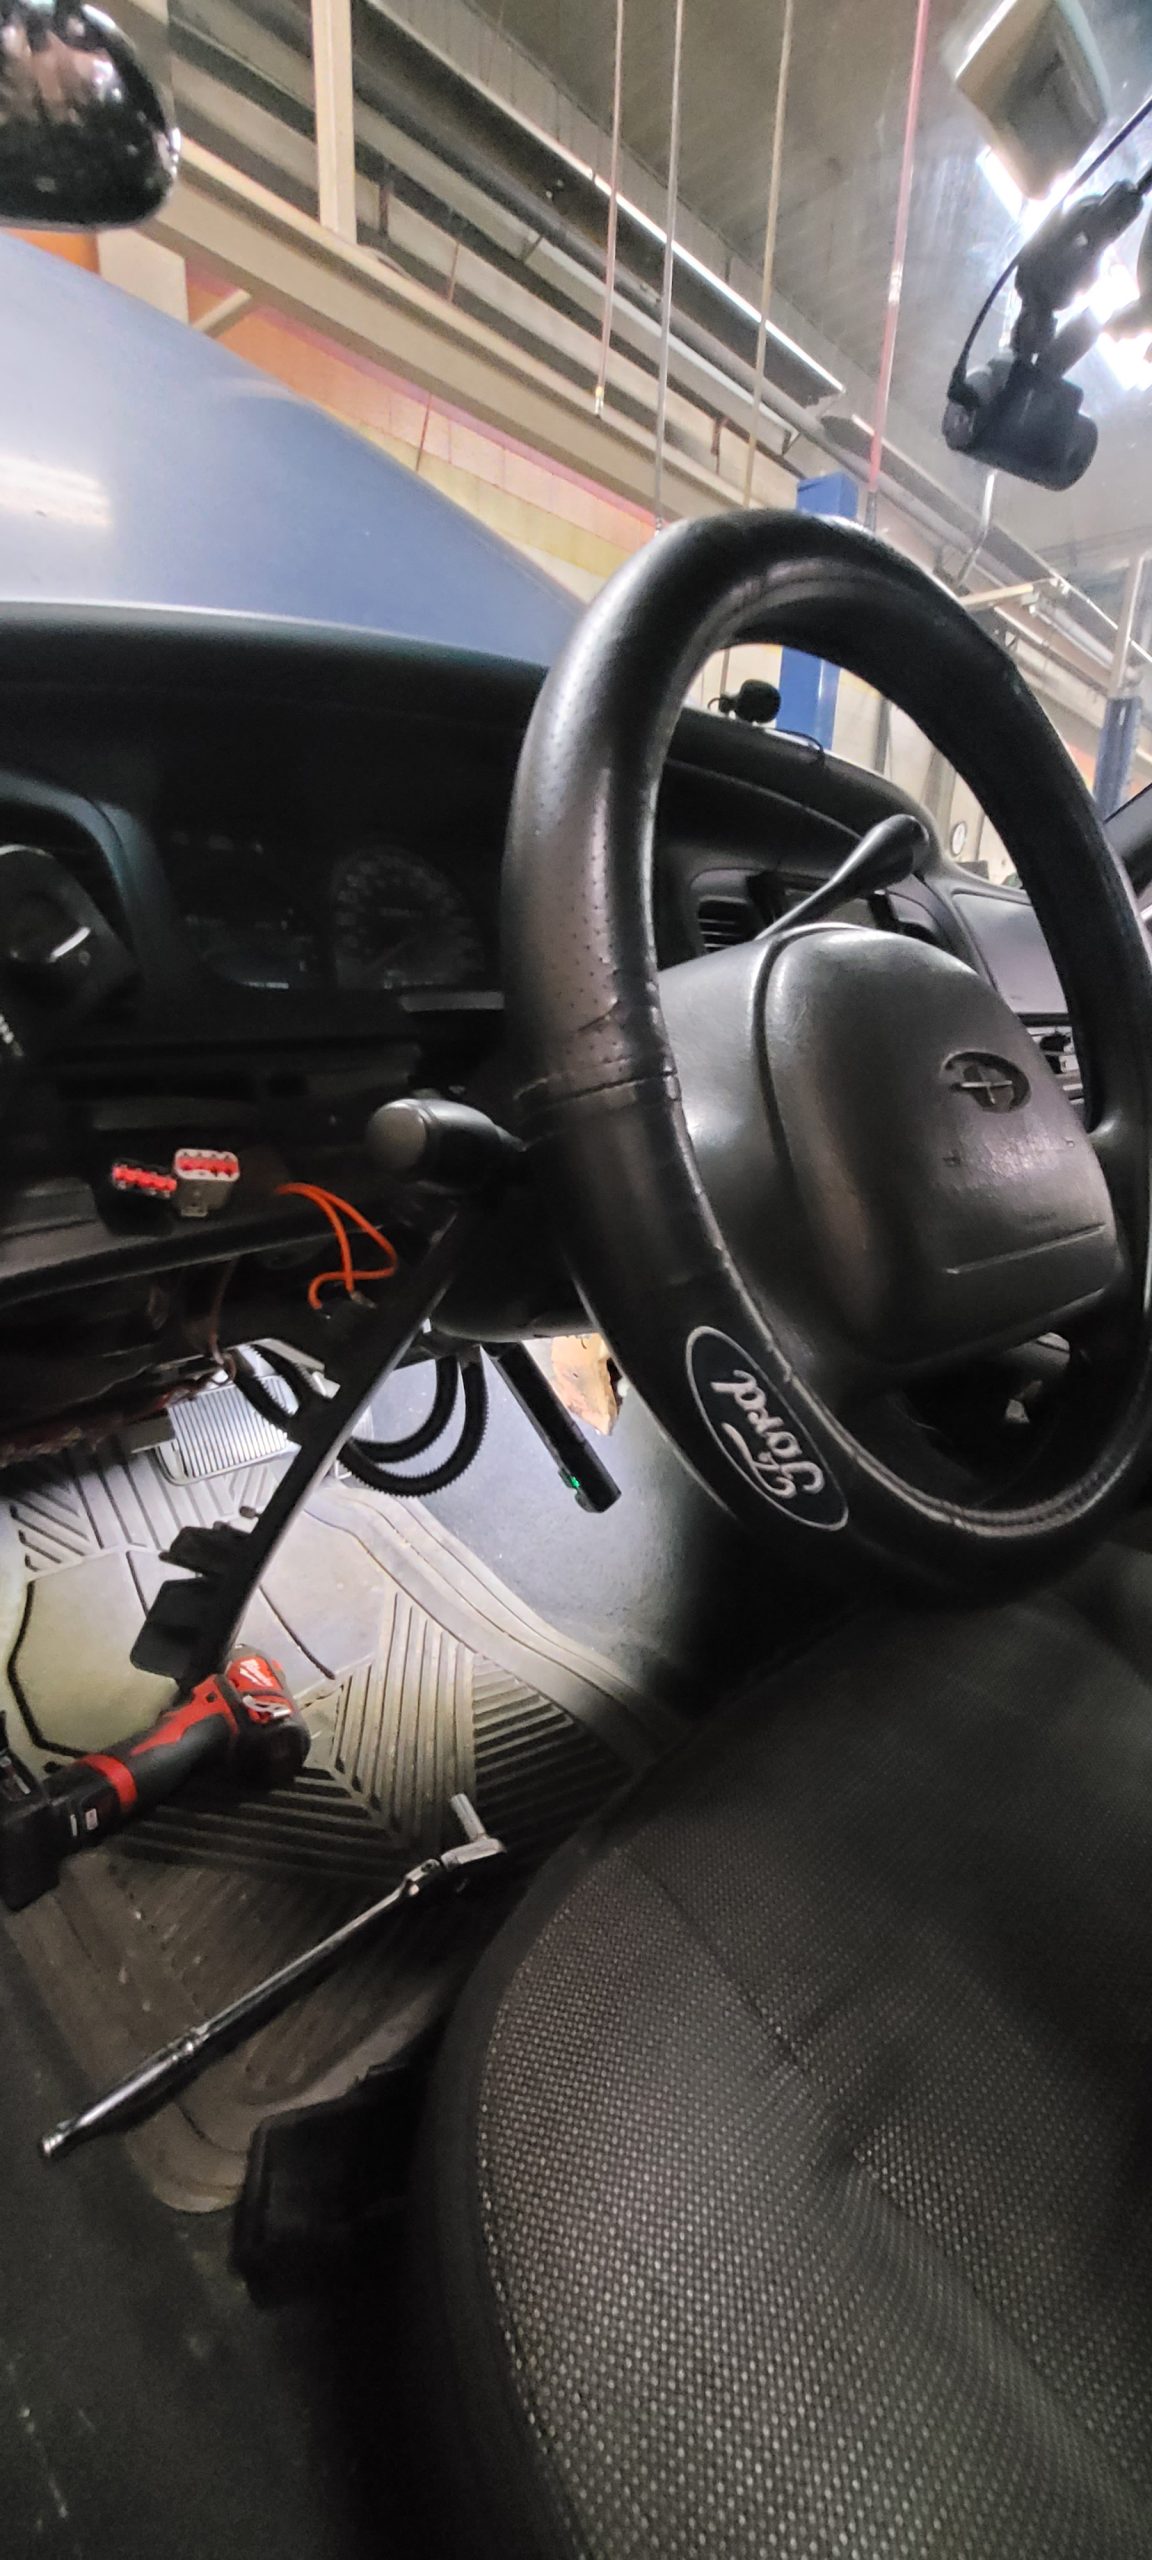
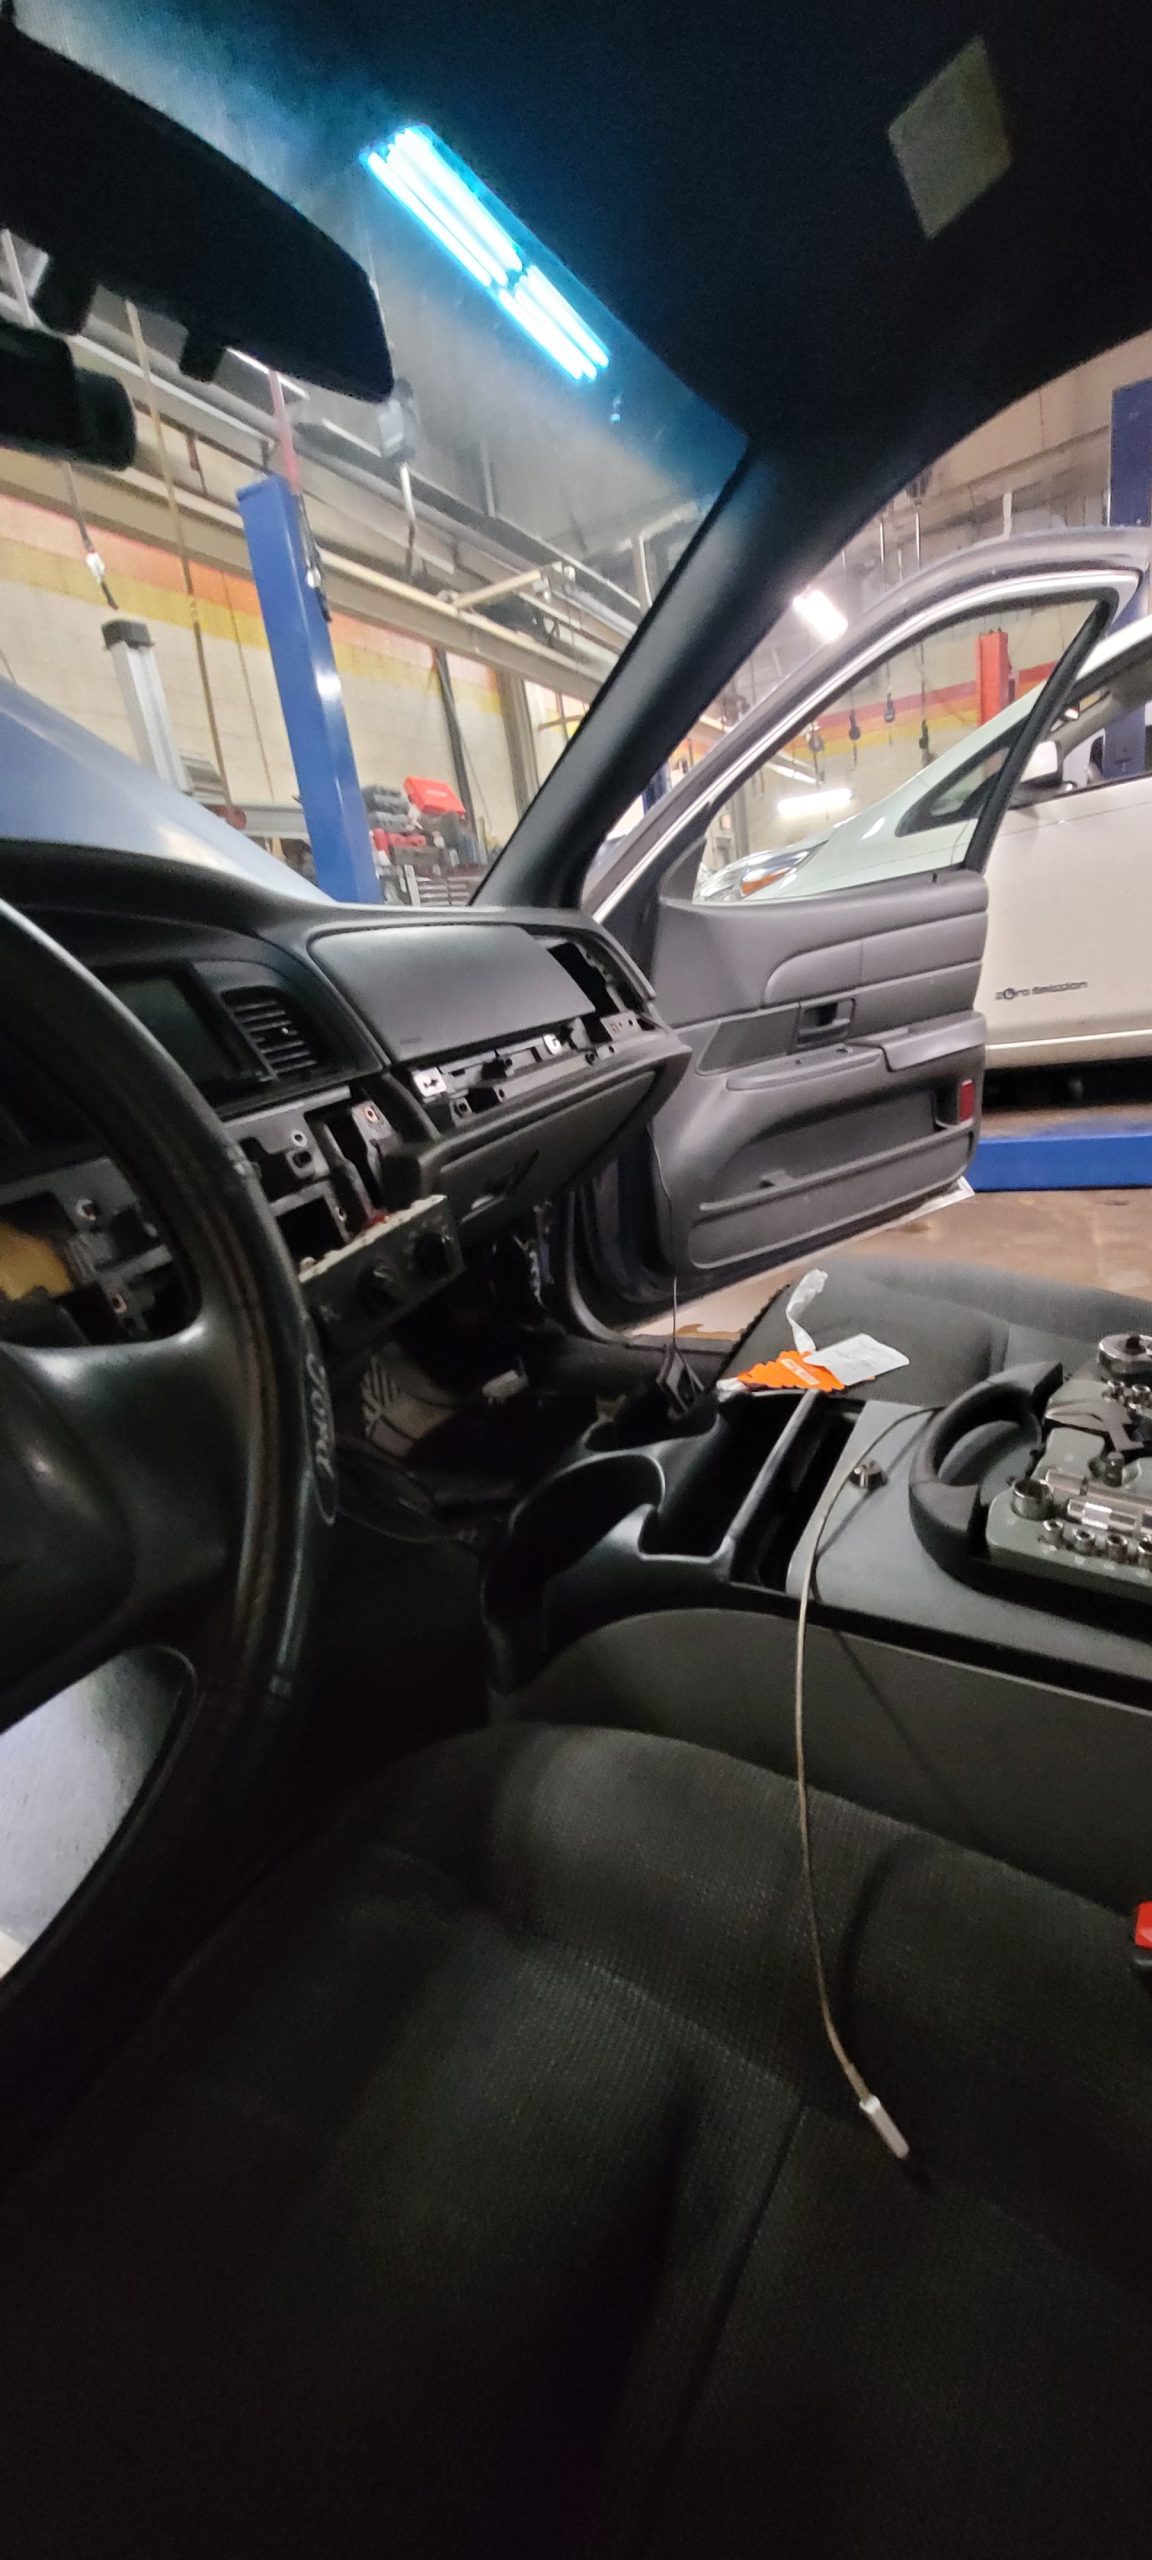
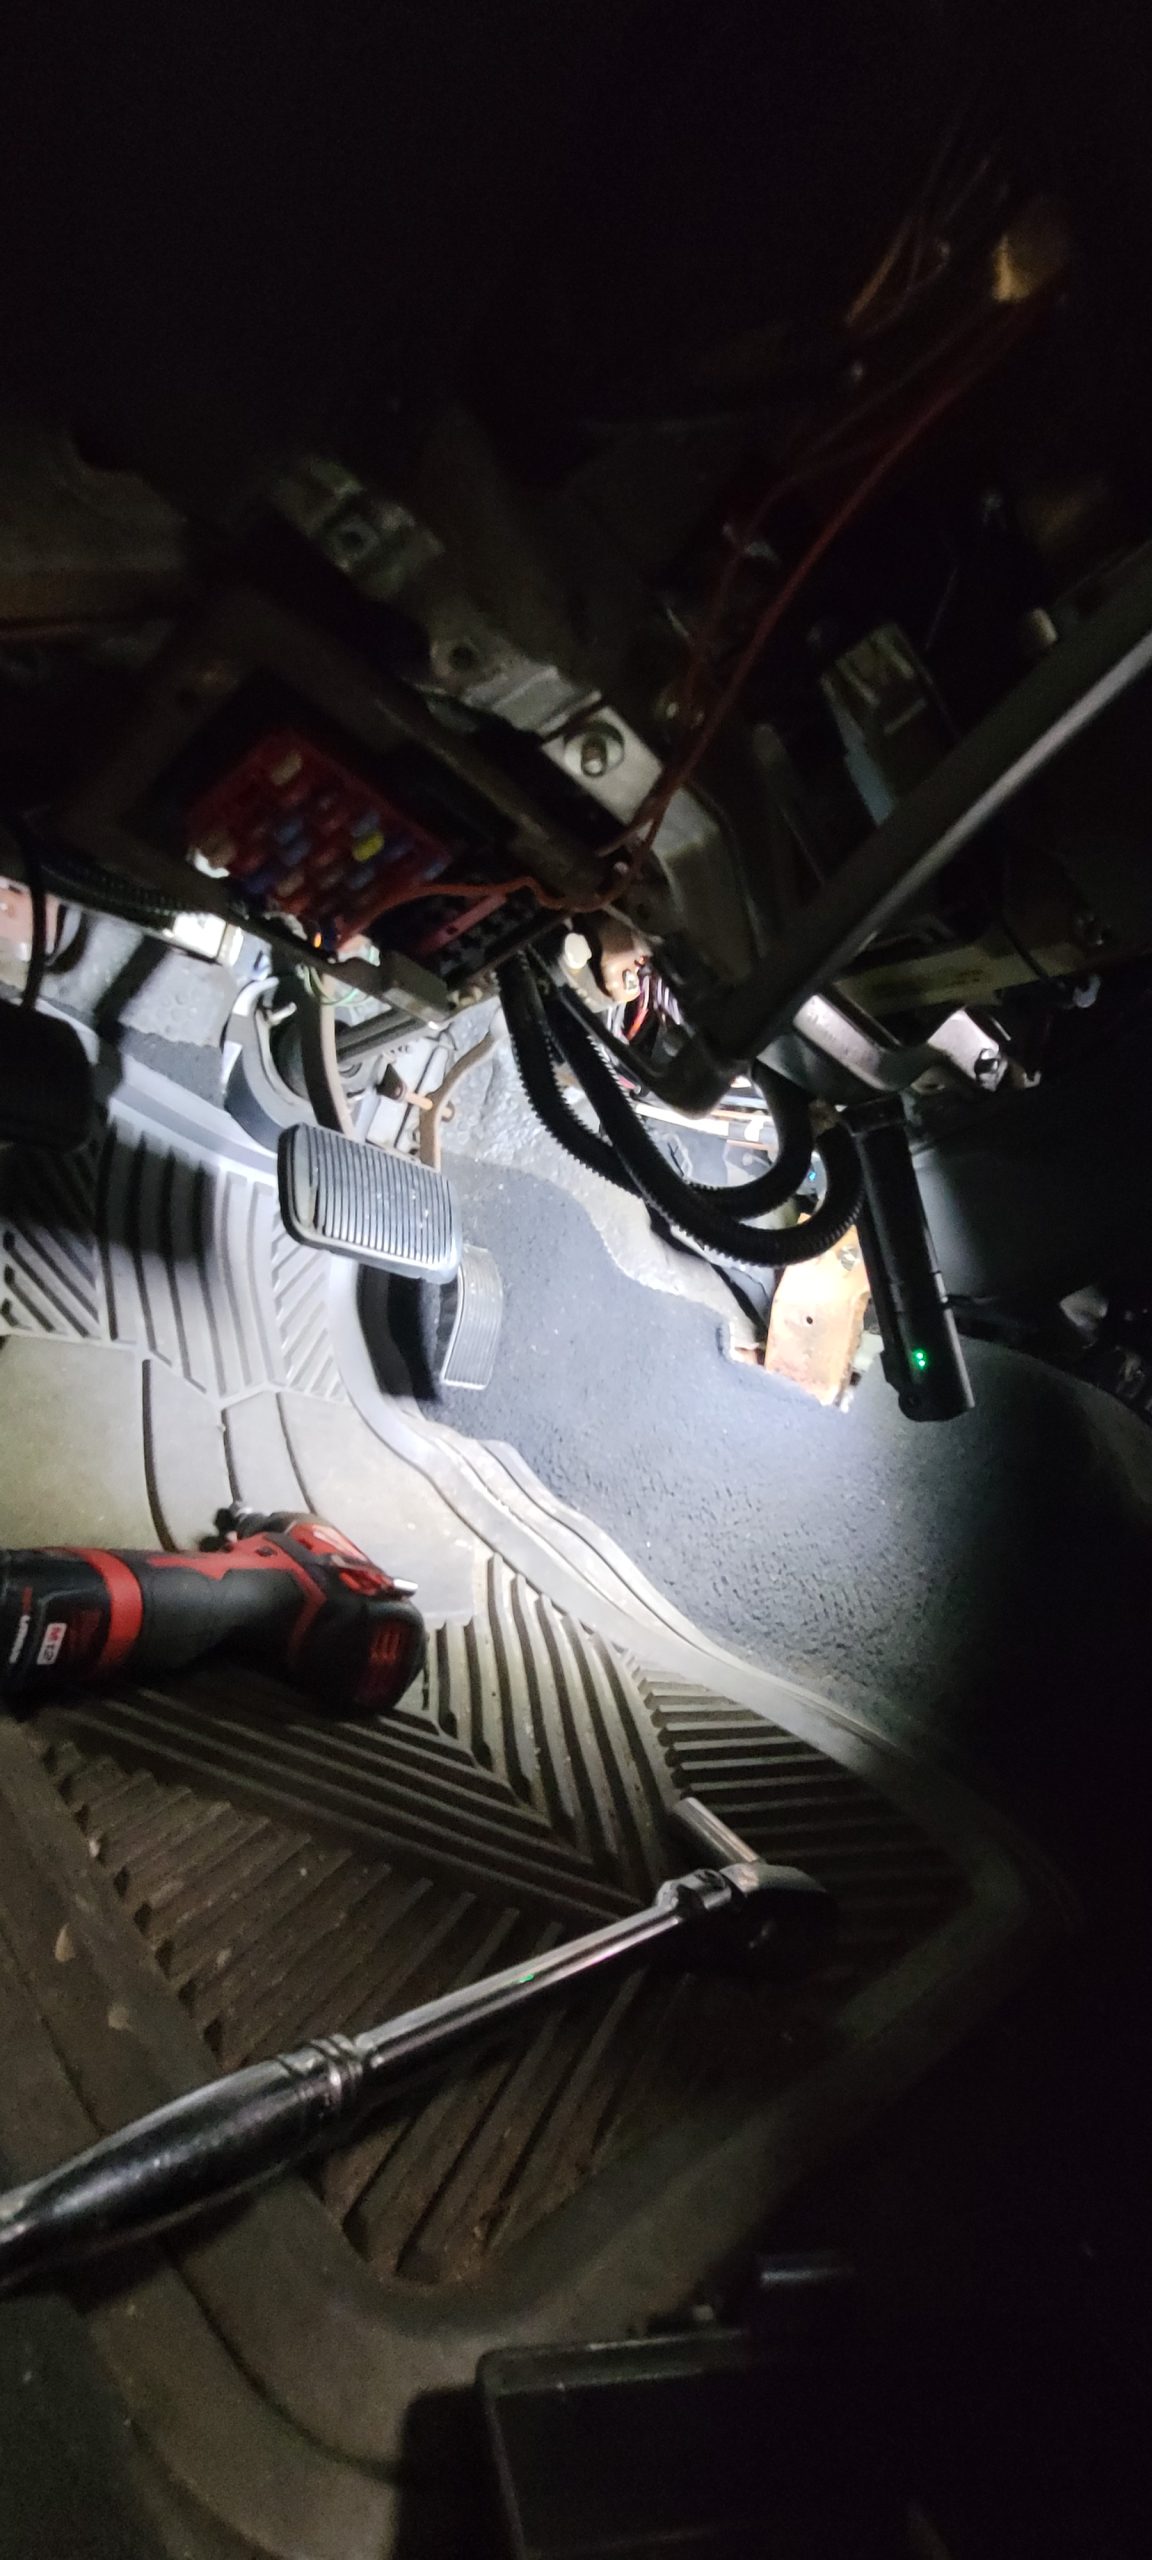
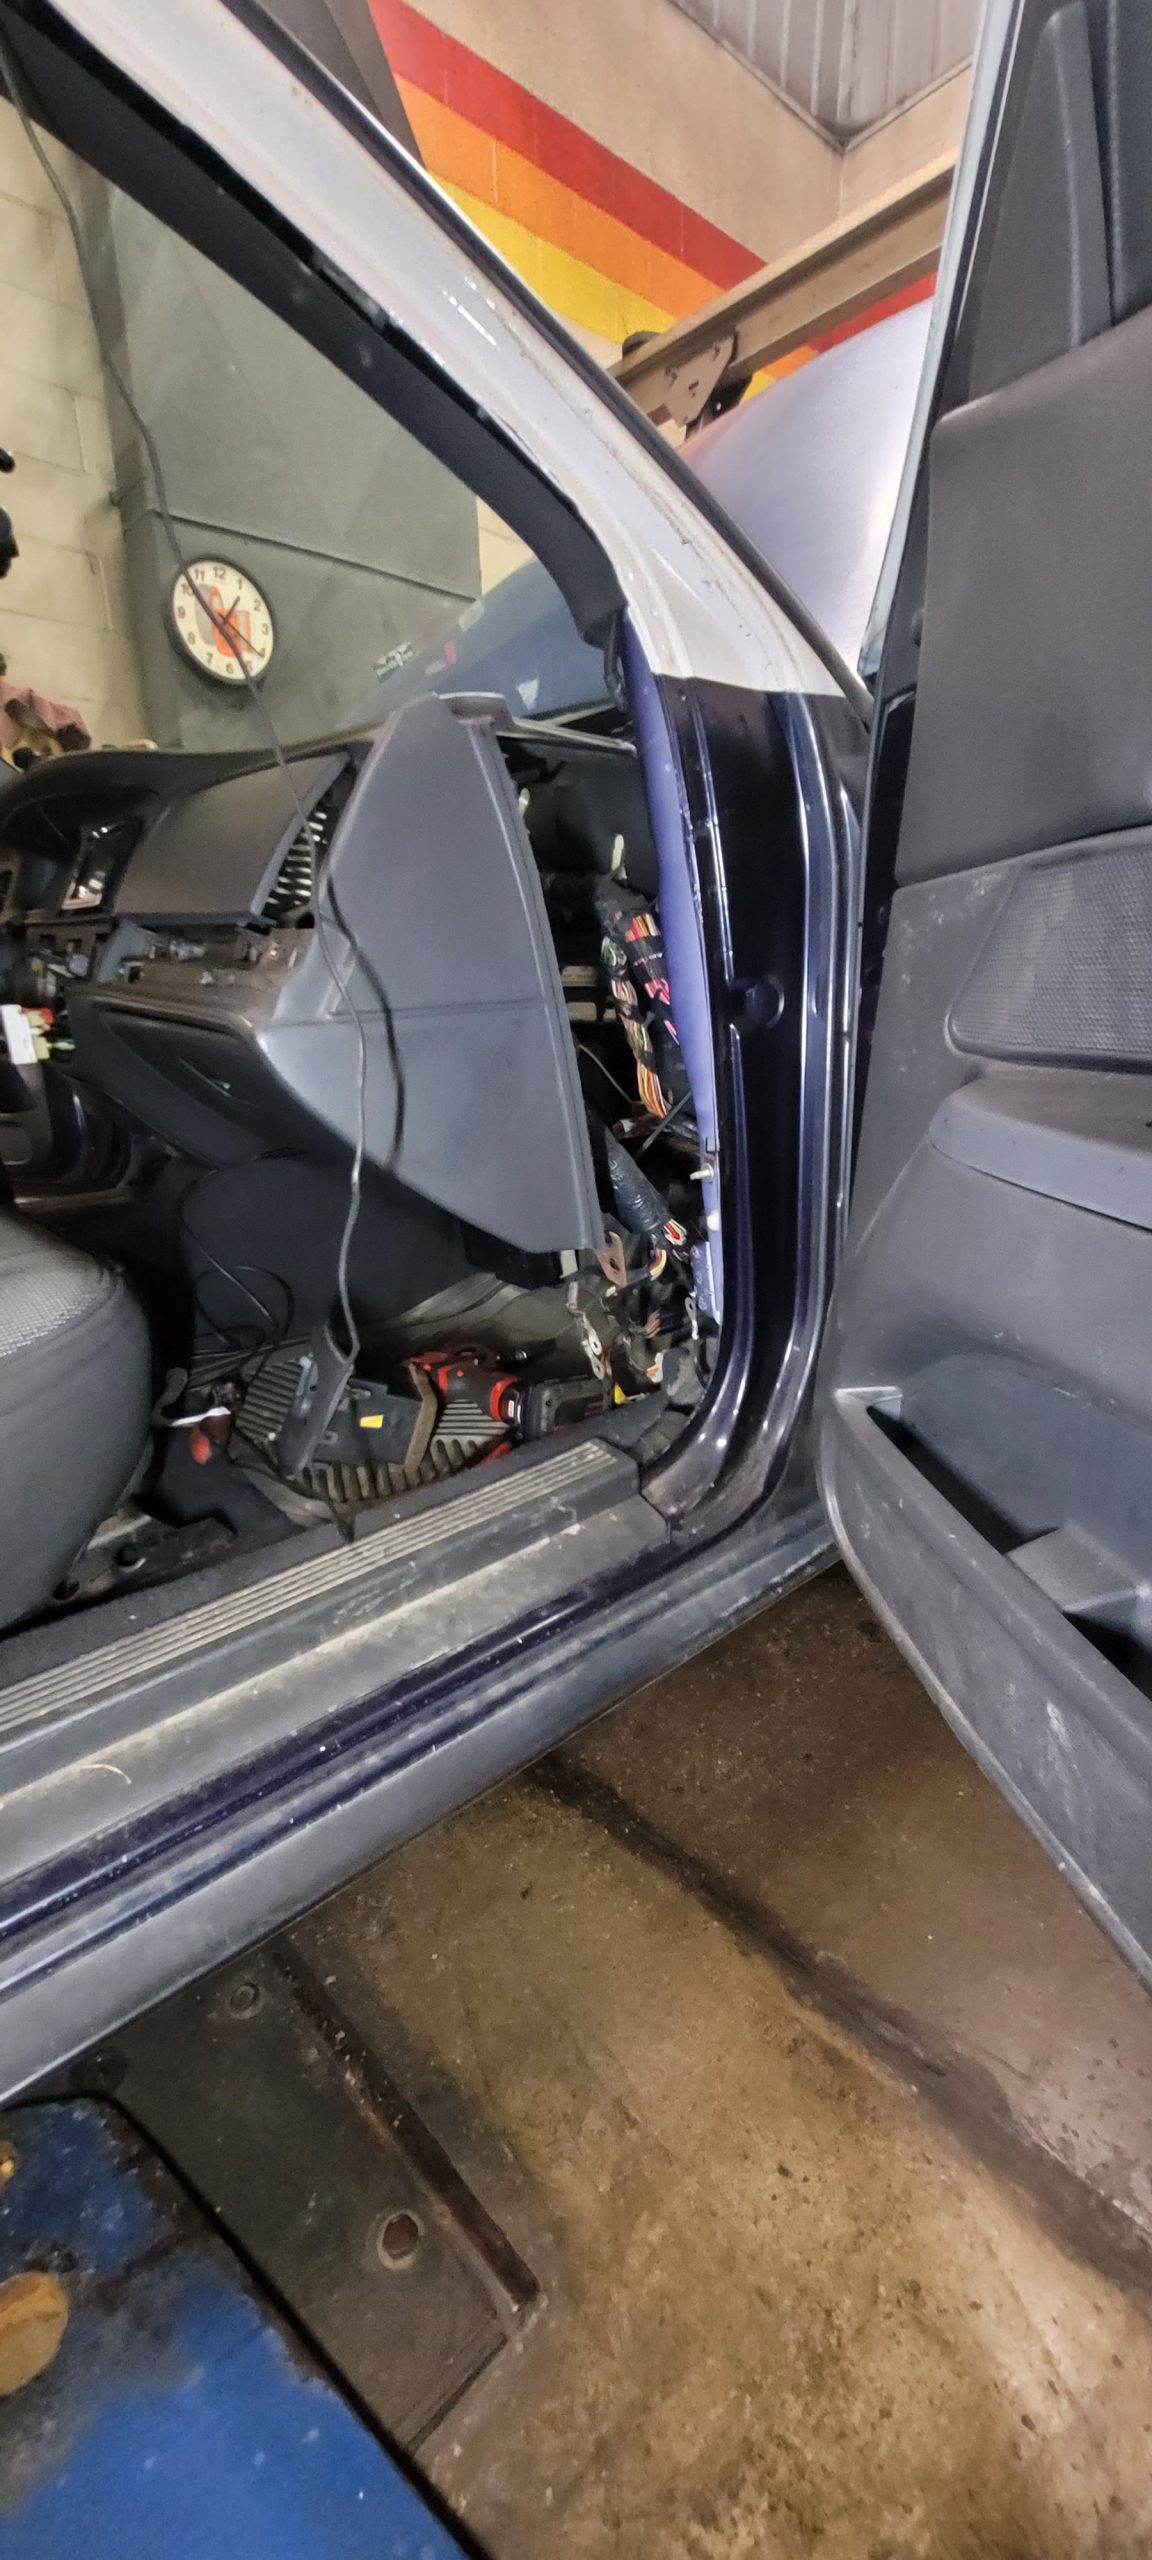
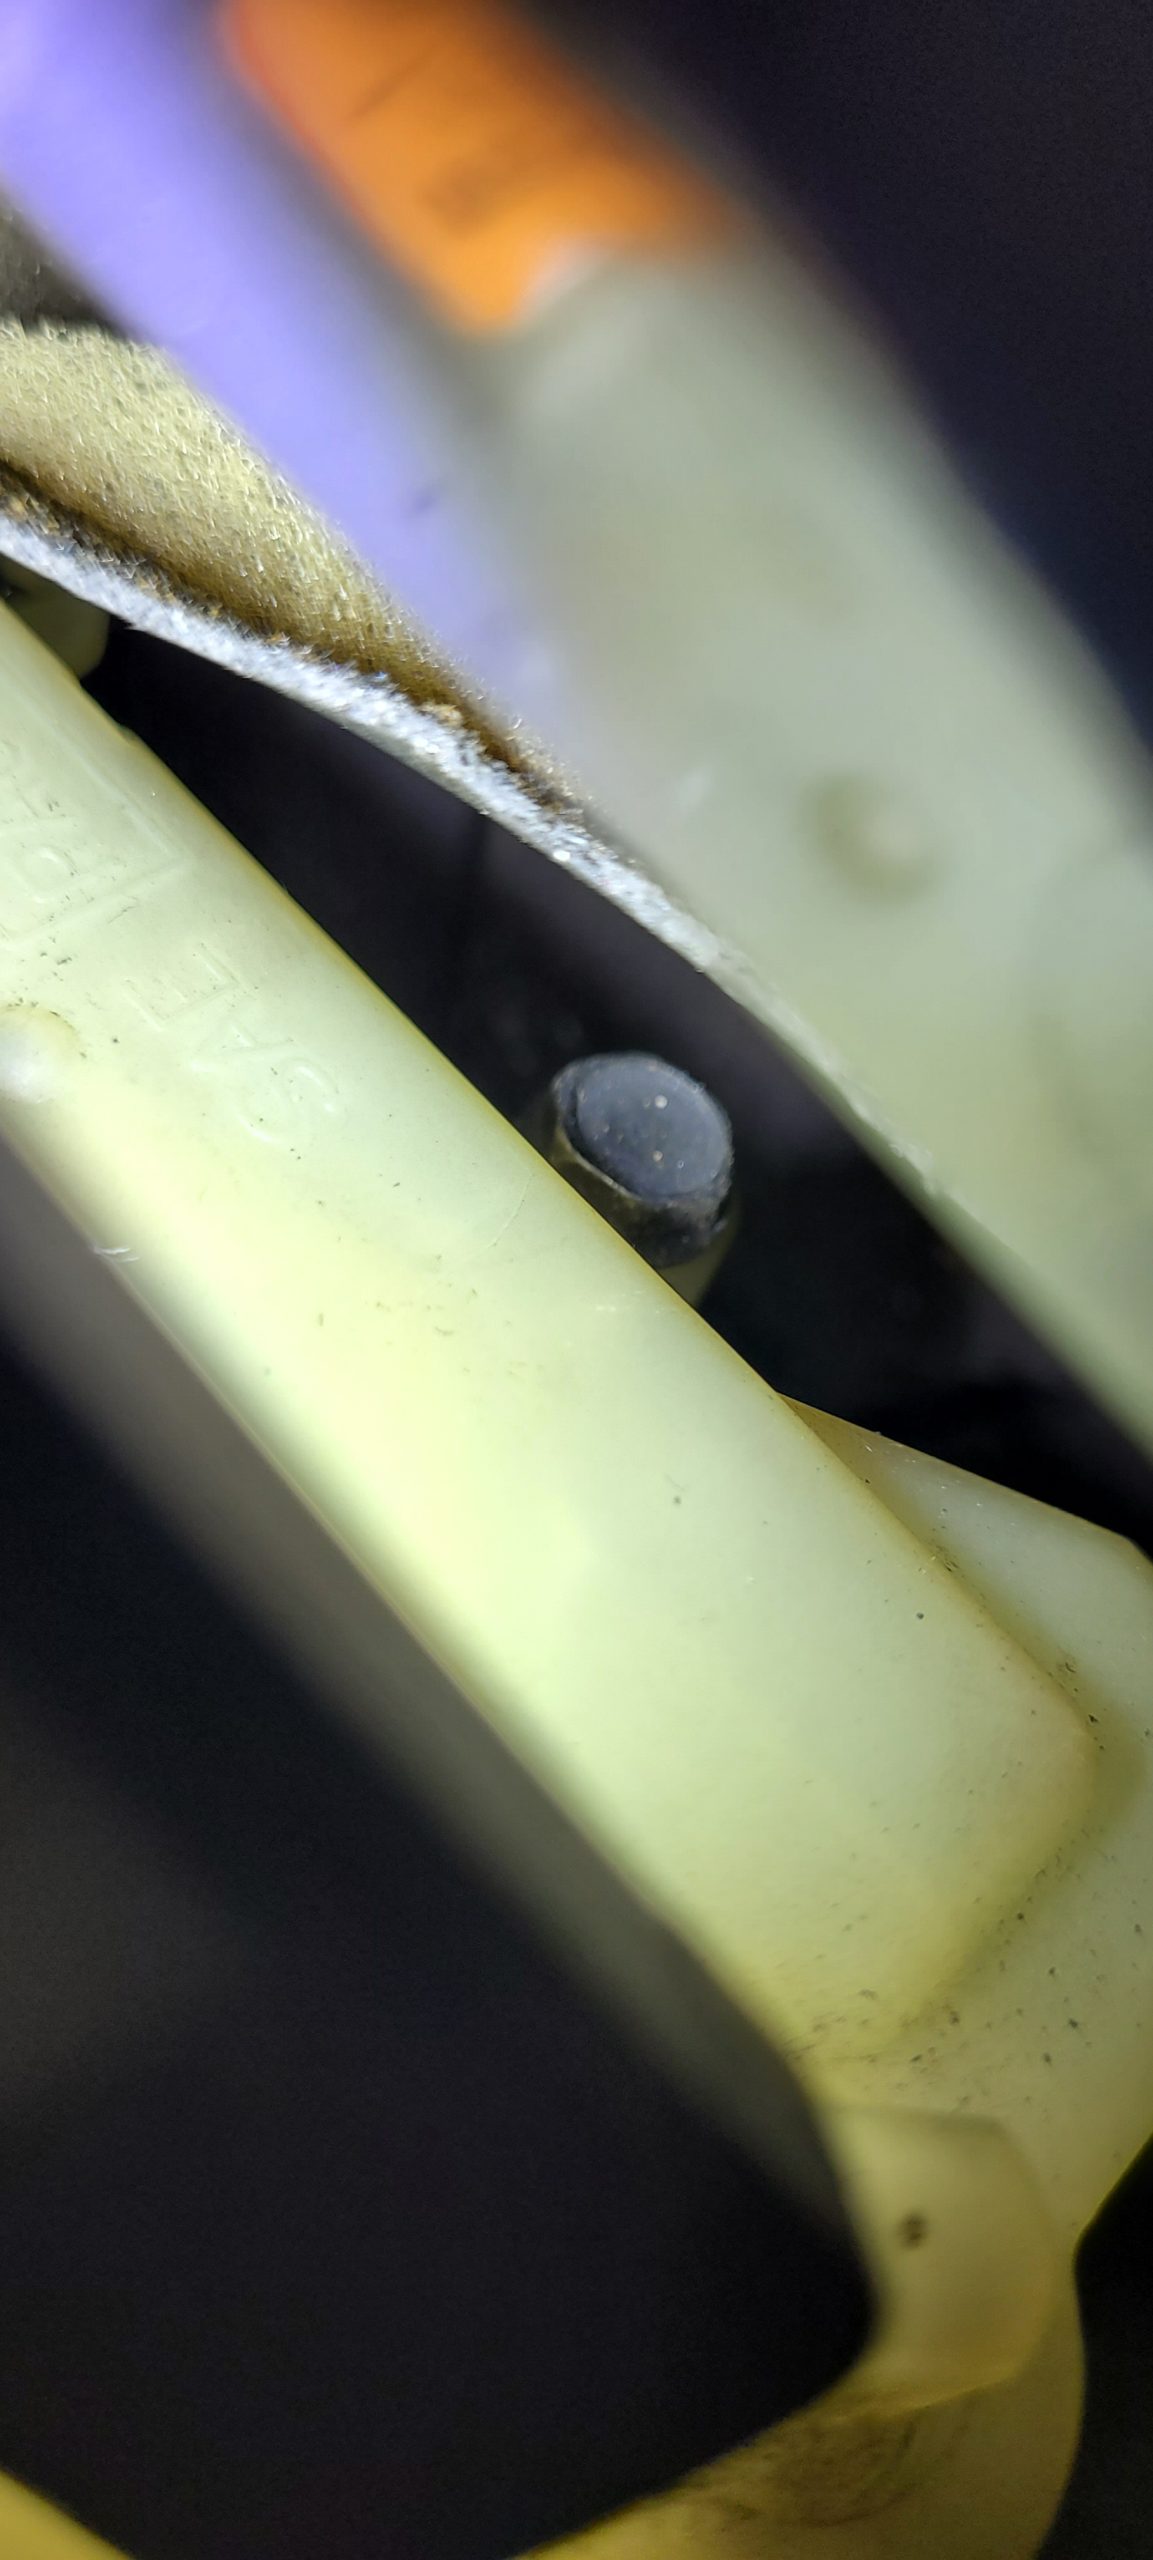
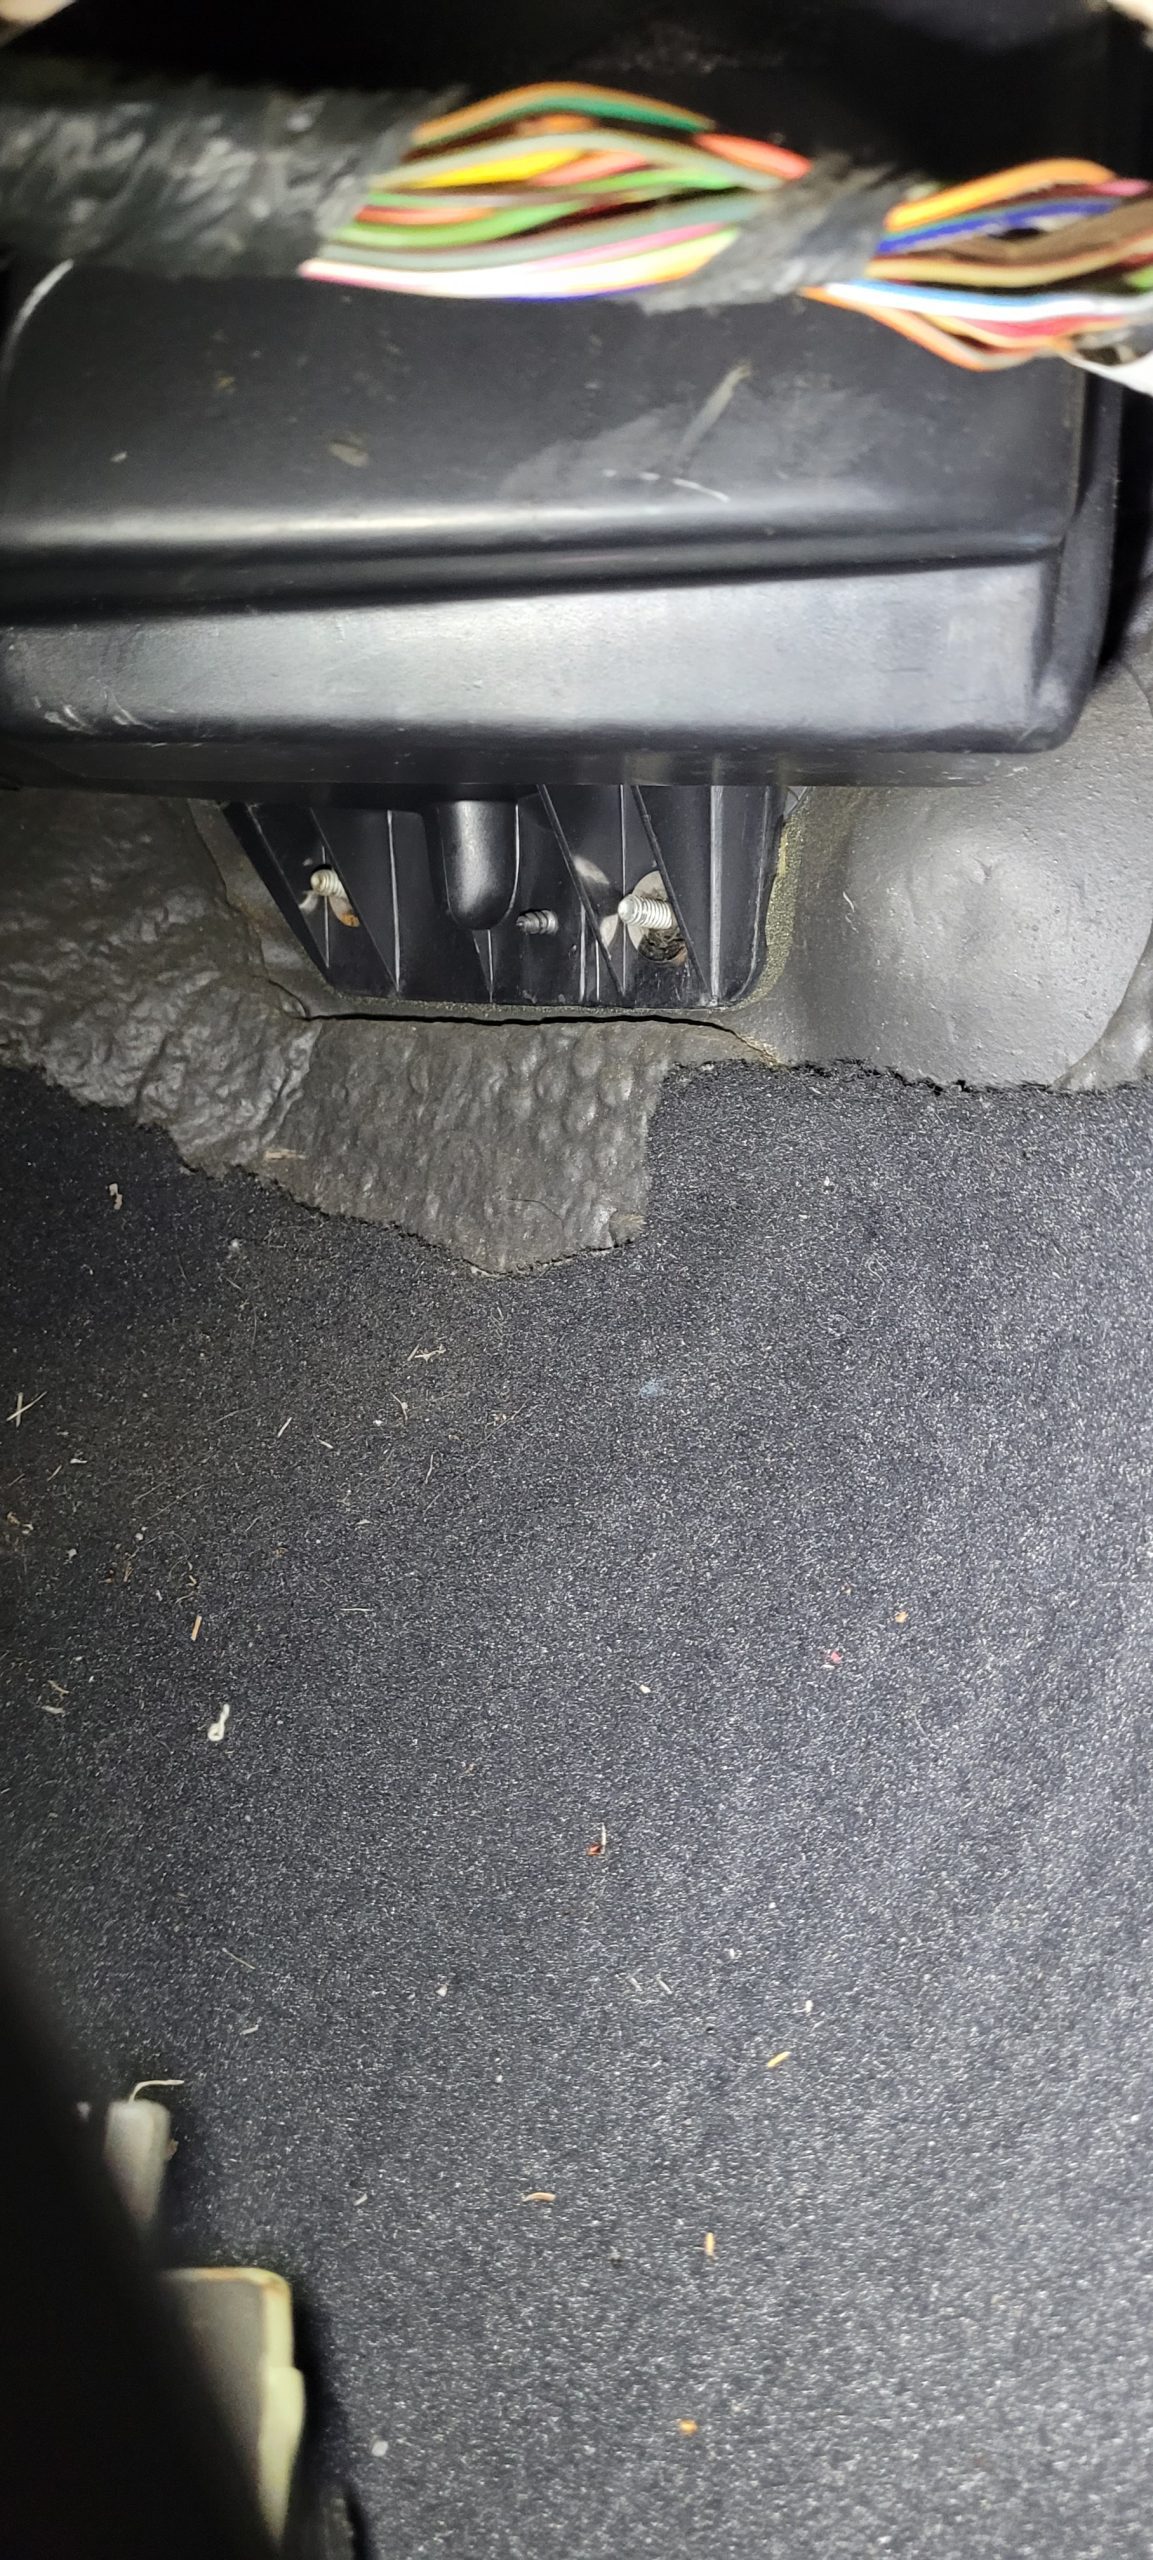
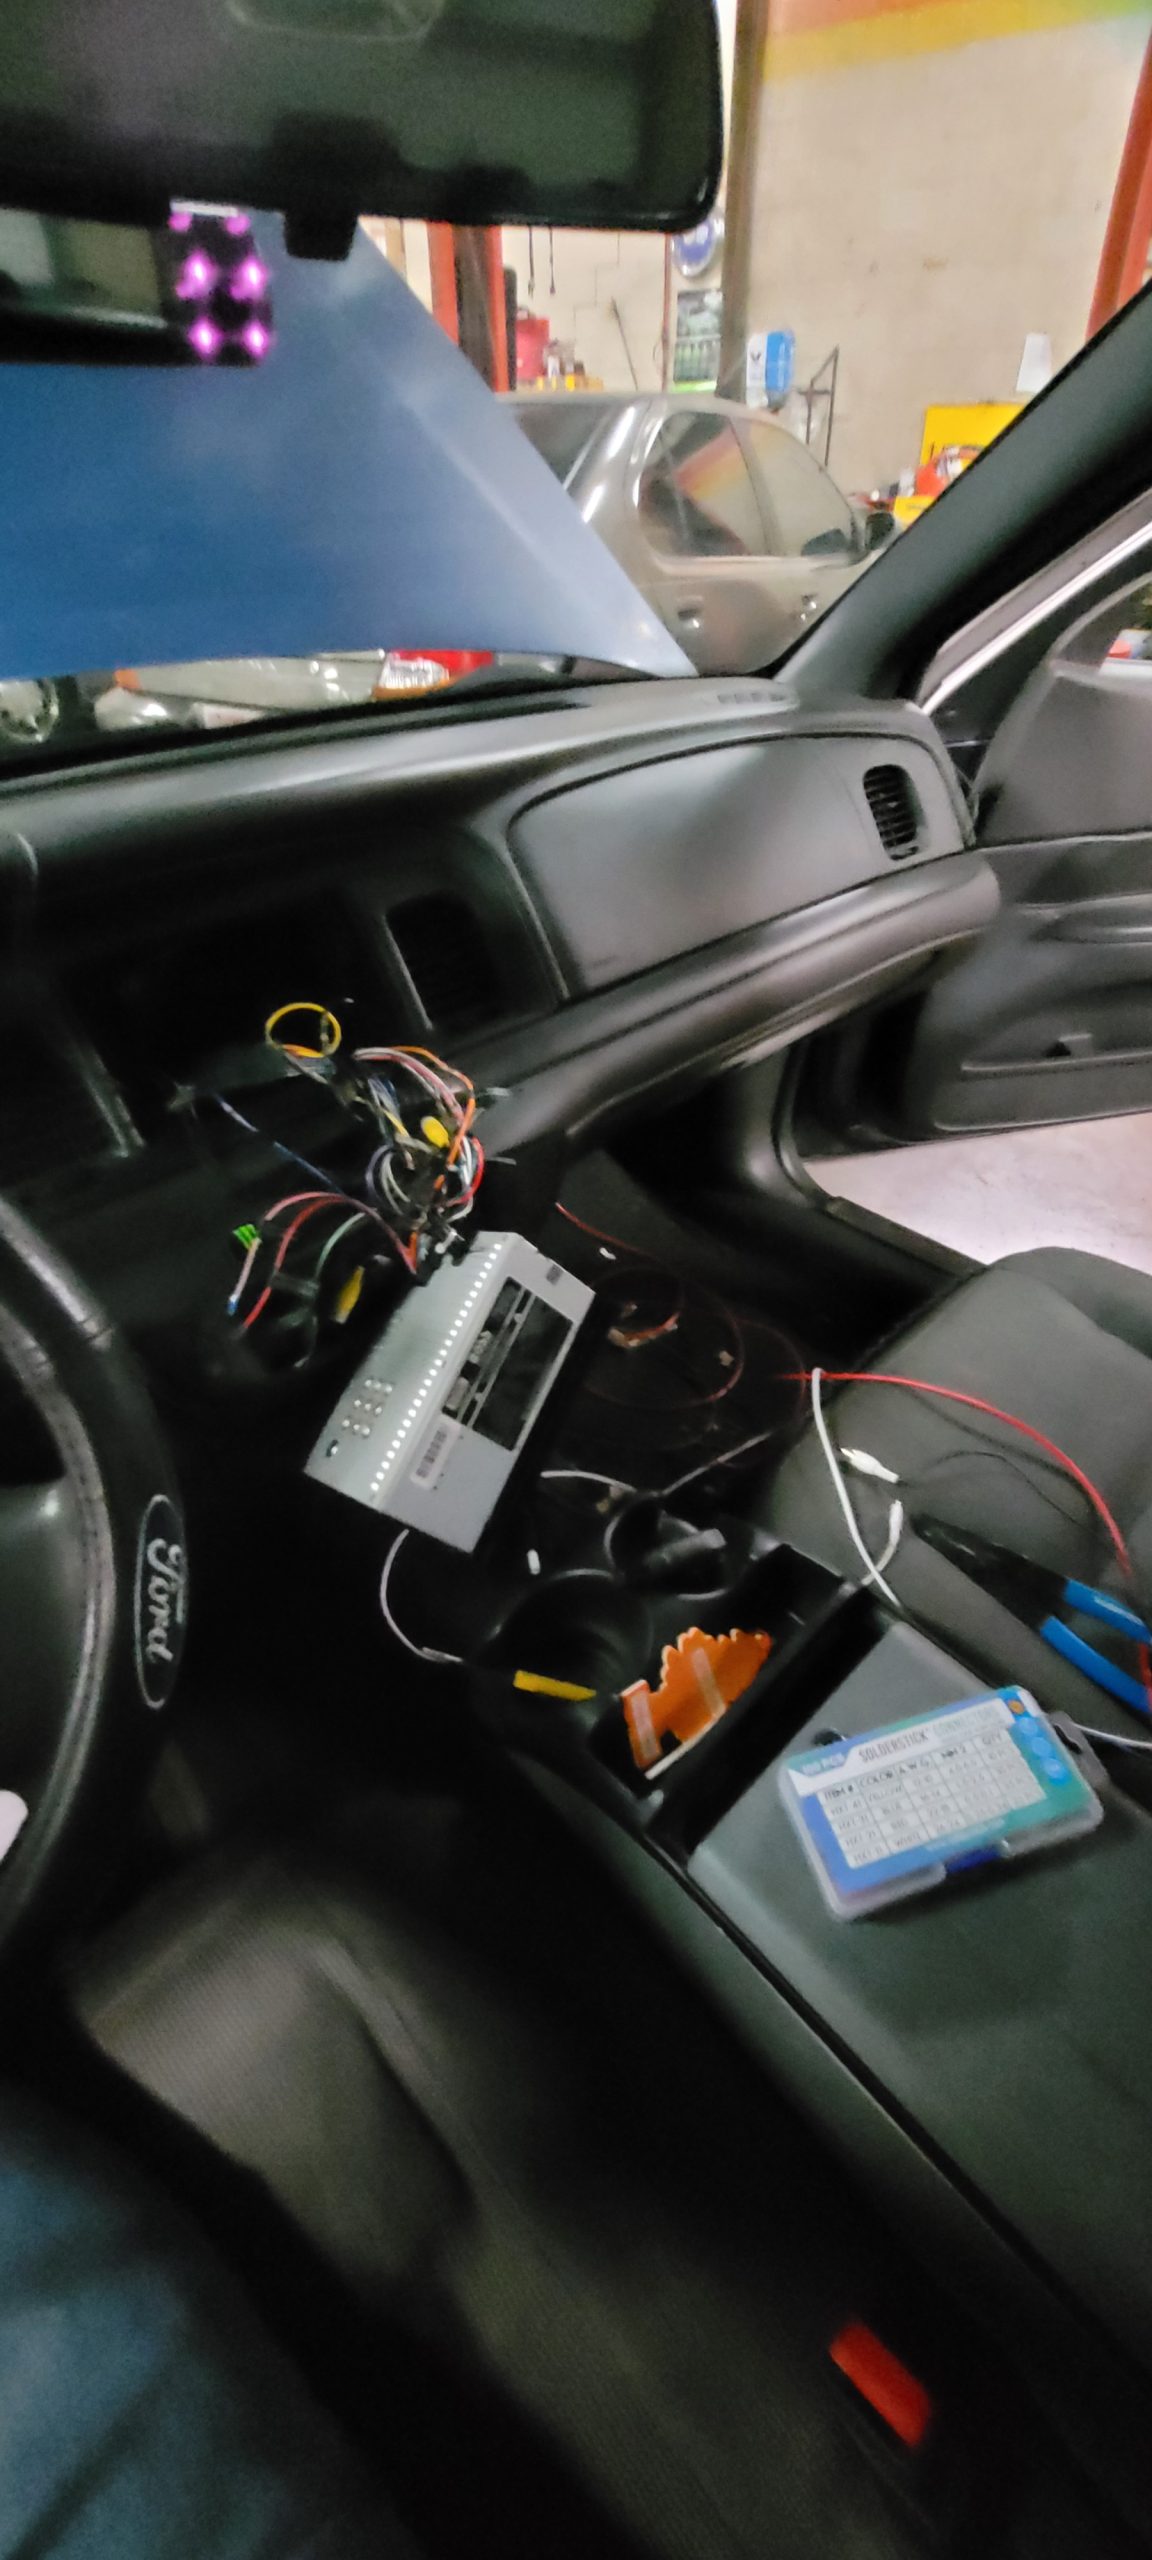
The start of the tear down. The fist is a precursor on how difficult it was to replace the core itself lol. First step is to unplug the negative to the battery as you will need to disconnect components.first you start taking apart the shielding for the steering wheel to disconnect it from the dash. you would need 7mm bits to remove the interior dash trims. To remove the steering wheel, you need 13mm bits to remove the bracket. there is 1 15mm bolt that is under the driver side kicker panel that holds the dash to the body. There is 1 15mm nut that is hidden behind the light switch that hold the dash to the body.there are 4 13mm bolts (where the torch is shining light at) under the carpet that holds up the middle section of the dash. you would also need a 10 or a 13mm (can’t recall) for the parking brake release lever mount. Since that would need to be removed as well. for the passenger side, there are 3 10mm bolts that are chassis grounds for the interior which is hidden behind the passenger kicker panel. there is also harness that is connected to the grounds that you can simply unhook it from its bracket instead of removing the 10mm bolt that holds it together. I did forget to mention that on the top of the dash there are 3 8mm bolts that hold it down as well. If your 2nd gen Vic is equipped with a daytime light sensor, you would need to disconnect it as well. There is also 1 15mm bolt for the dash on the passenger side as well. I don’t recall where the location is specifically as I forgot to take a picture of it.
Though technically you can leave the 15mm nut in place on the driver side to hold the dash in place so that it doesn’t fall on you so that you don’t have to lift the dash itself to realign it when finished swapping the heater core. I removed it to give myself more room because it becomes a tight fit when you are a tall giant like me XD. Would recommend an extra pair of hands to help lift the dash if you are unable to do so yourself. Me personally it wasn’t too difficult to lift back into position but it was a bit of a struggle nonetheless.
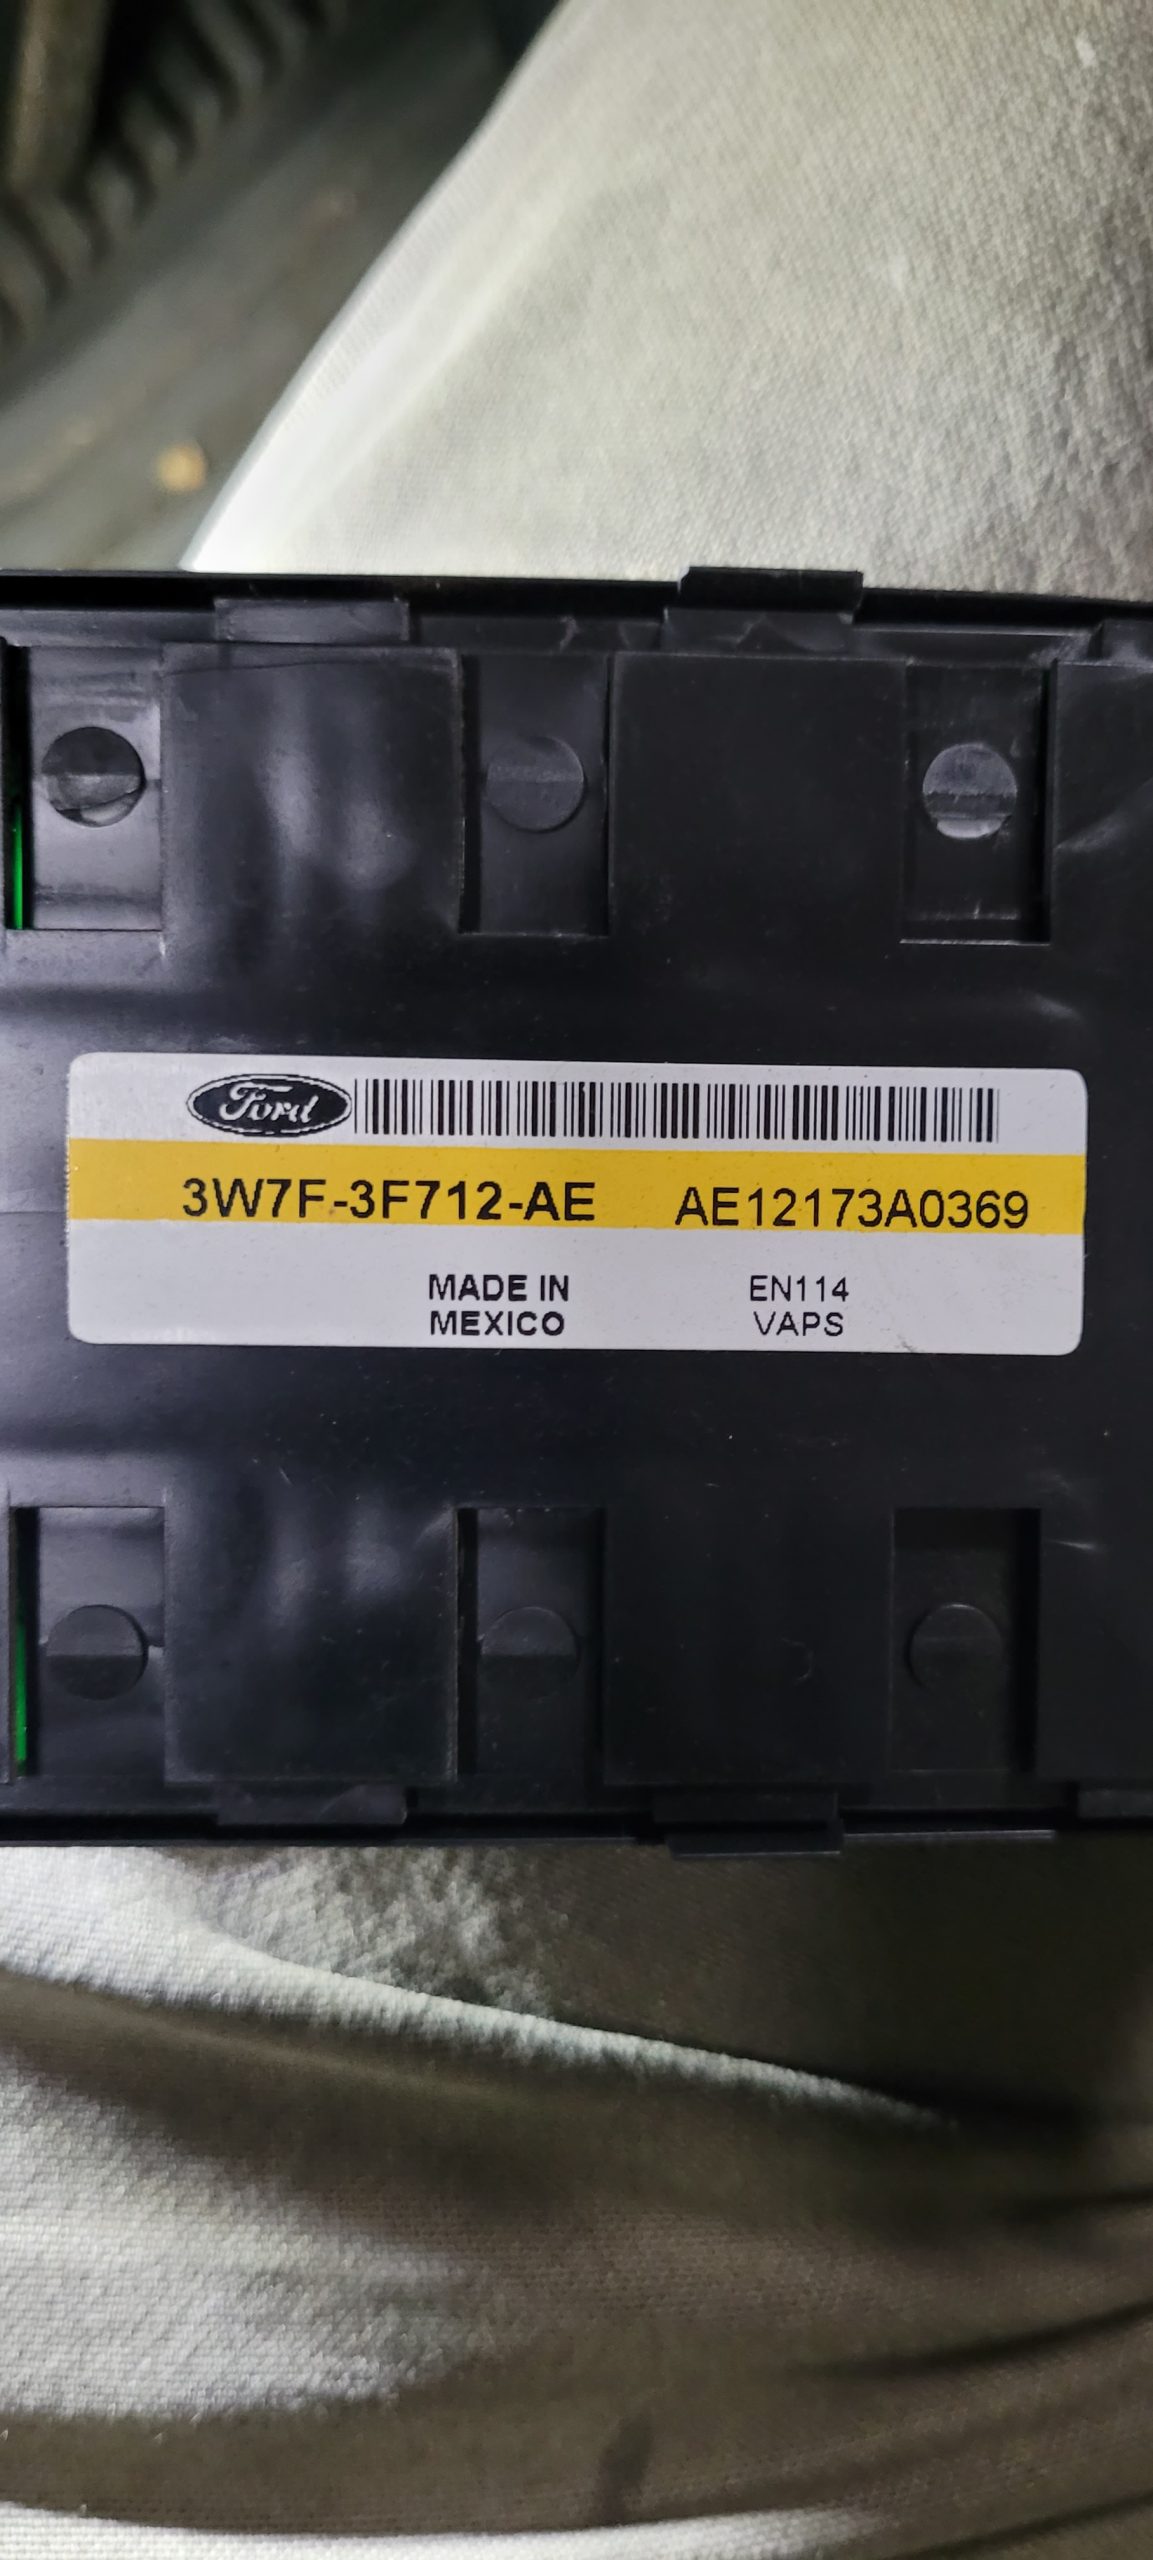
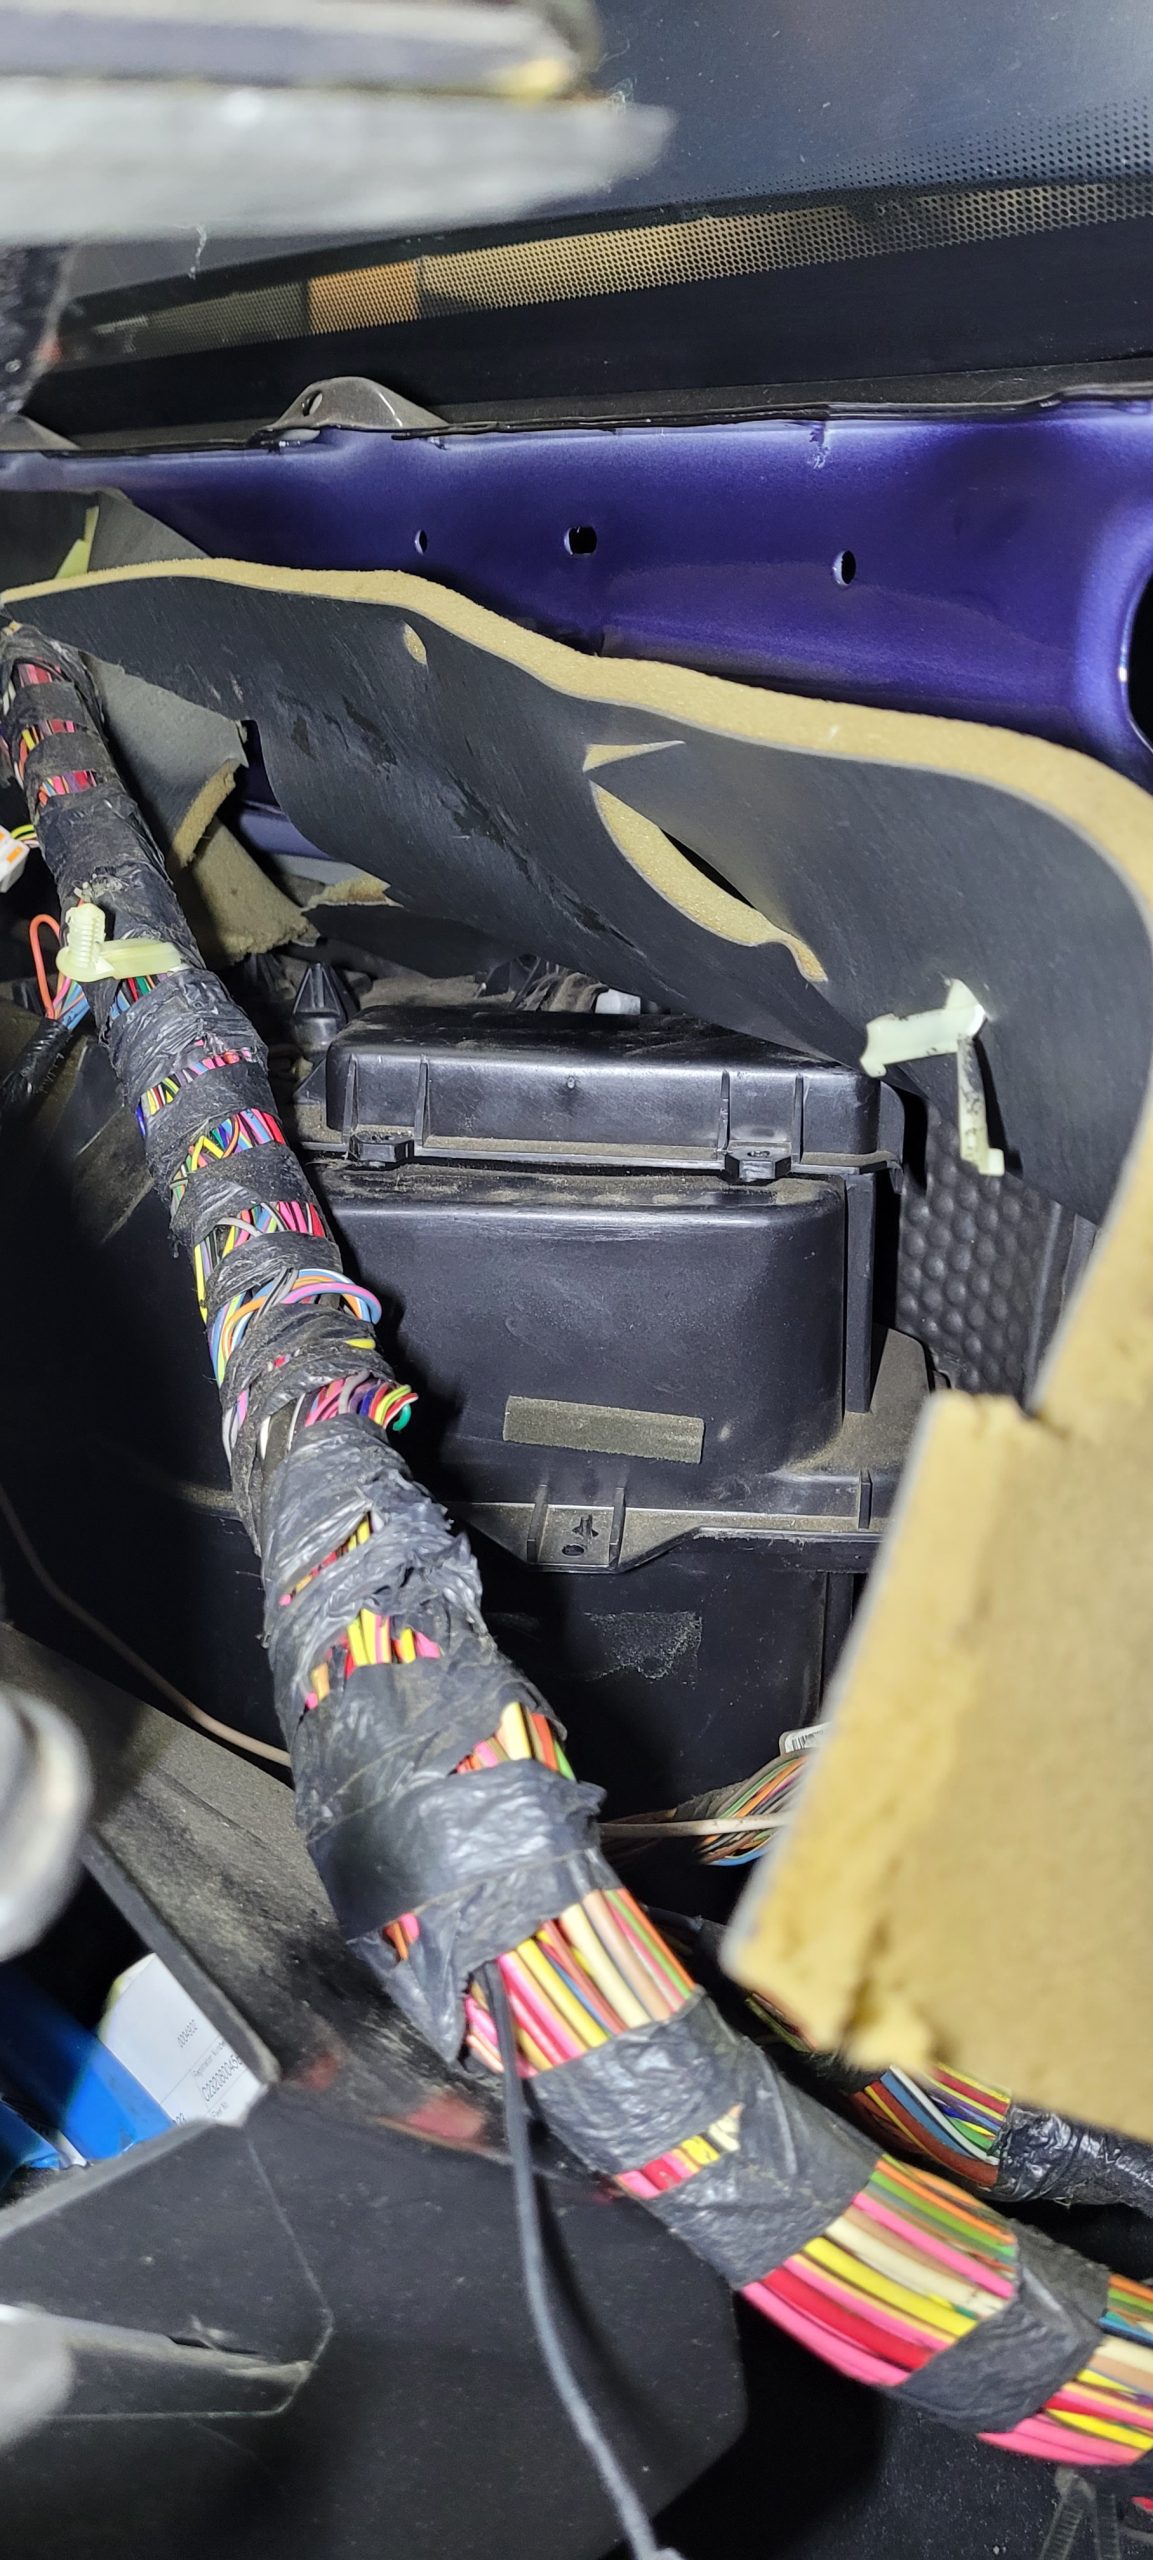
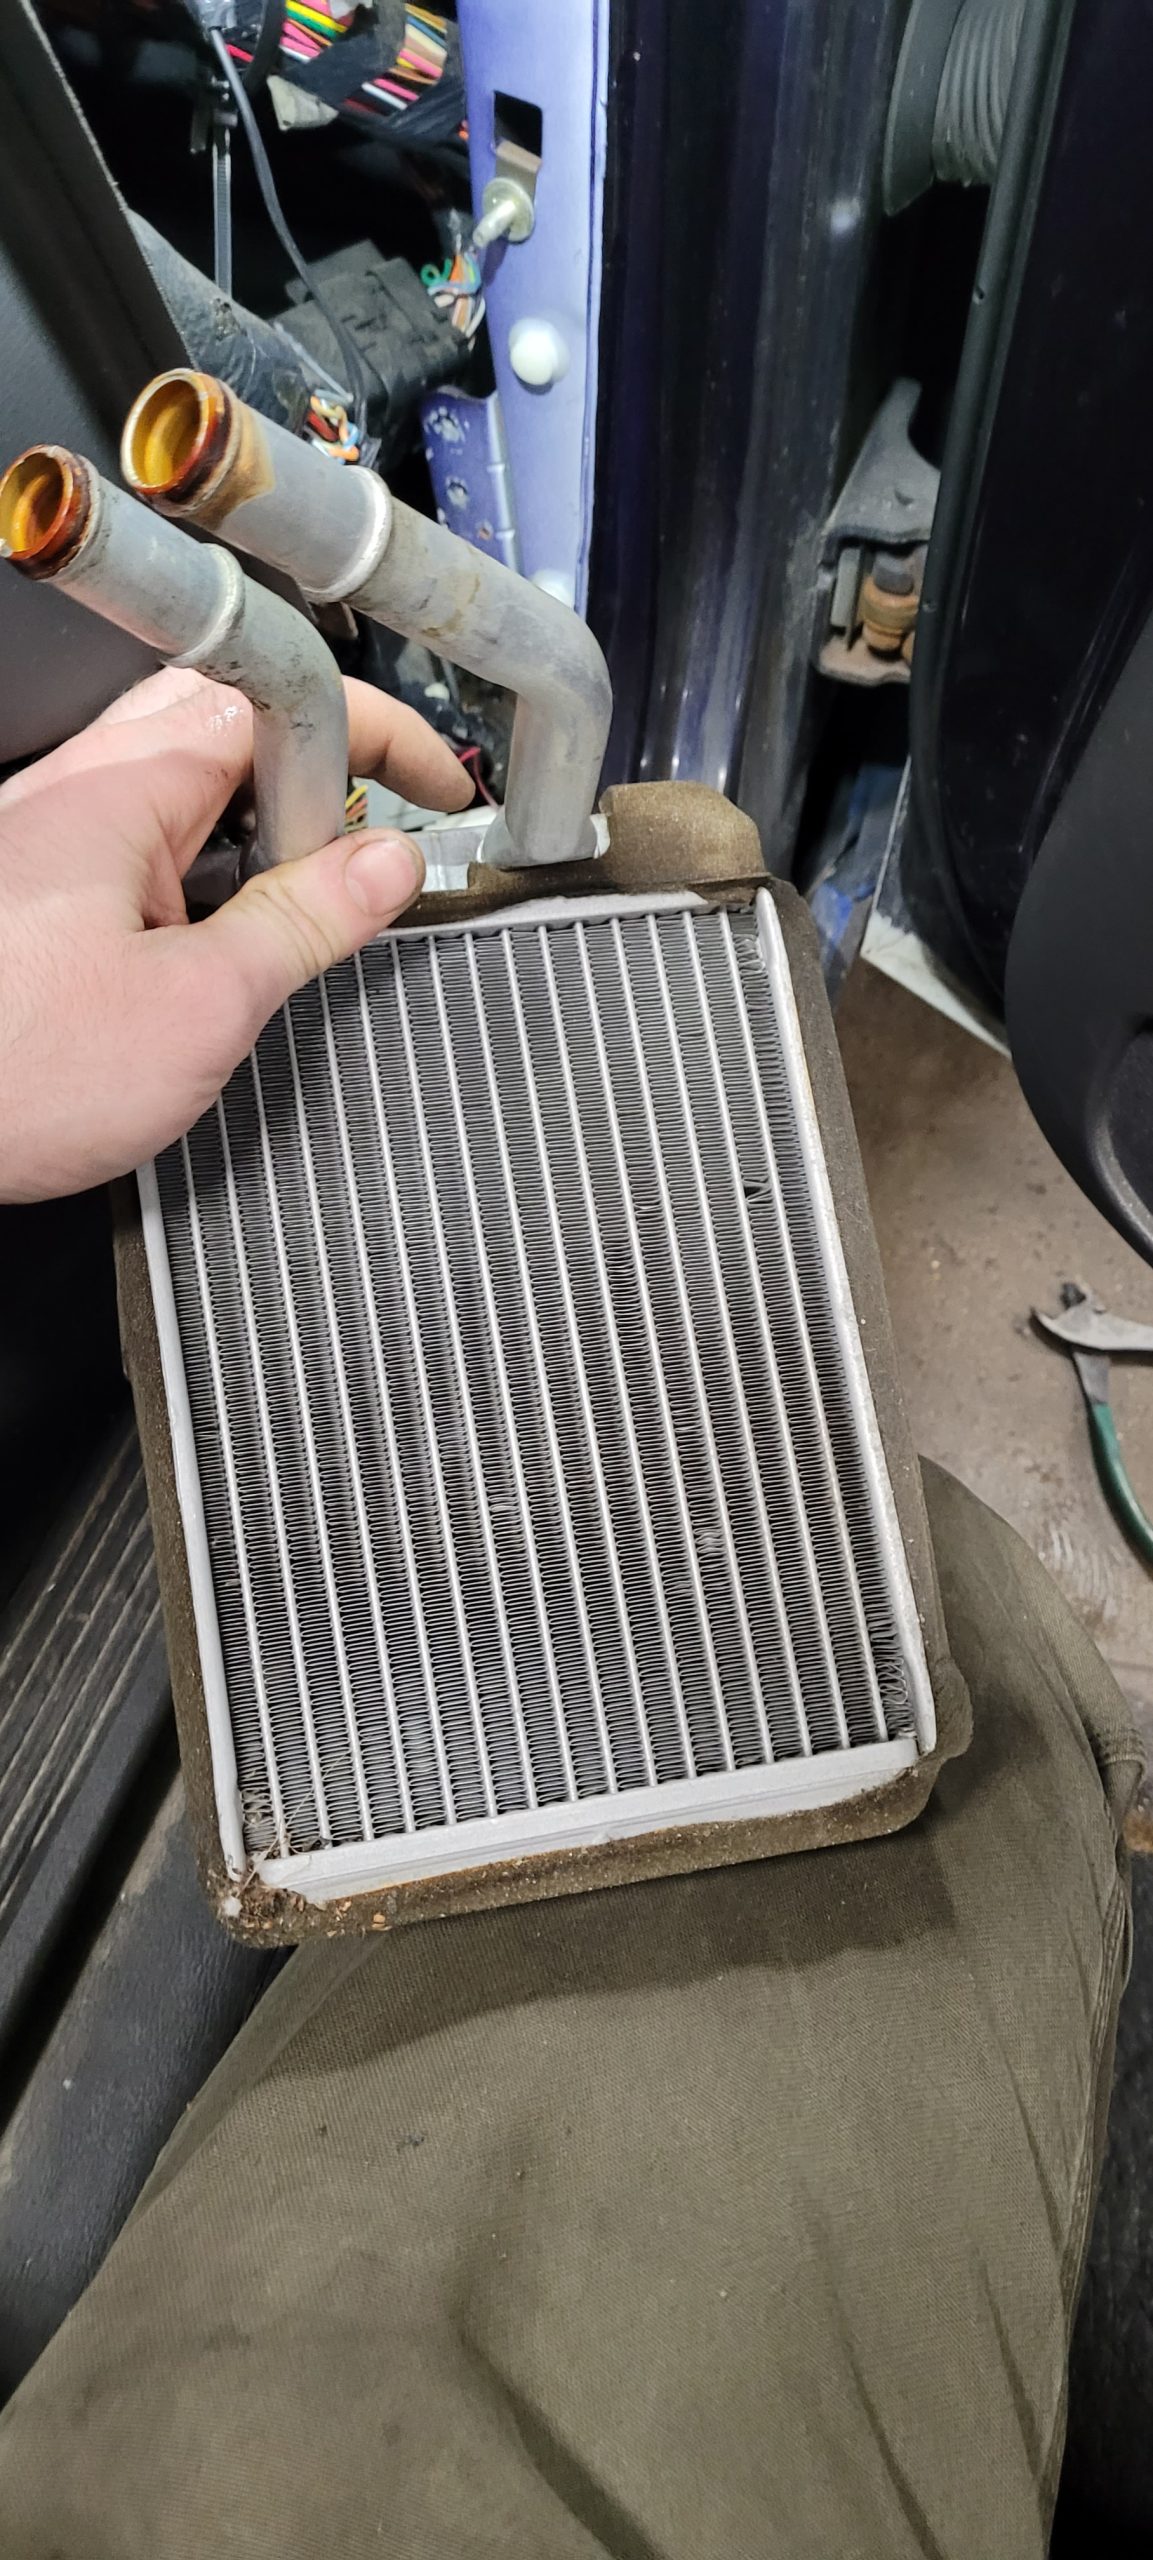
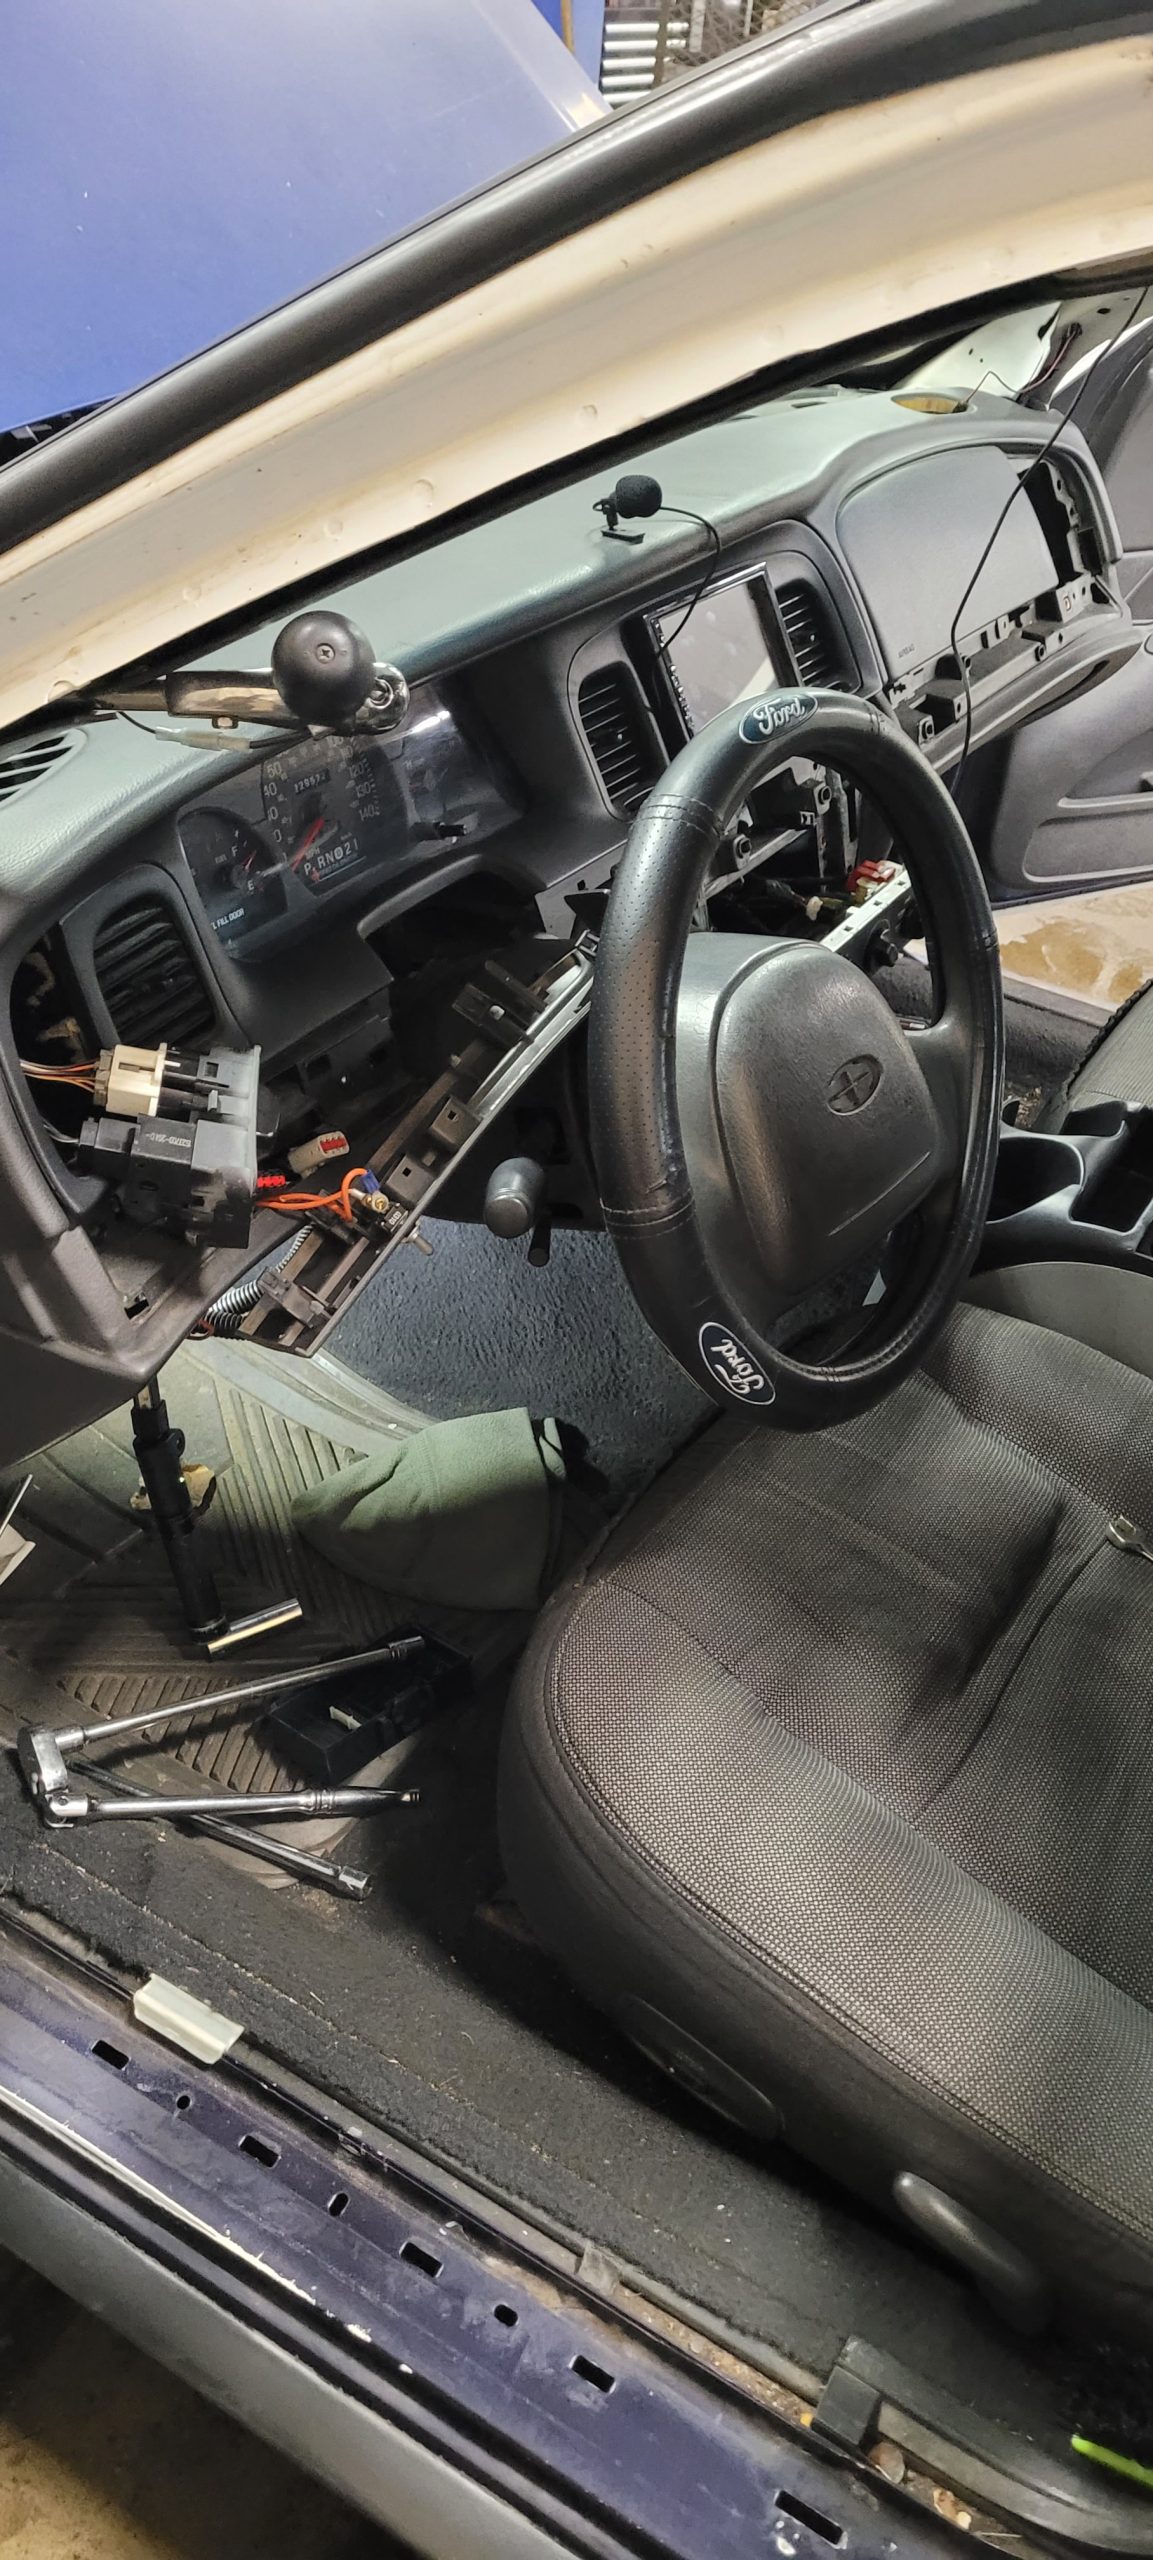
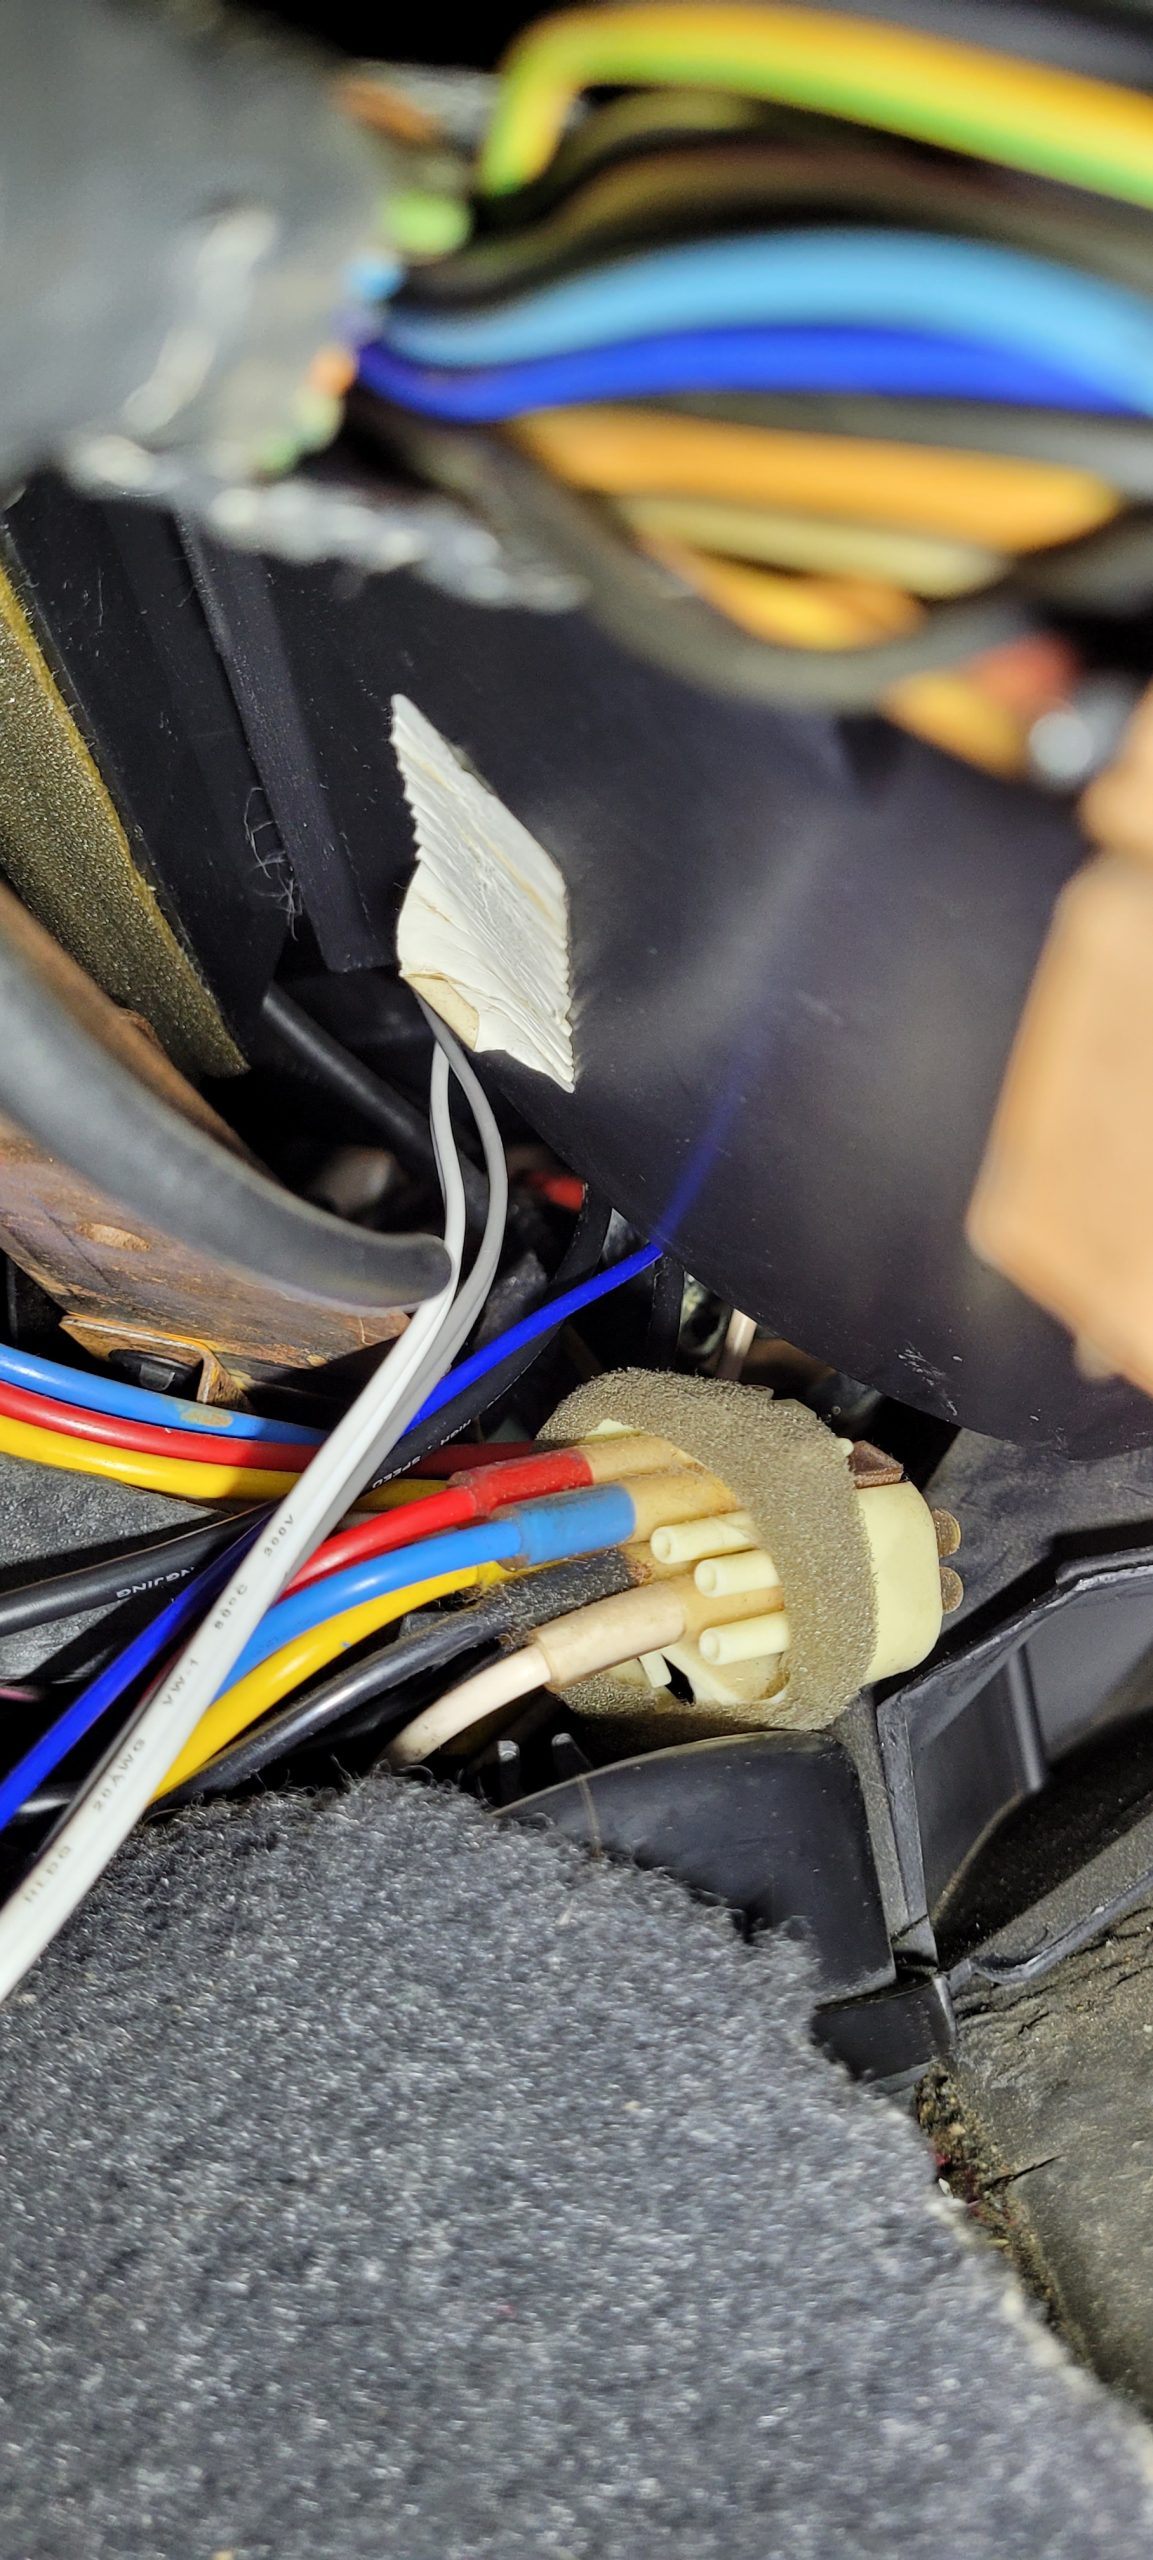
part number for the factory module for the VAPS (Variable Assist Power Steering.) Which also controls your air ride suspension in the rear (if equipped.) You would need to disconnect this module which is connected next to your blend door actuator. there are 4 8mm bolts that hold the blend door actuator in place. Though the 4th bolt is a PAIN to reach so you would need a ratchet small enough to reach back there. Technically you can break that rear bracket off and it will still hold in place when reinstalling it. the wiring harness is attached to the sound deadening material. I did have to make some cuts to mine to reach the blend door actuator and the 11mm nut that is a NIGHTMARE to reach by hand if you don’t have the proper tool to reach it. that 11mm nut holds the bracket in place for the heater core itself. What a BLOODY nightmare that was, thanks ford >:( There is 3 or 4, 8 or 11mm bolts that hold the top of the heater core down. The real struggle is moving the blend door itself far enough back to get the heater core lines to clear the body. It’s a really tight fit. before I forget, there are 2 10mm nuts that hold the blend door in place. There is also 2 metal retaining clips that you need to remove, in order to free the blend door to access the heater core.picture of the OEM heater core itself. Forgot to take a picture of the replacement core itself how the Vic should look like once everything is removed Once the core is replaced, just do the reverse and reassemble the dash back together! though easier said then done since it was a BITCH to get the heater core lines back in its position. Did forget to mention that to remove the heater core, you would need to push the lines inward from the engine bay since it wouldn’t budge from the inside.
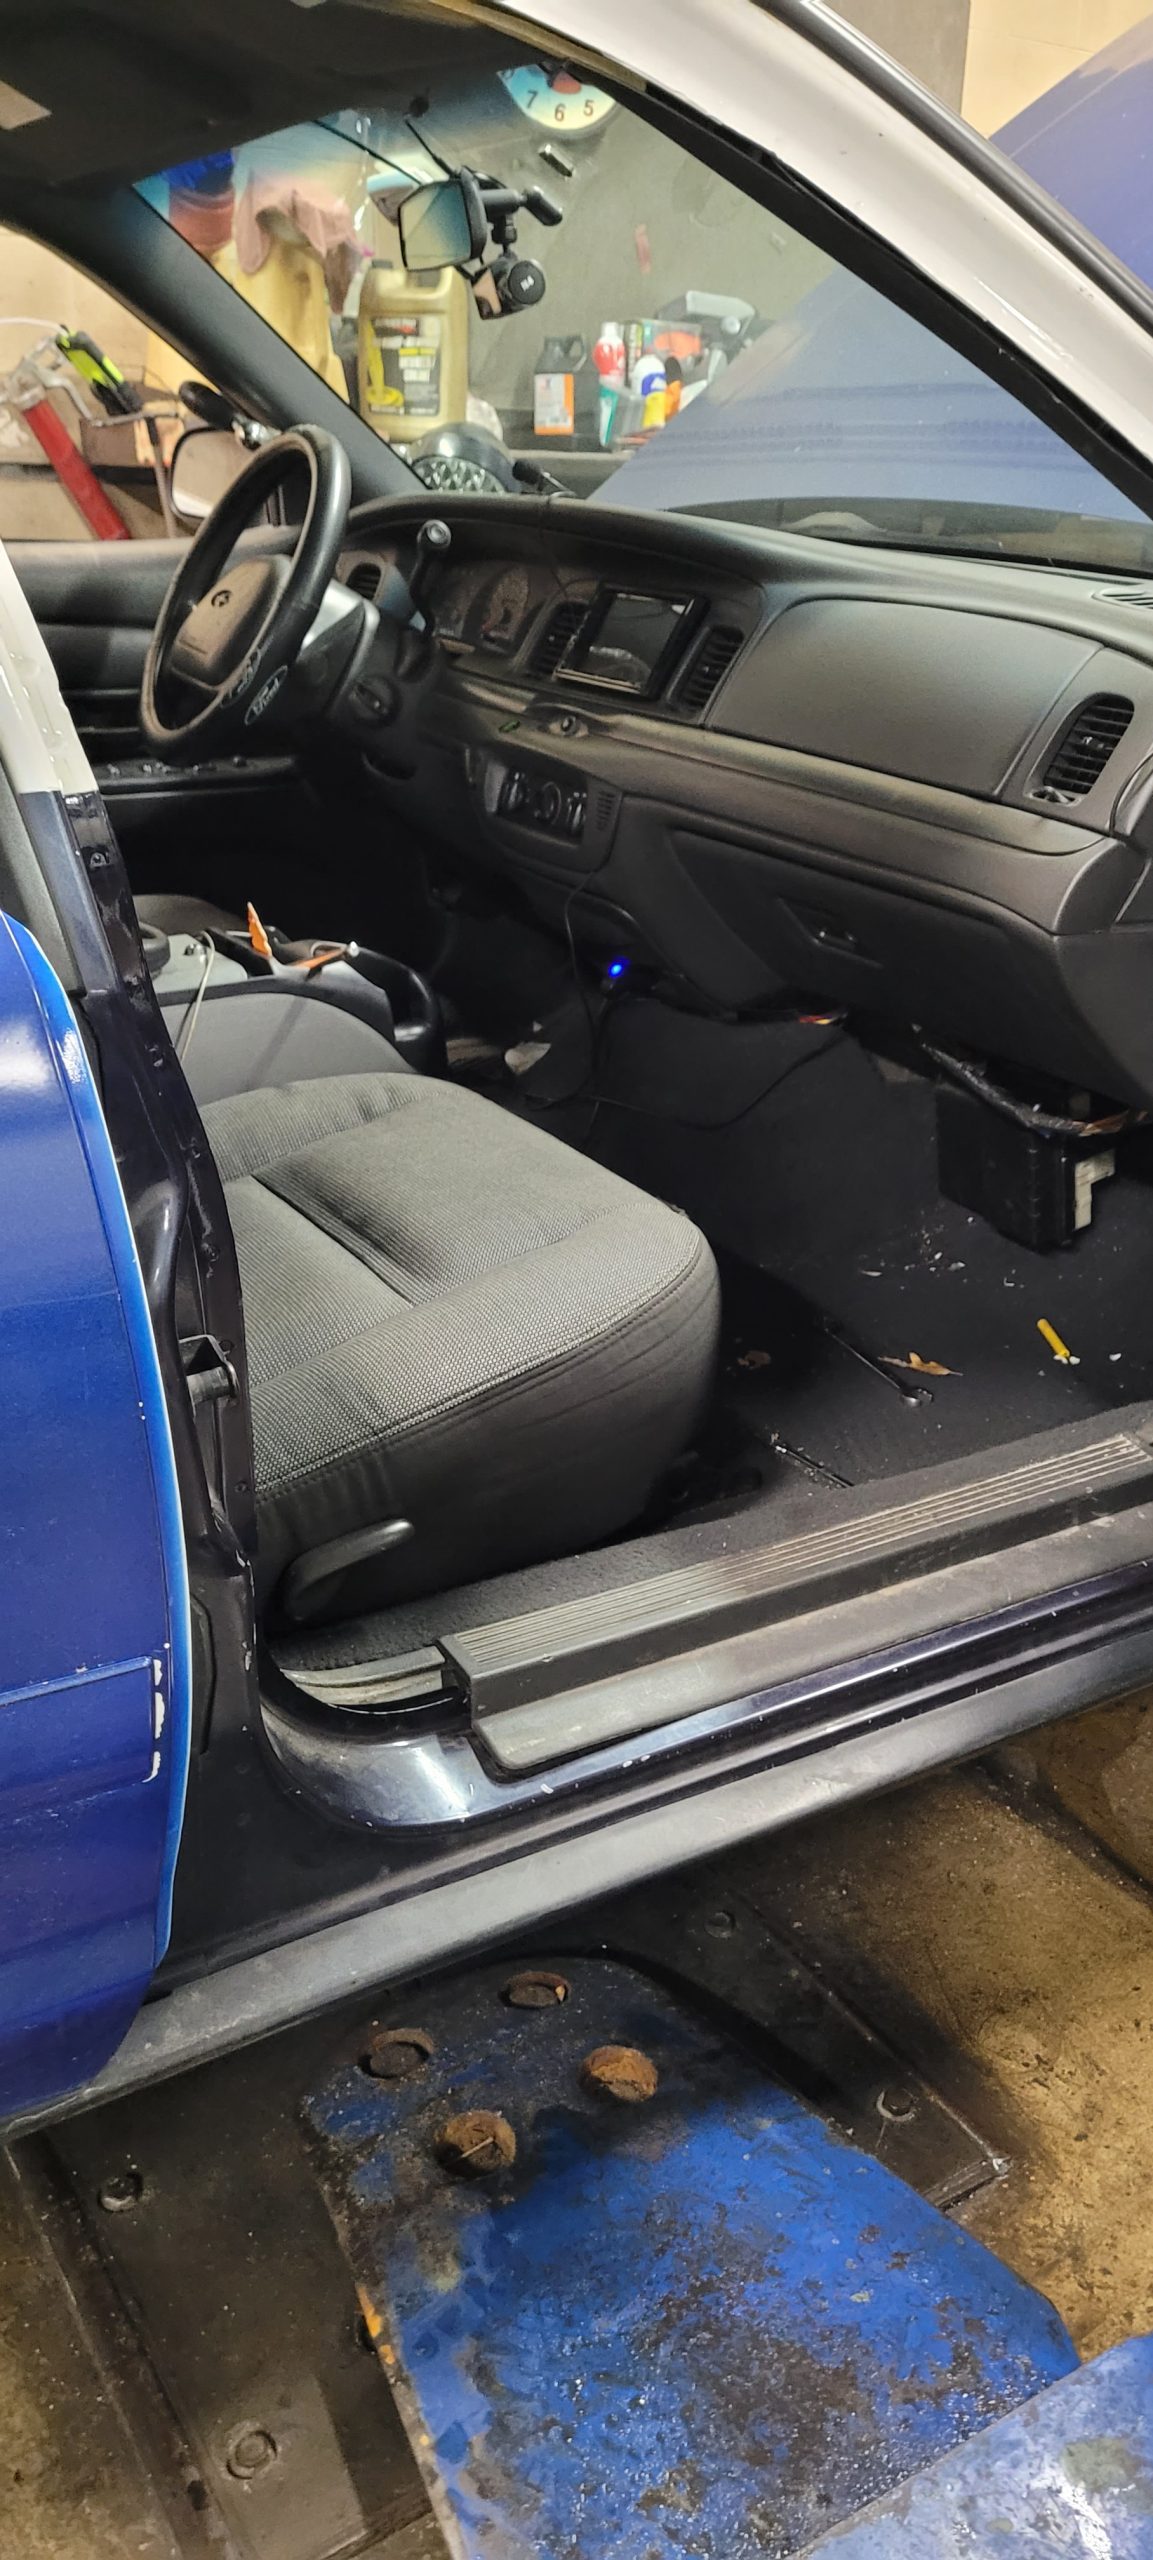
overall, I was able to do this in a single night to get it all back together just in time for dinner. the next day I had to add coolant to system to burp out the air pockets. Thankfully my coworker had a vacuum fill tool that put the system under a vacuum to suck out all the old coolant and fill it up with fresh coolant. This was done during the new year holiday break.
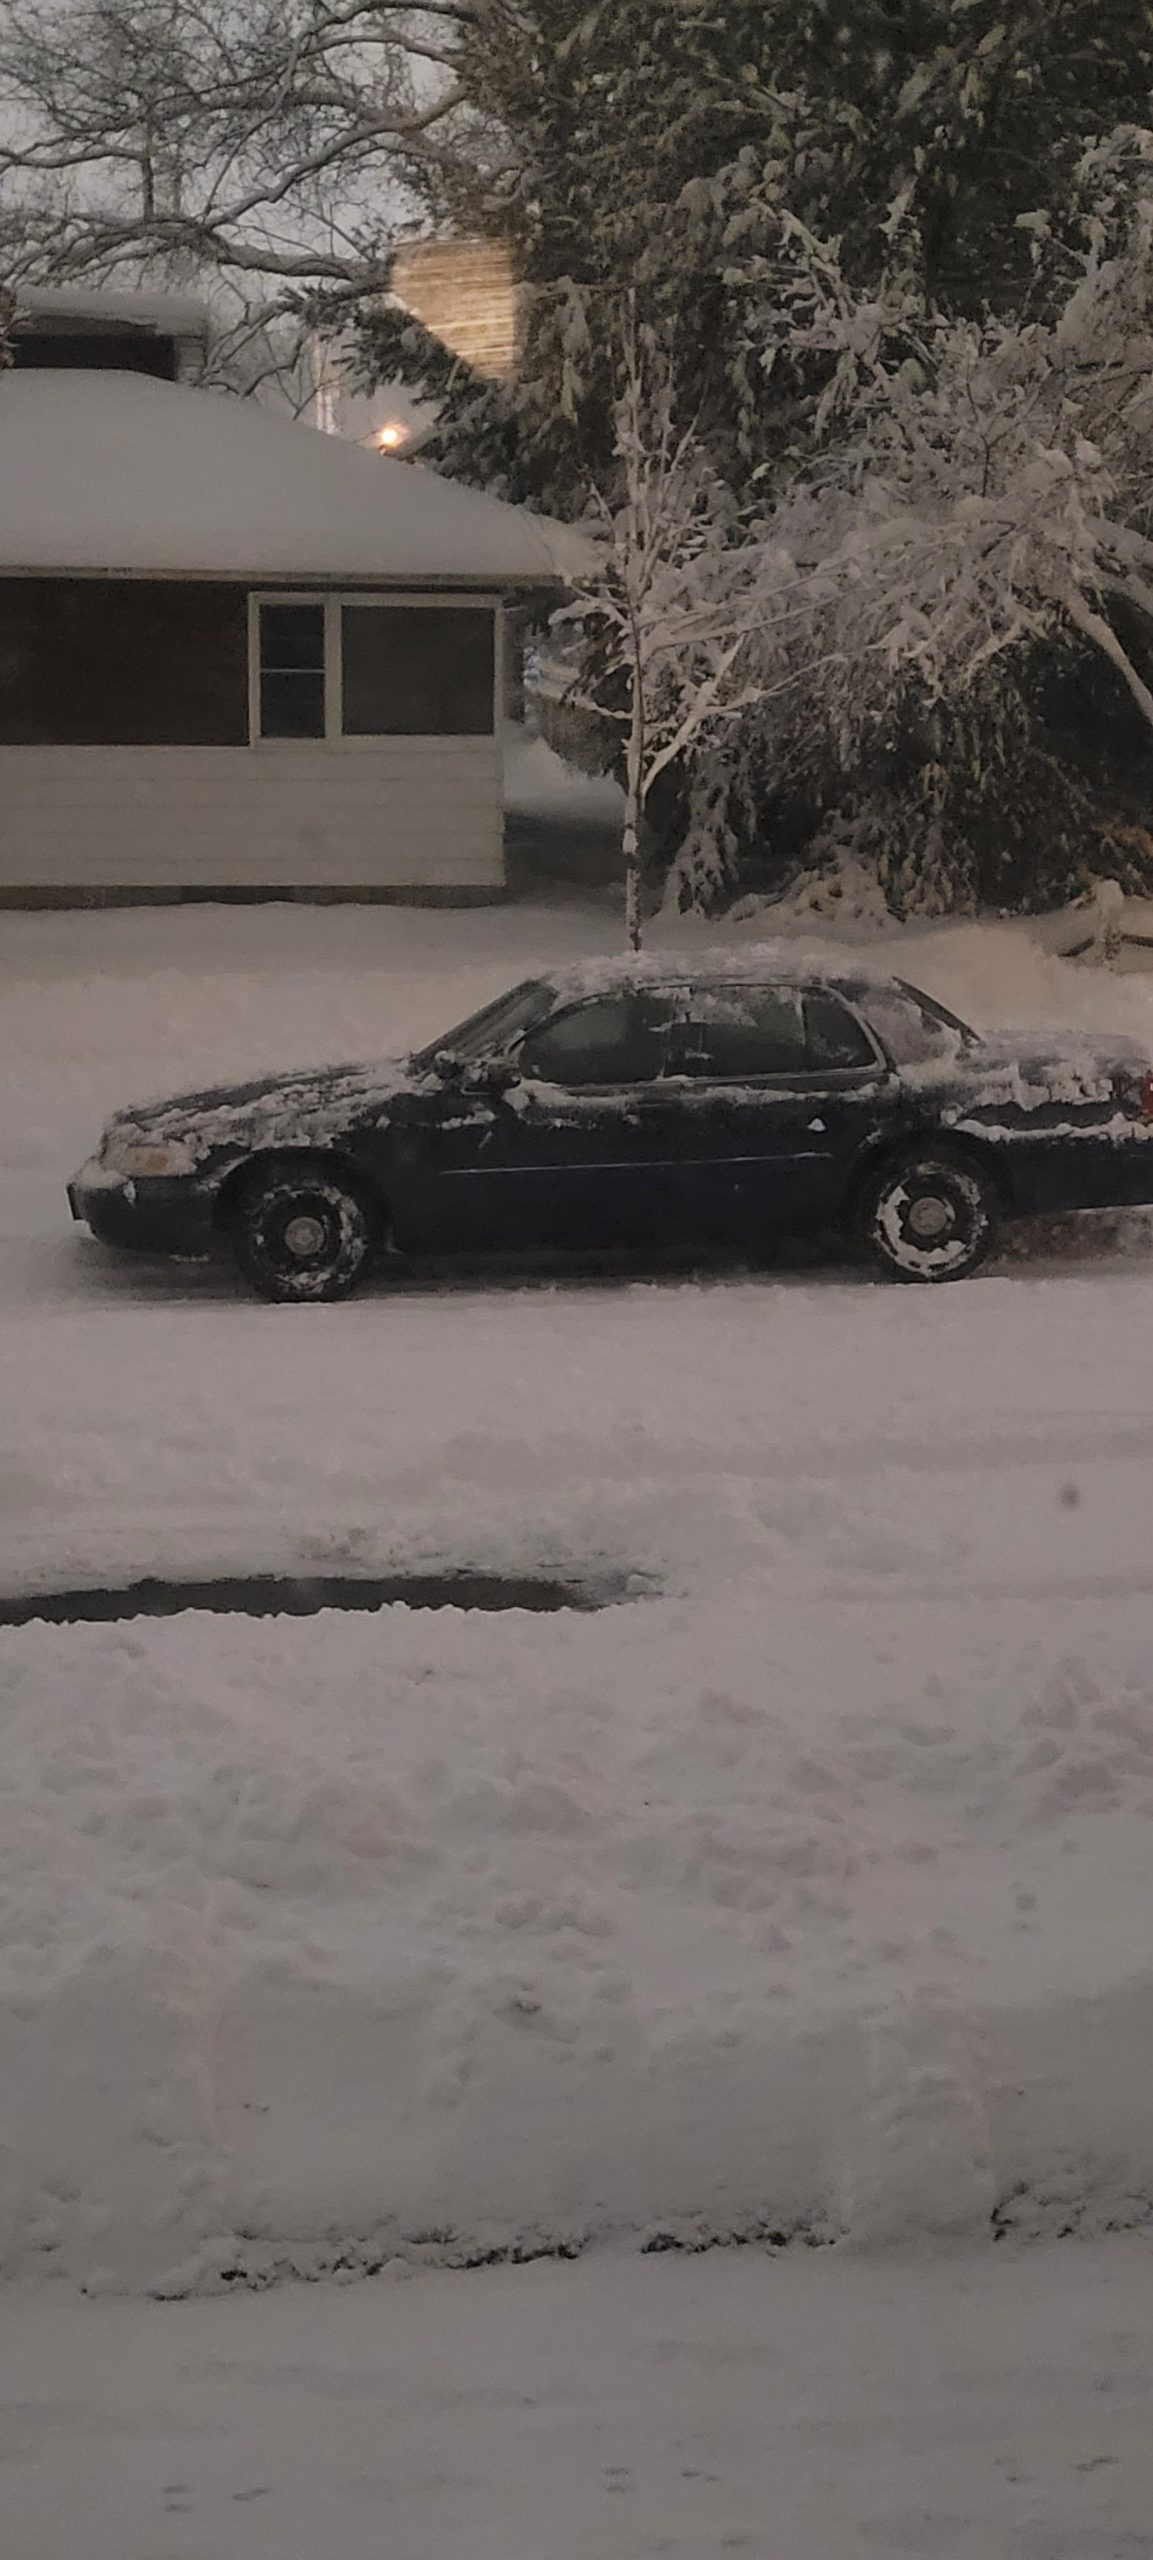
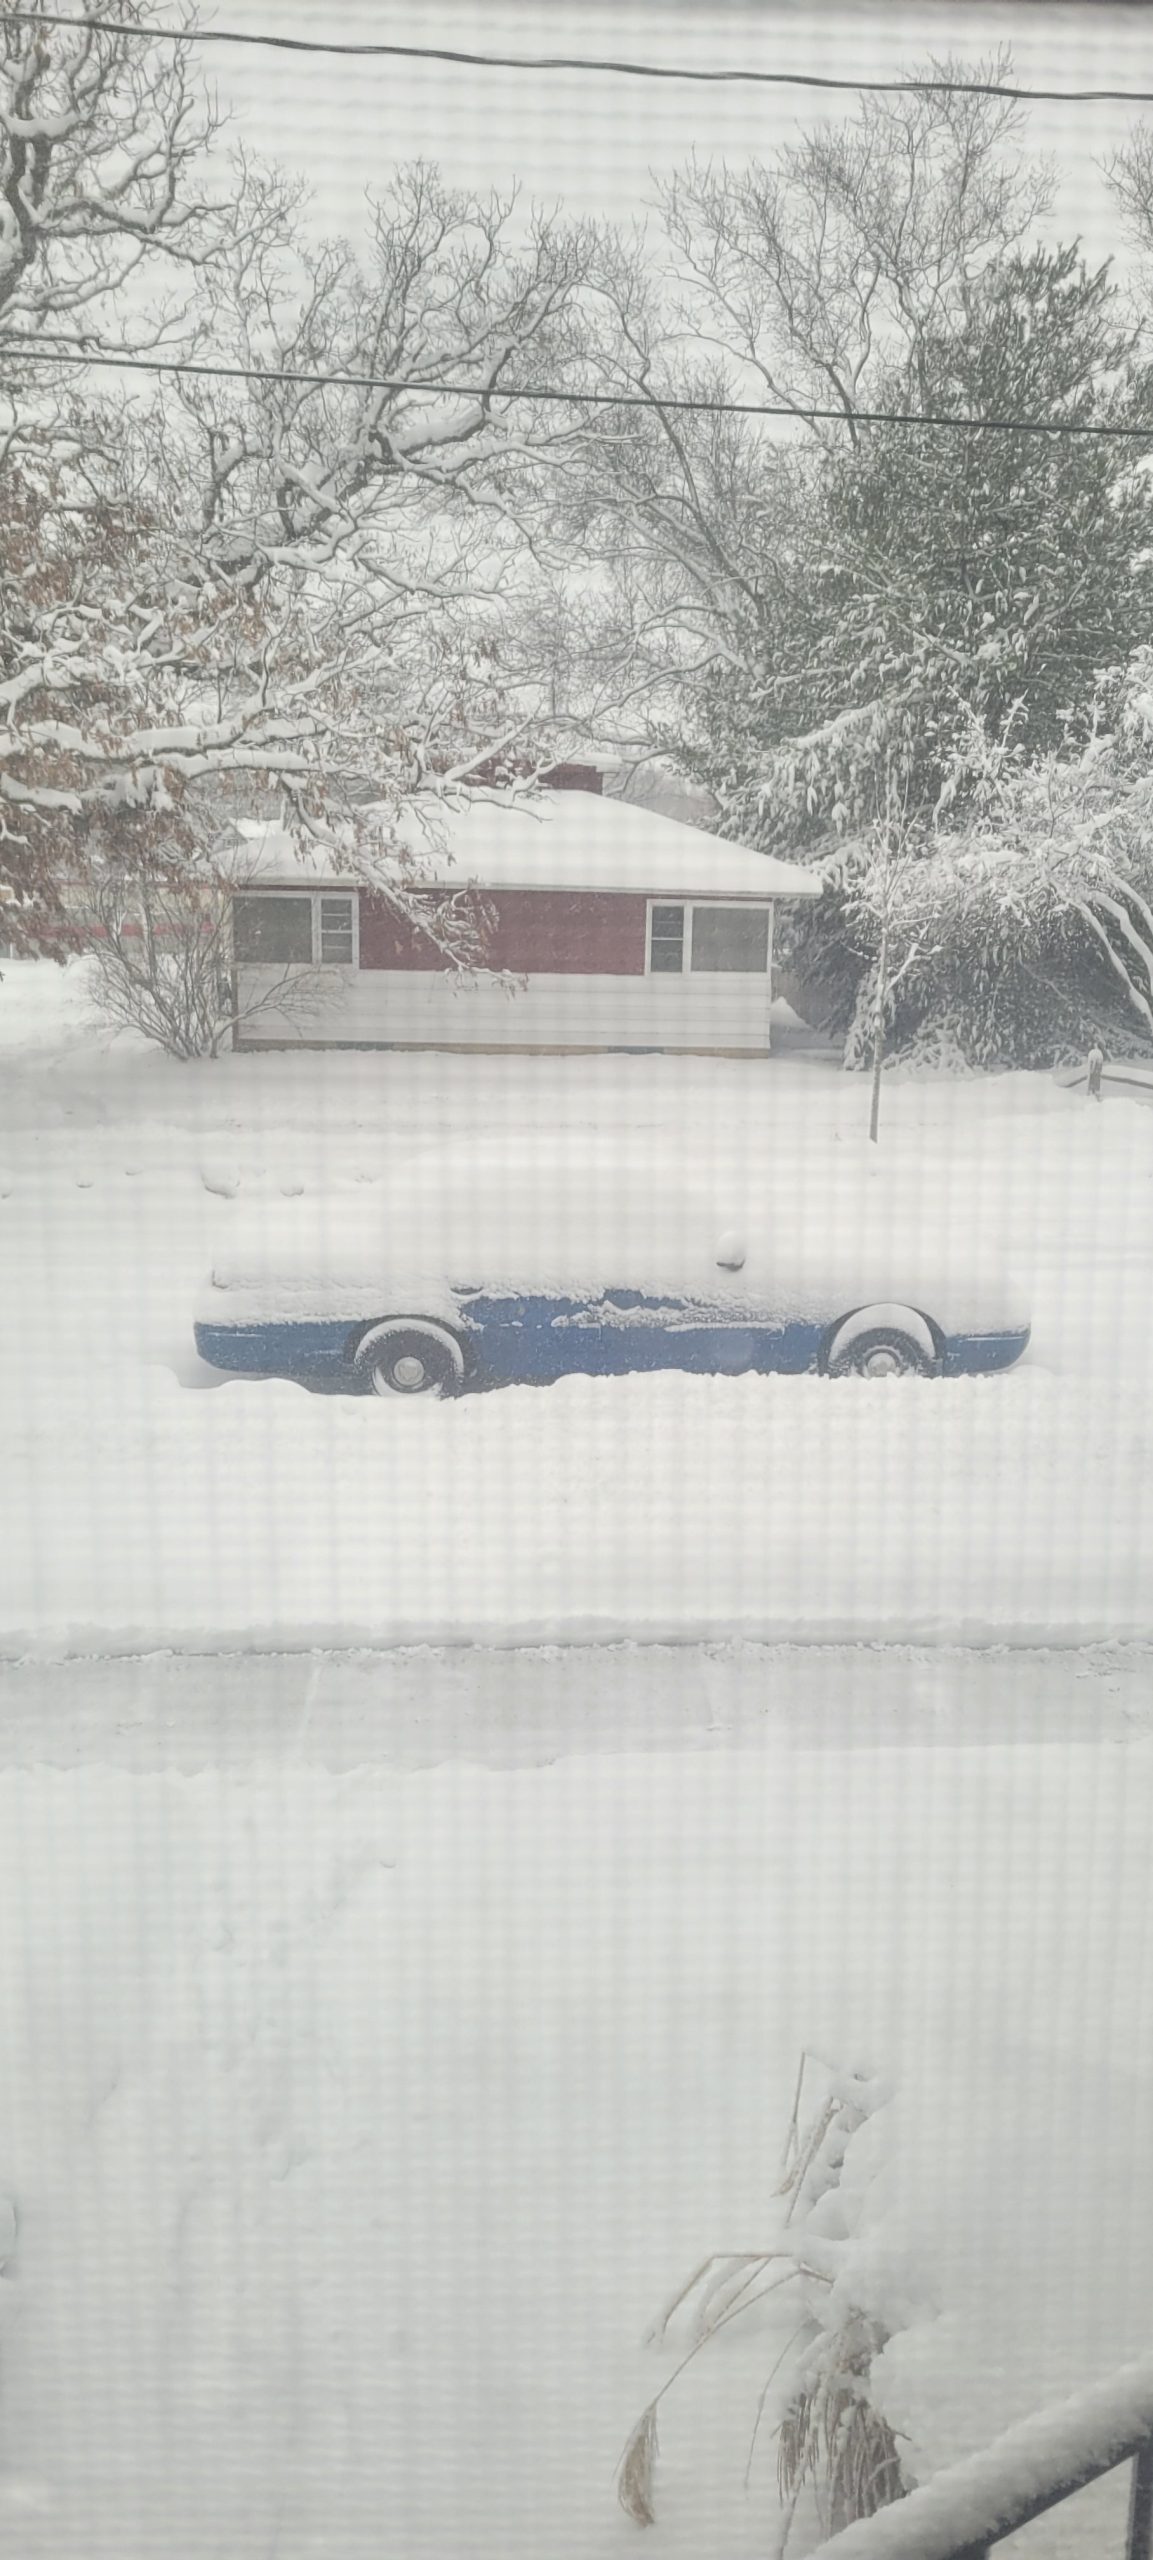
Now onto the Subwoofer install!
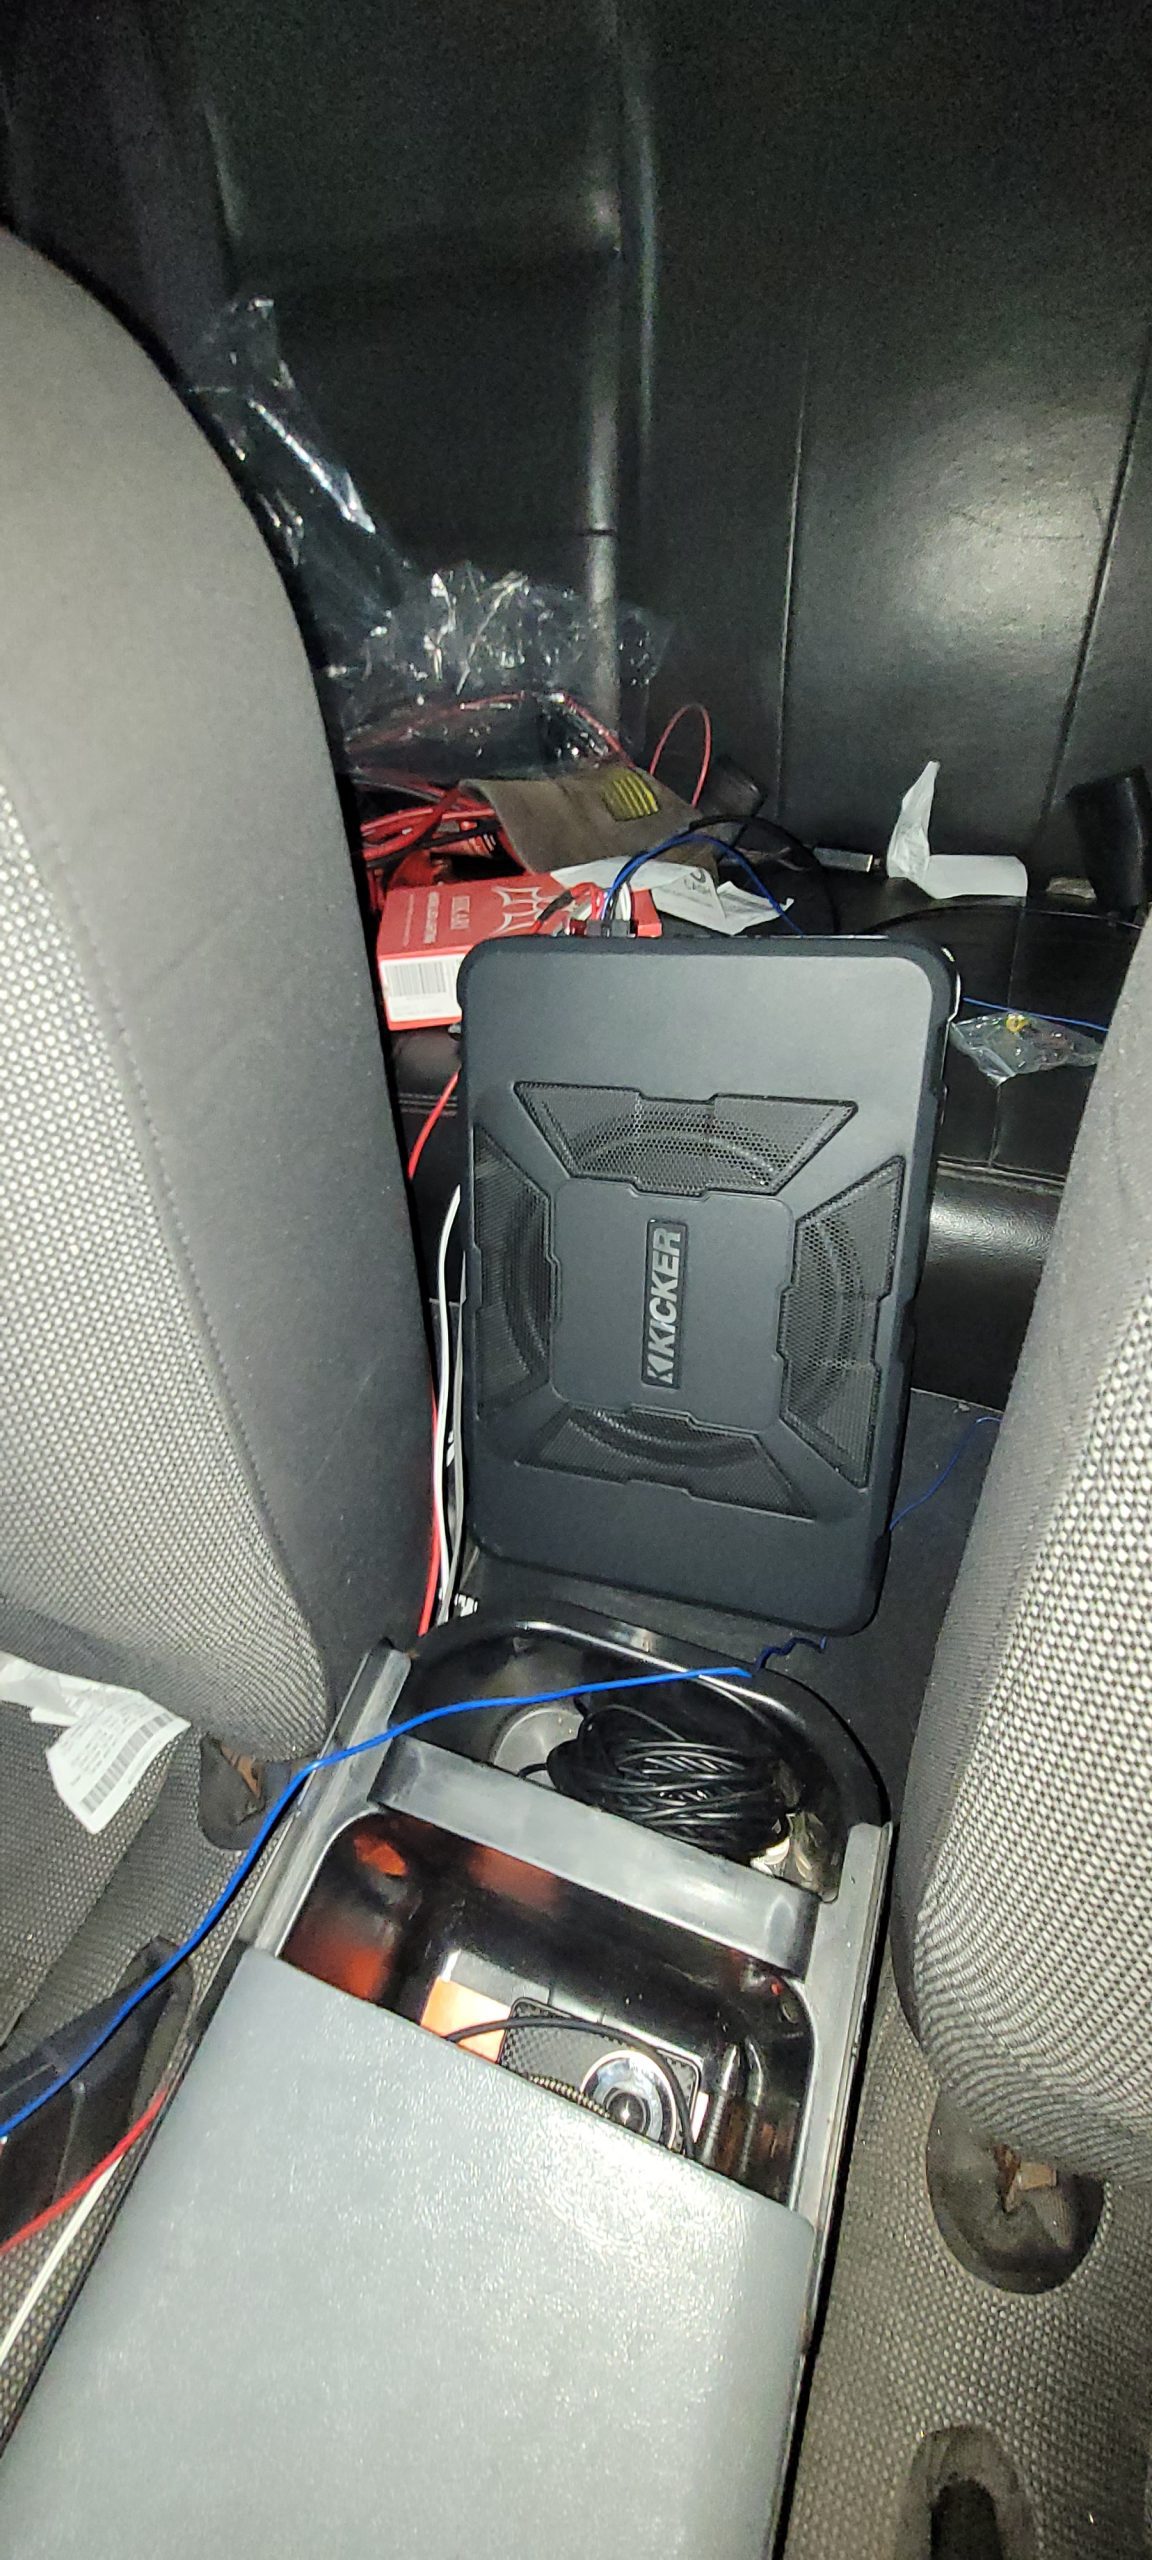
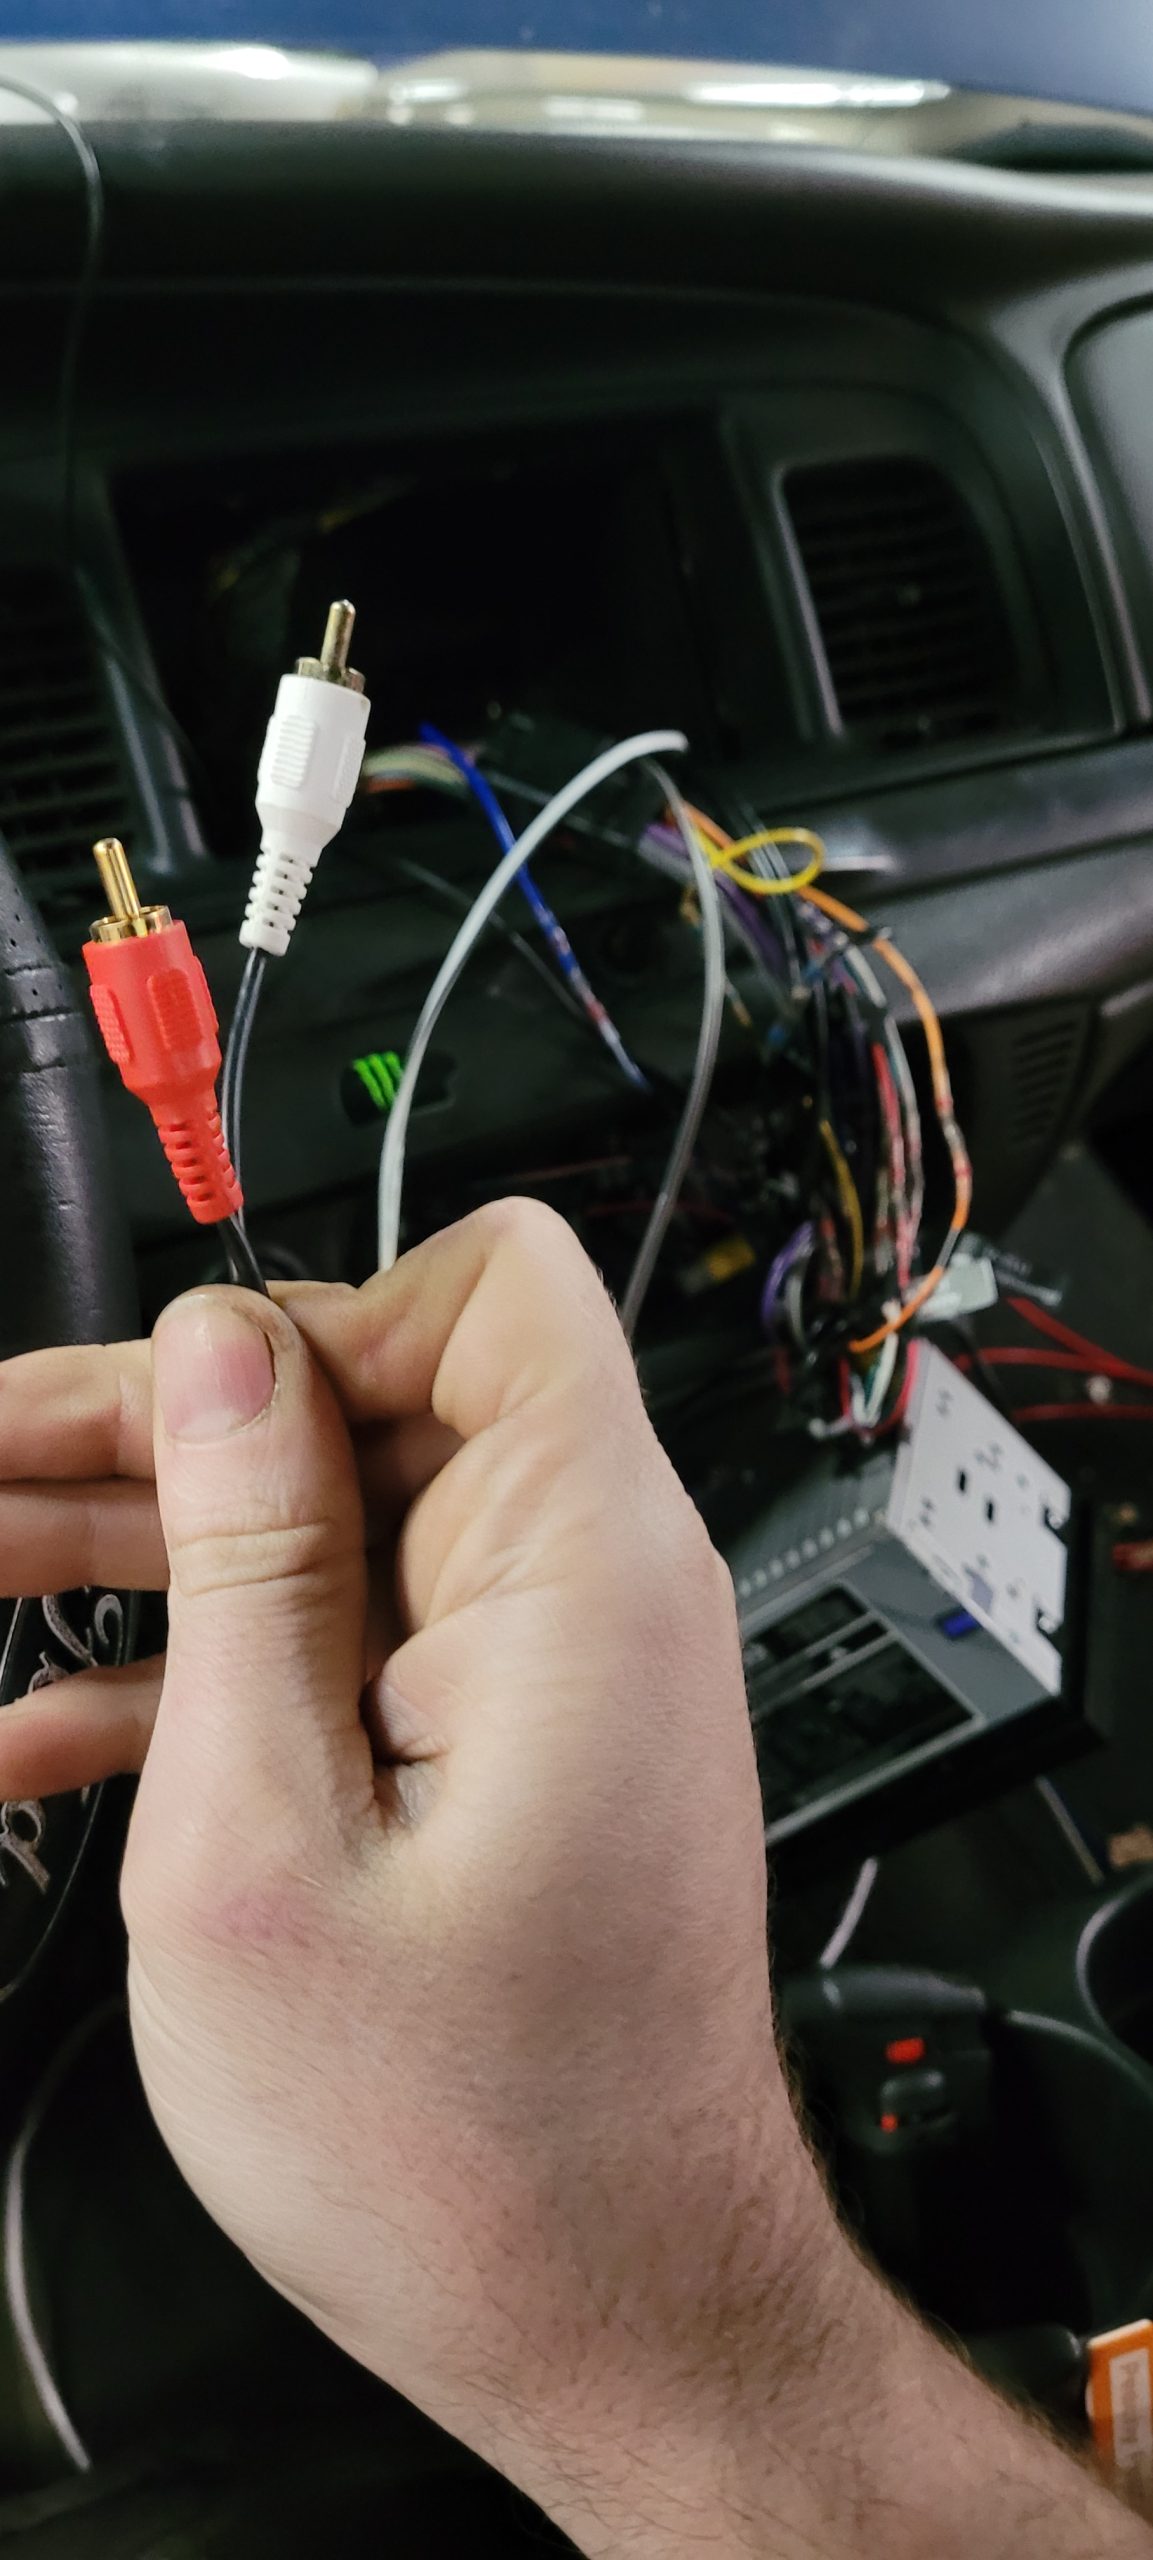
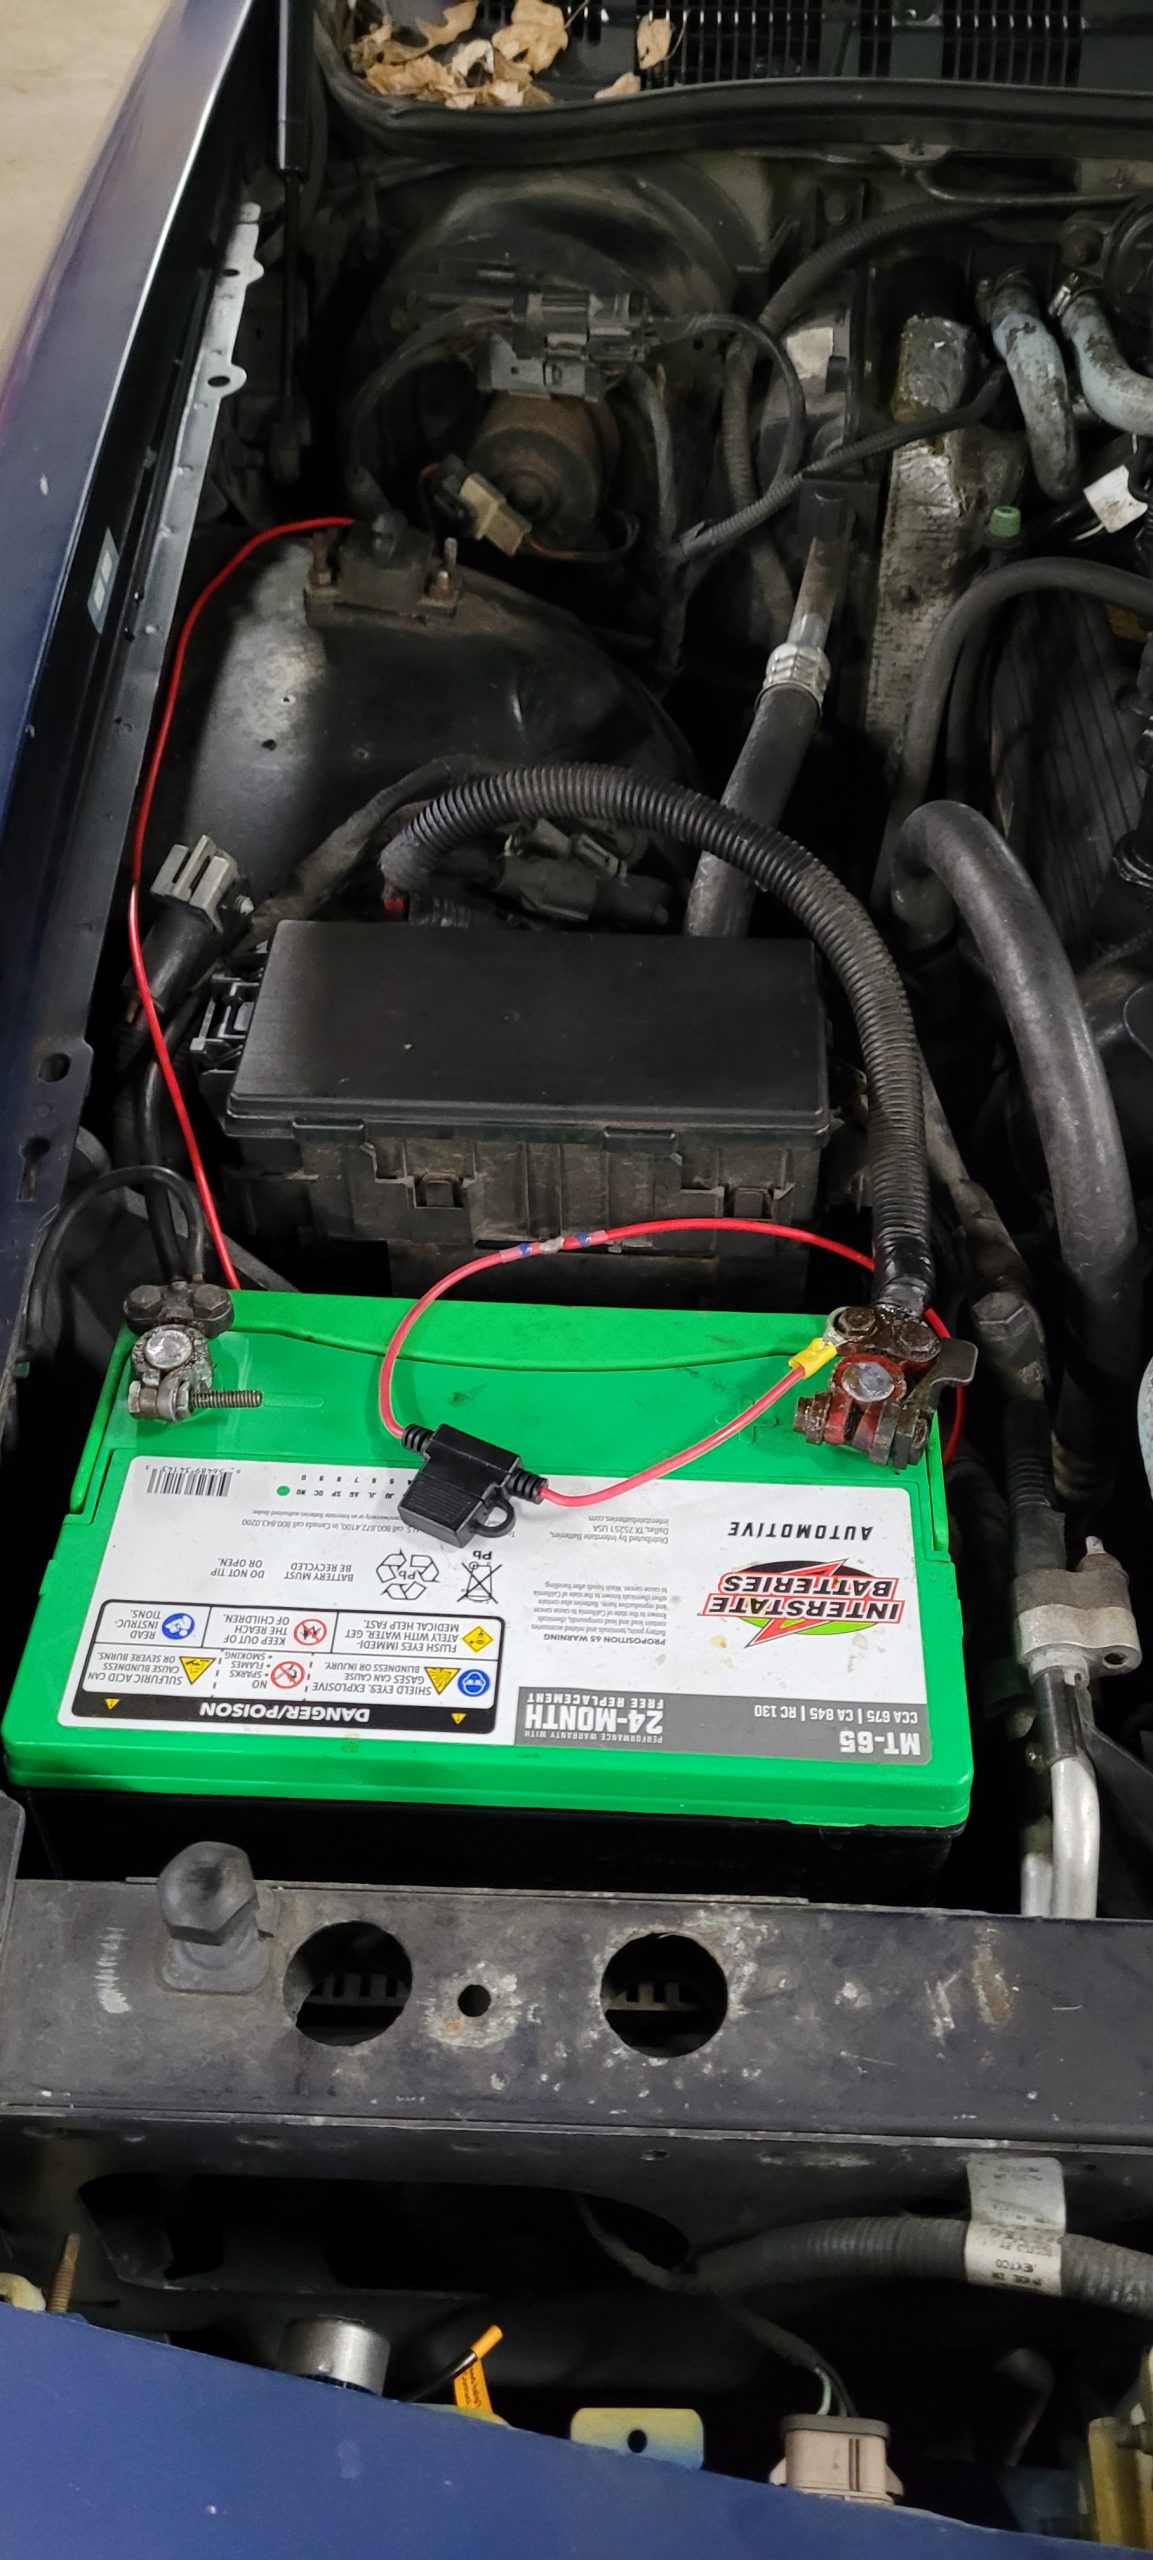
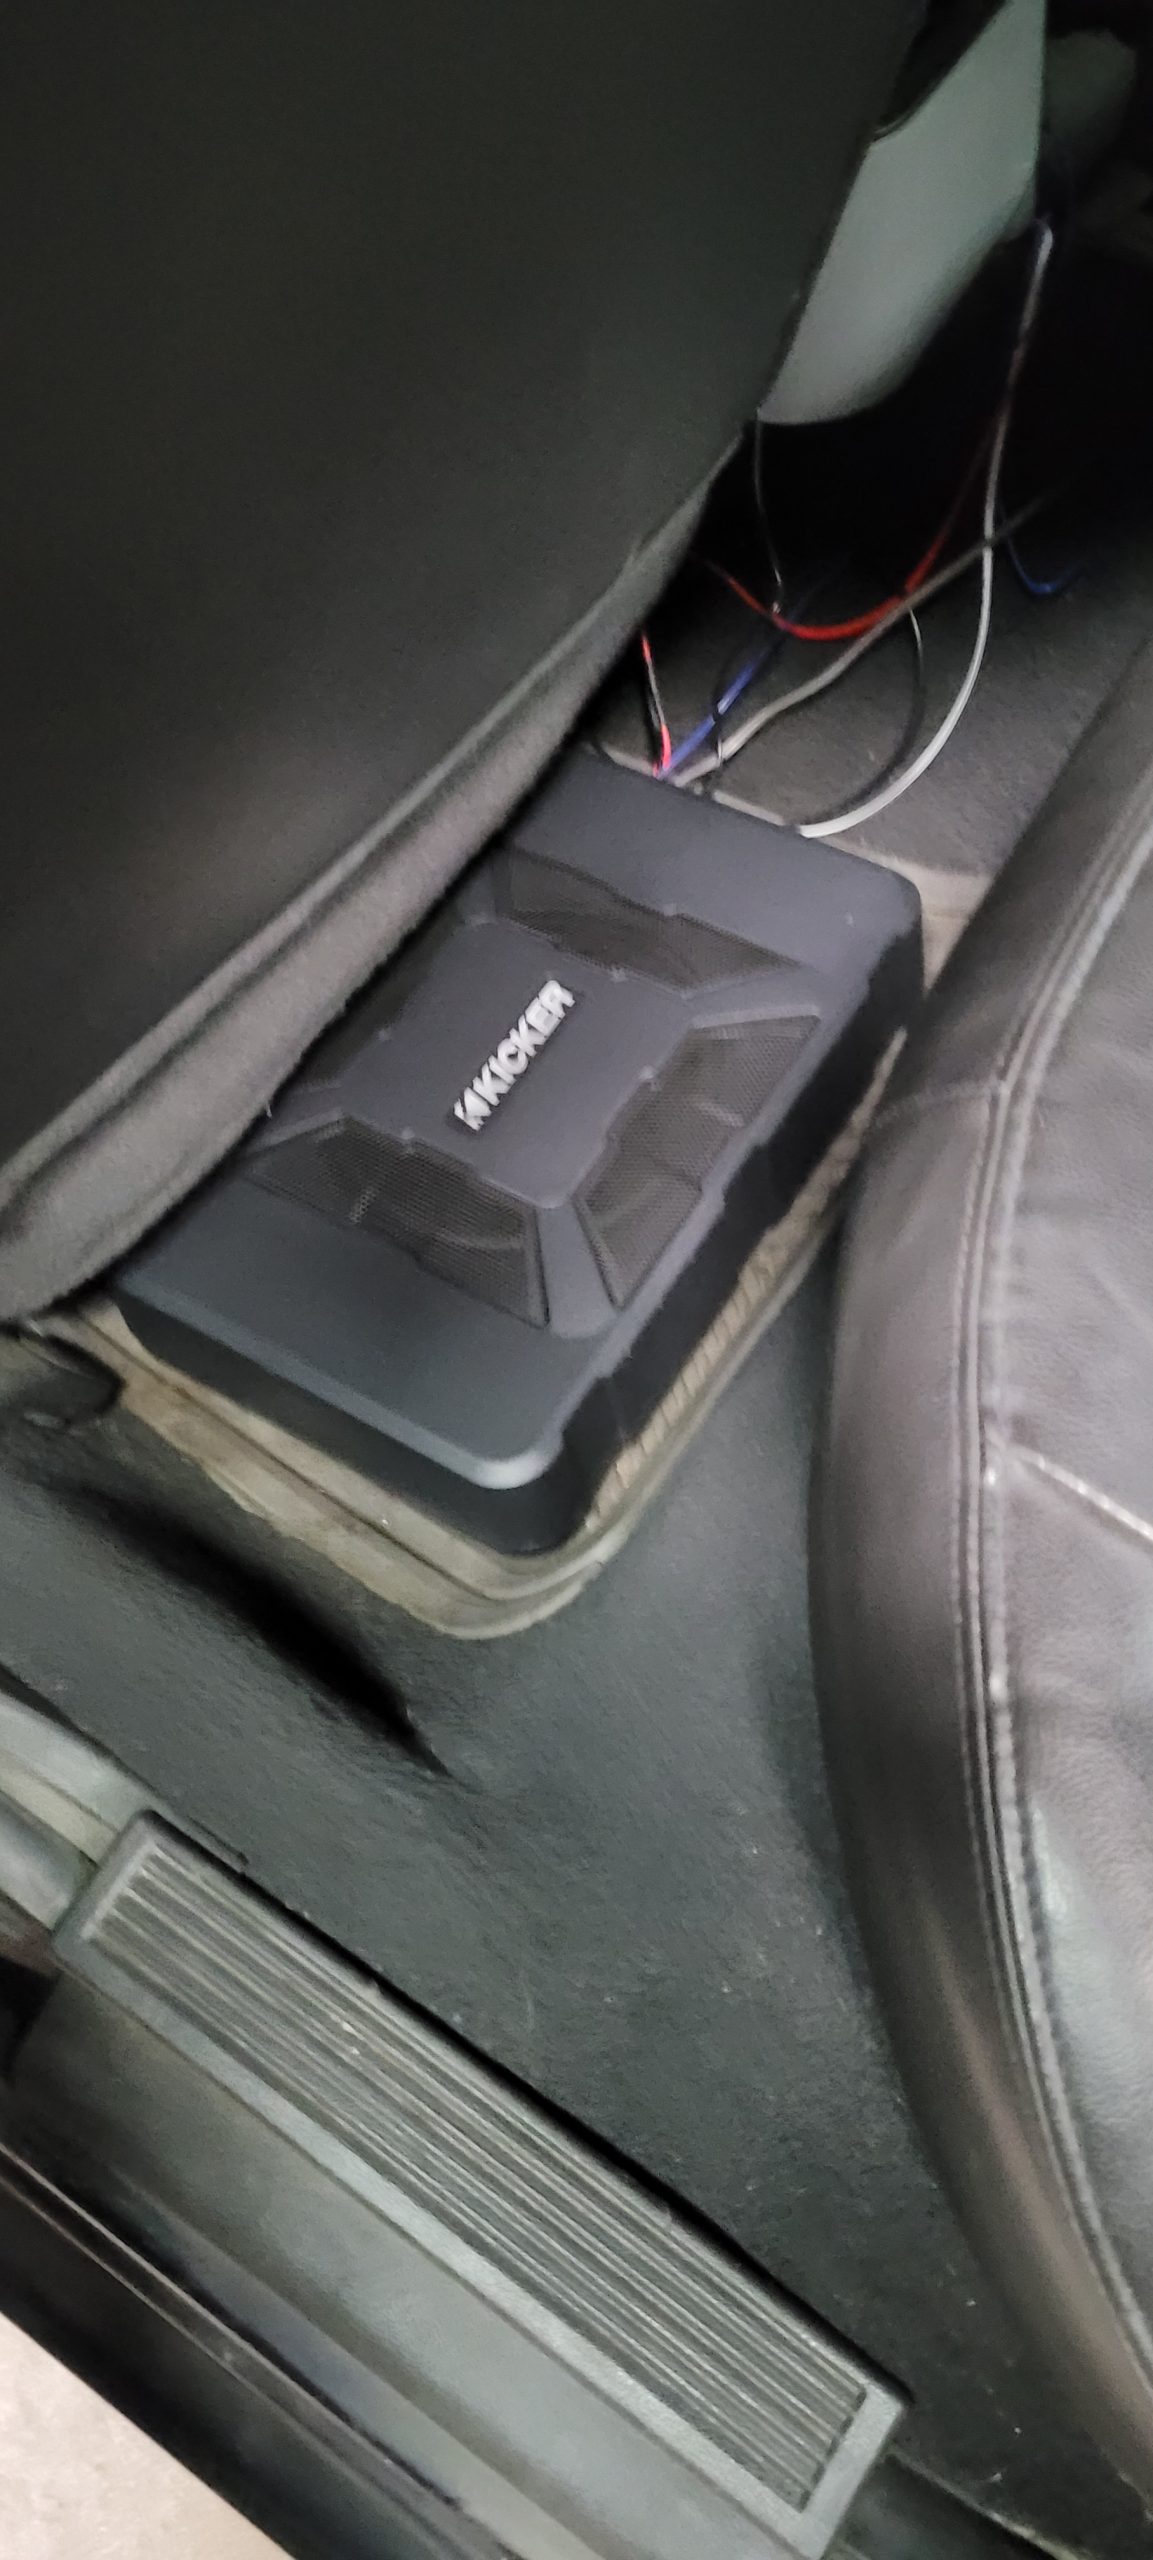
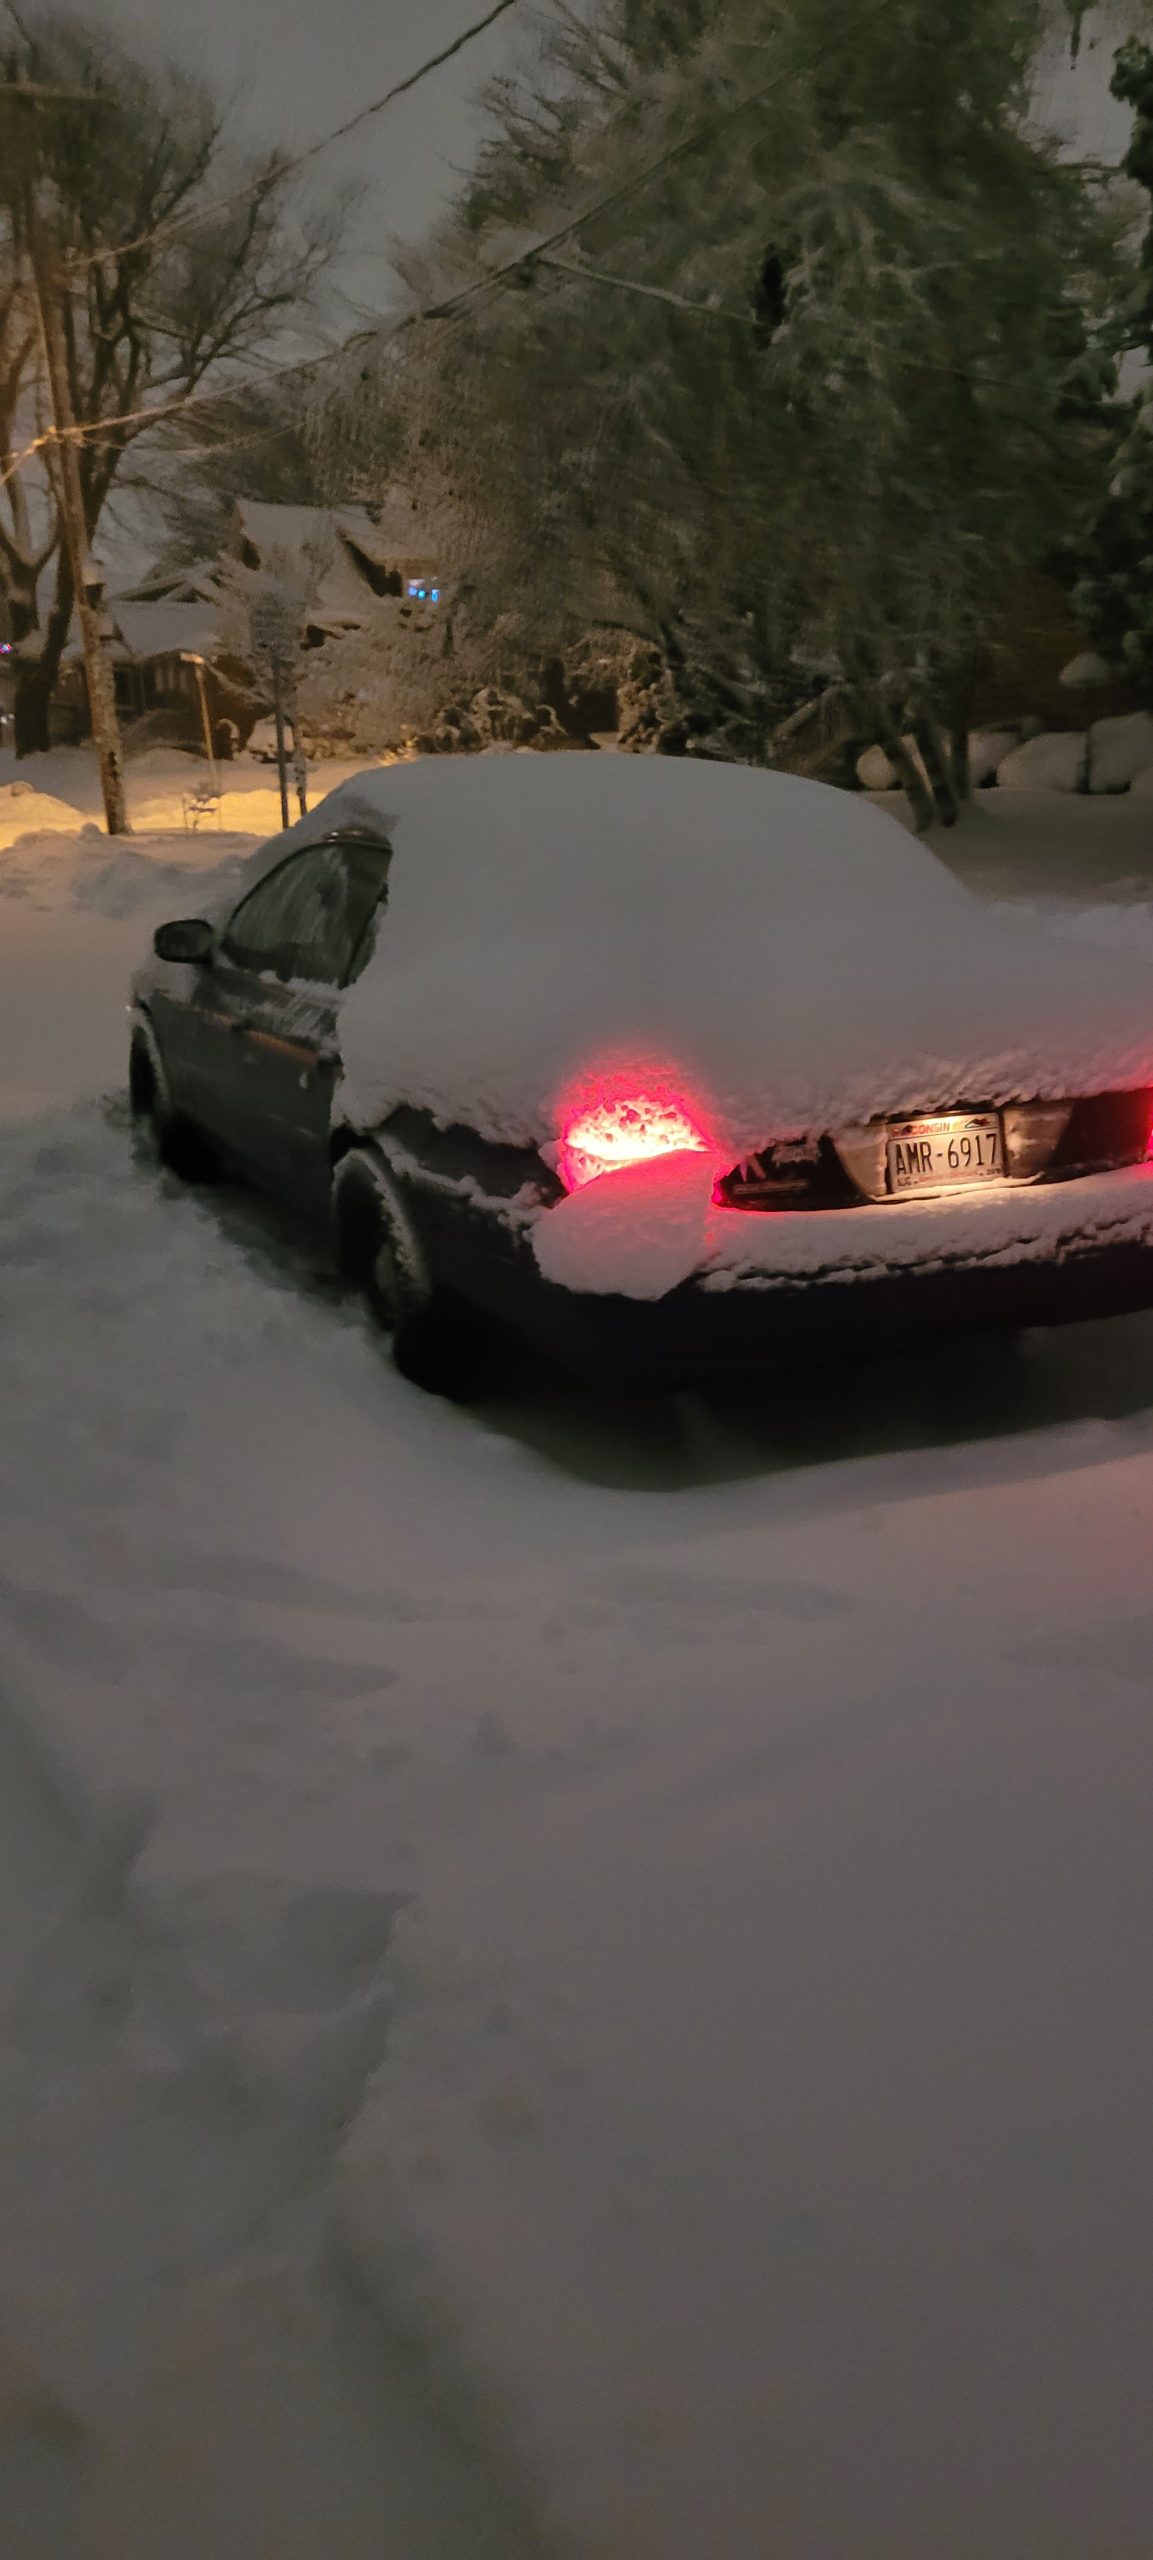
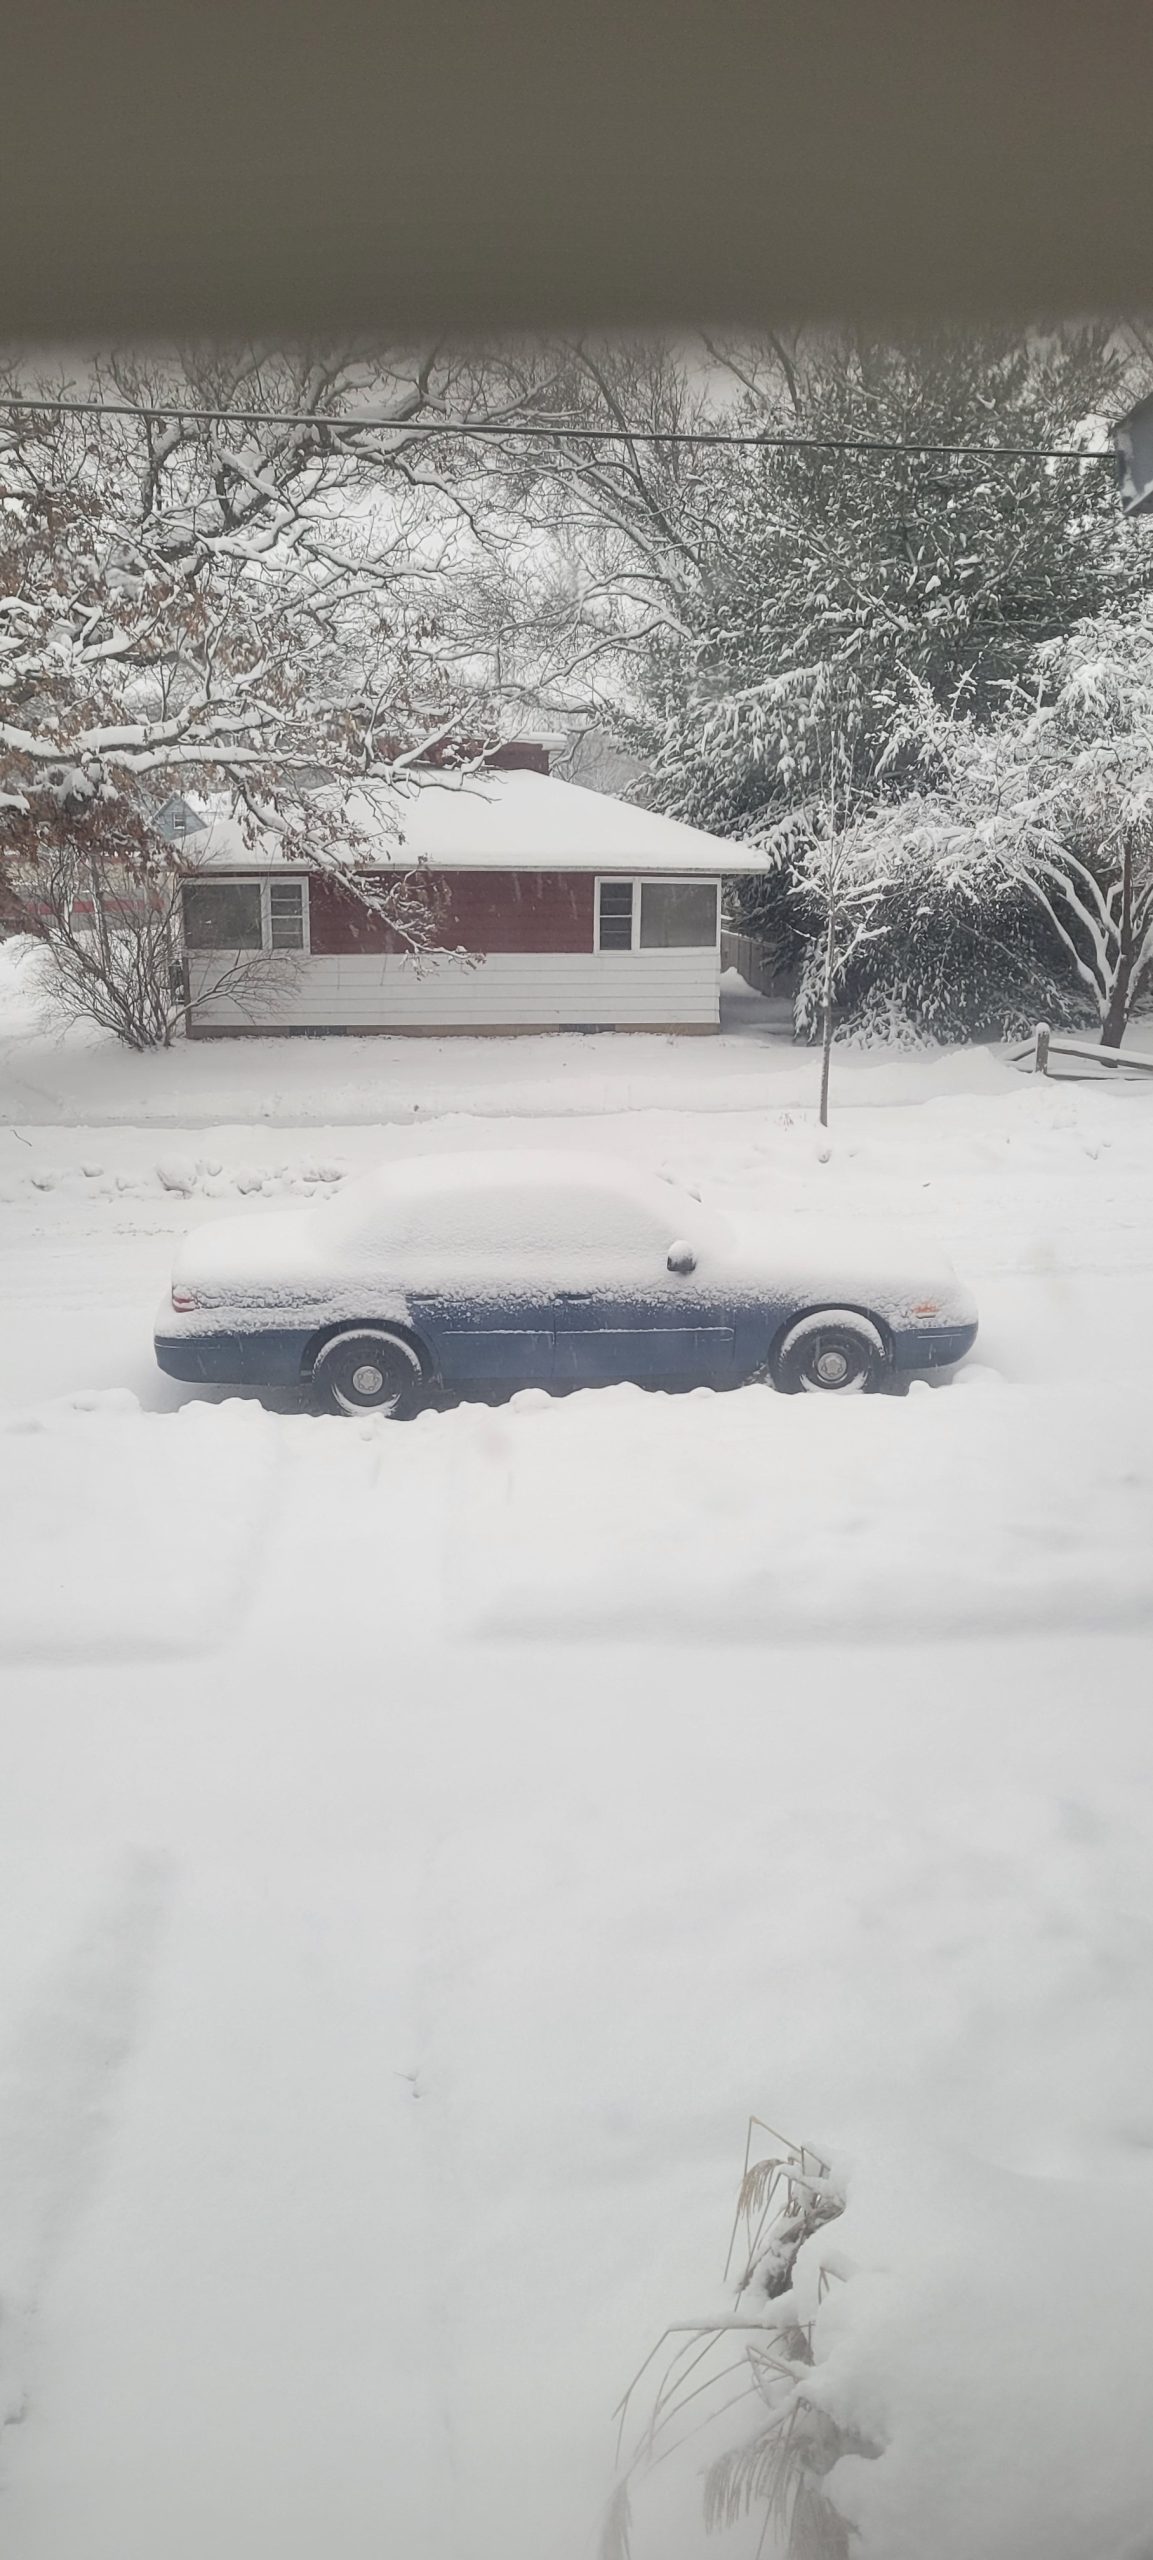
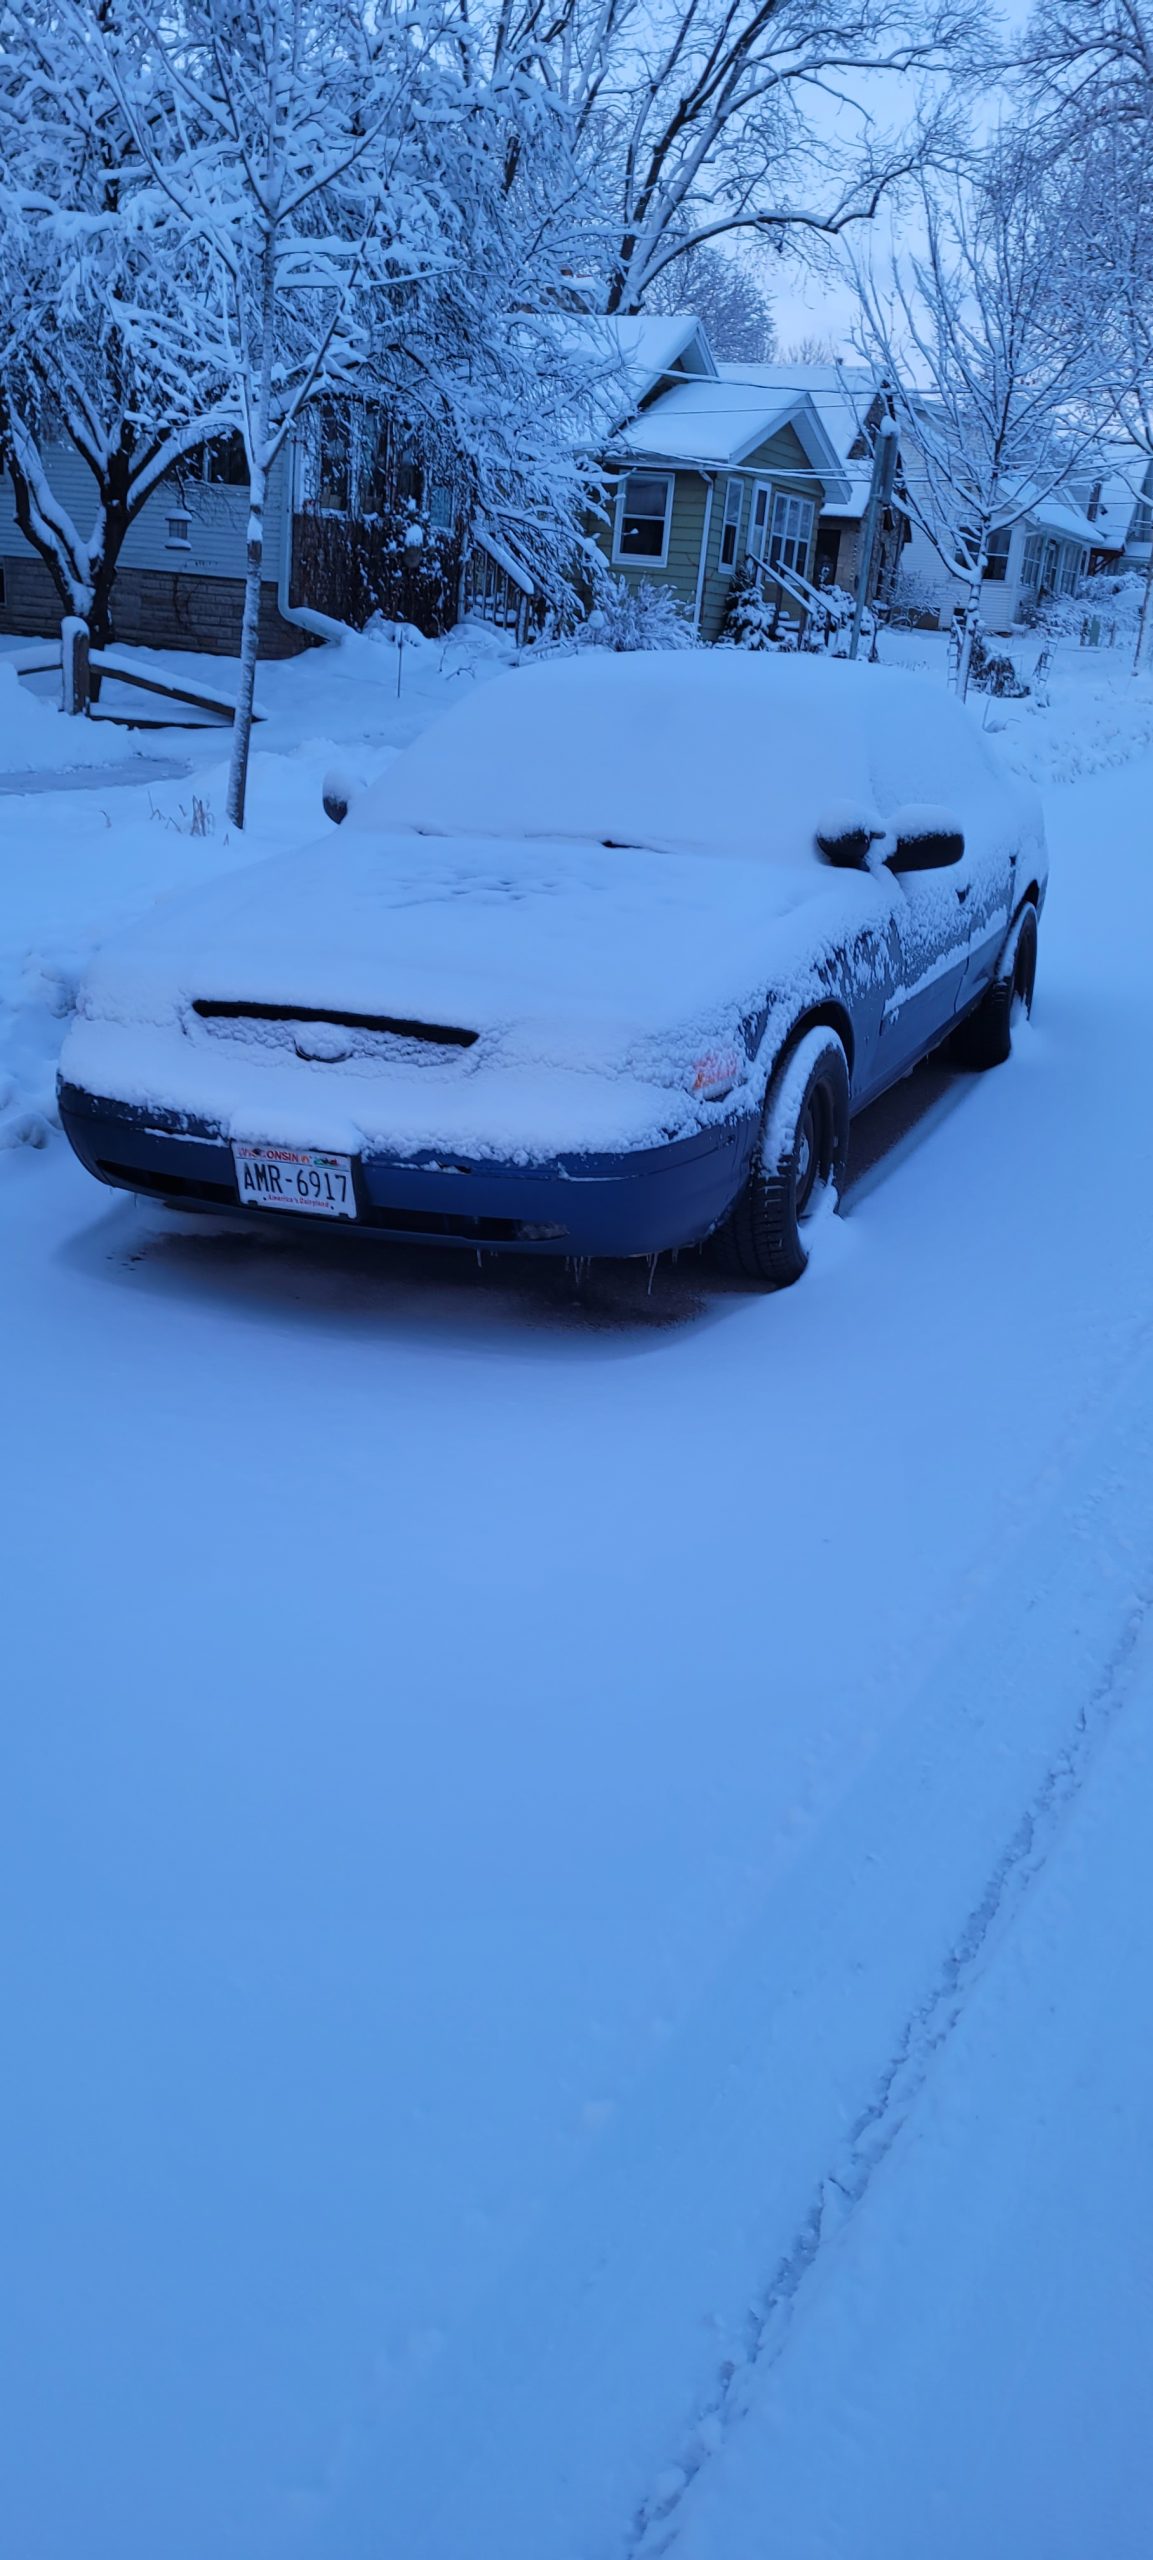
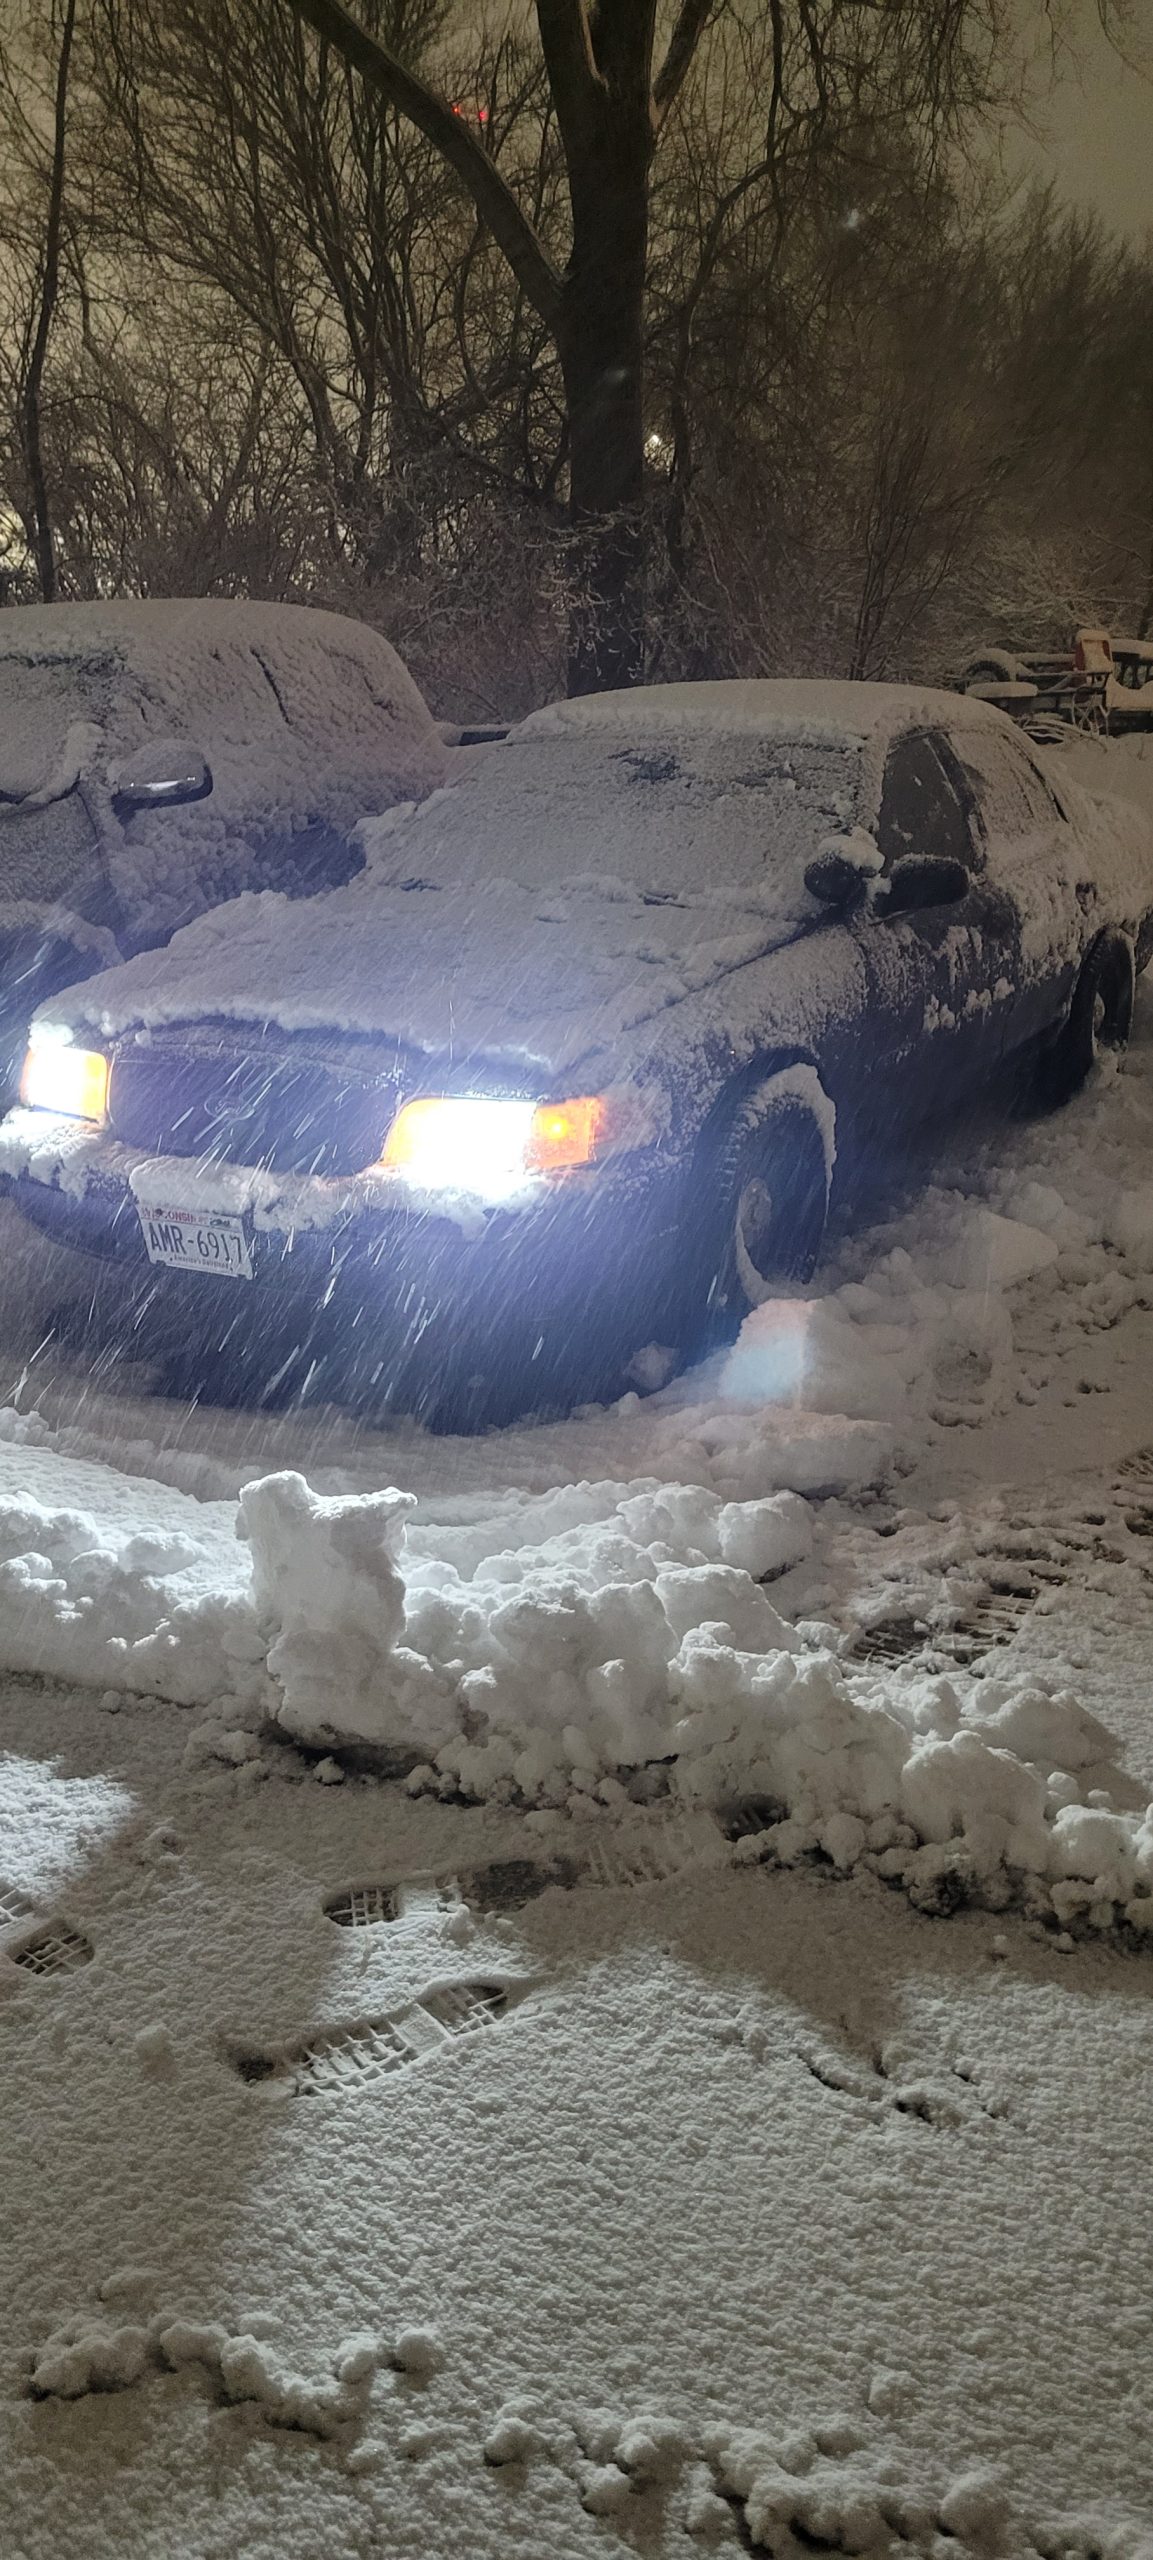
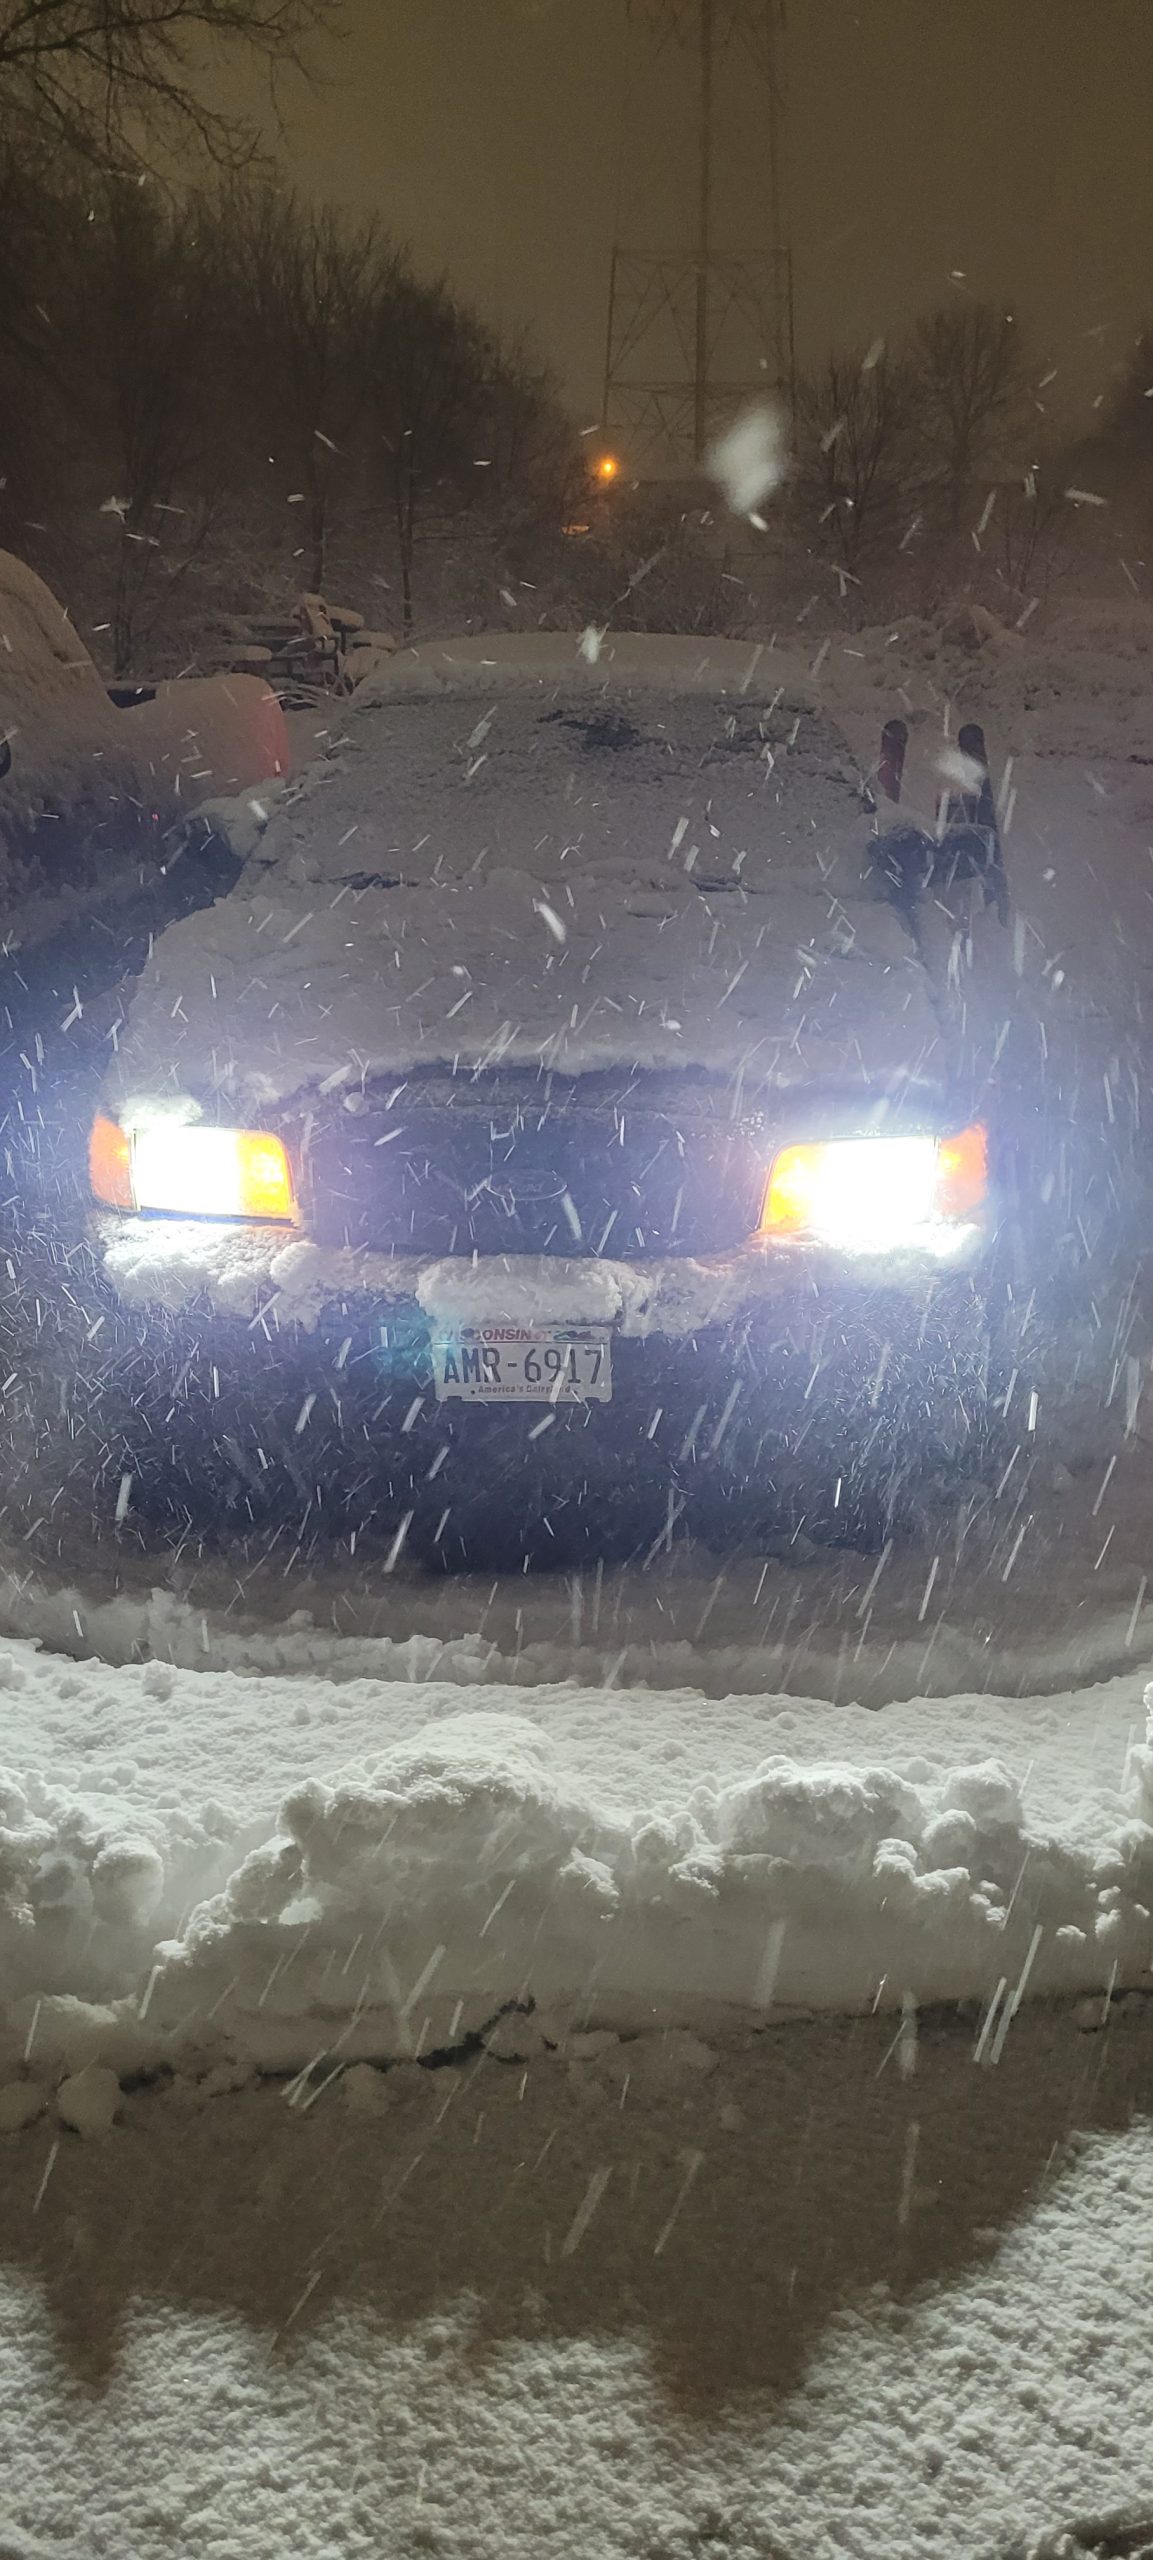
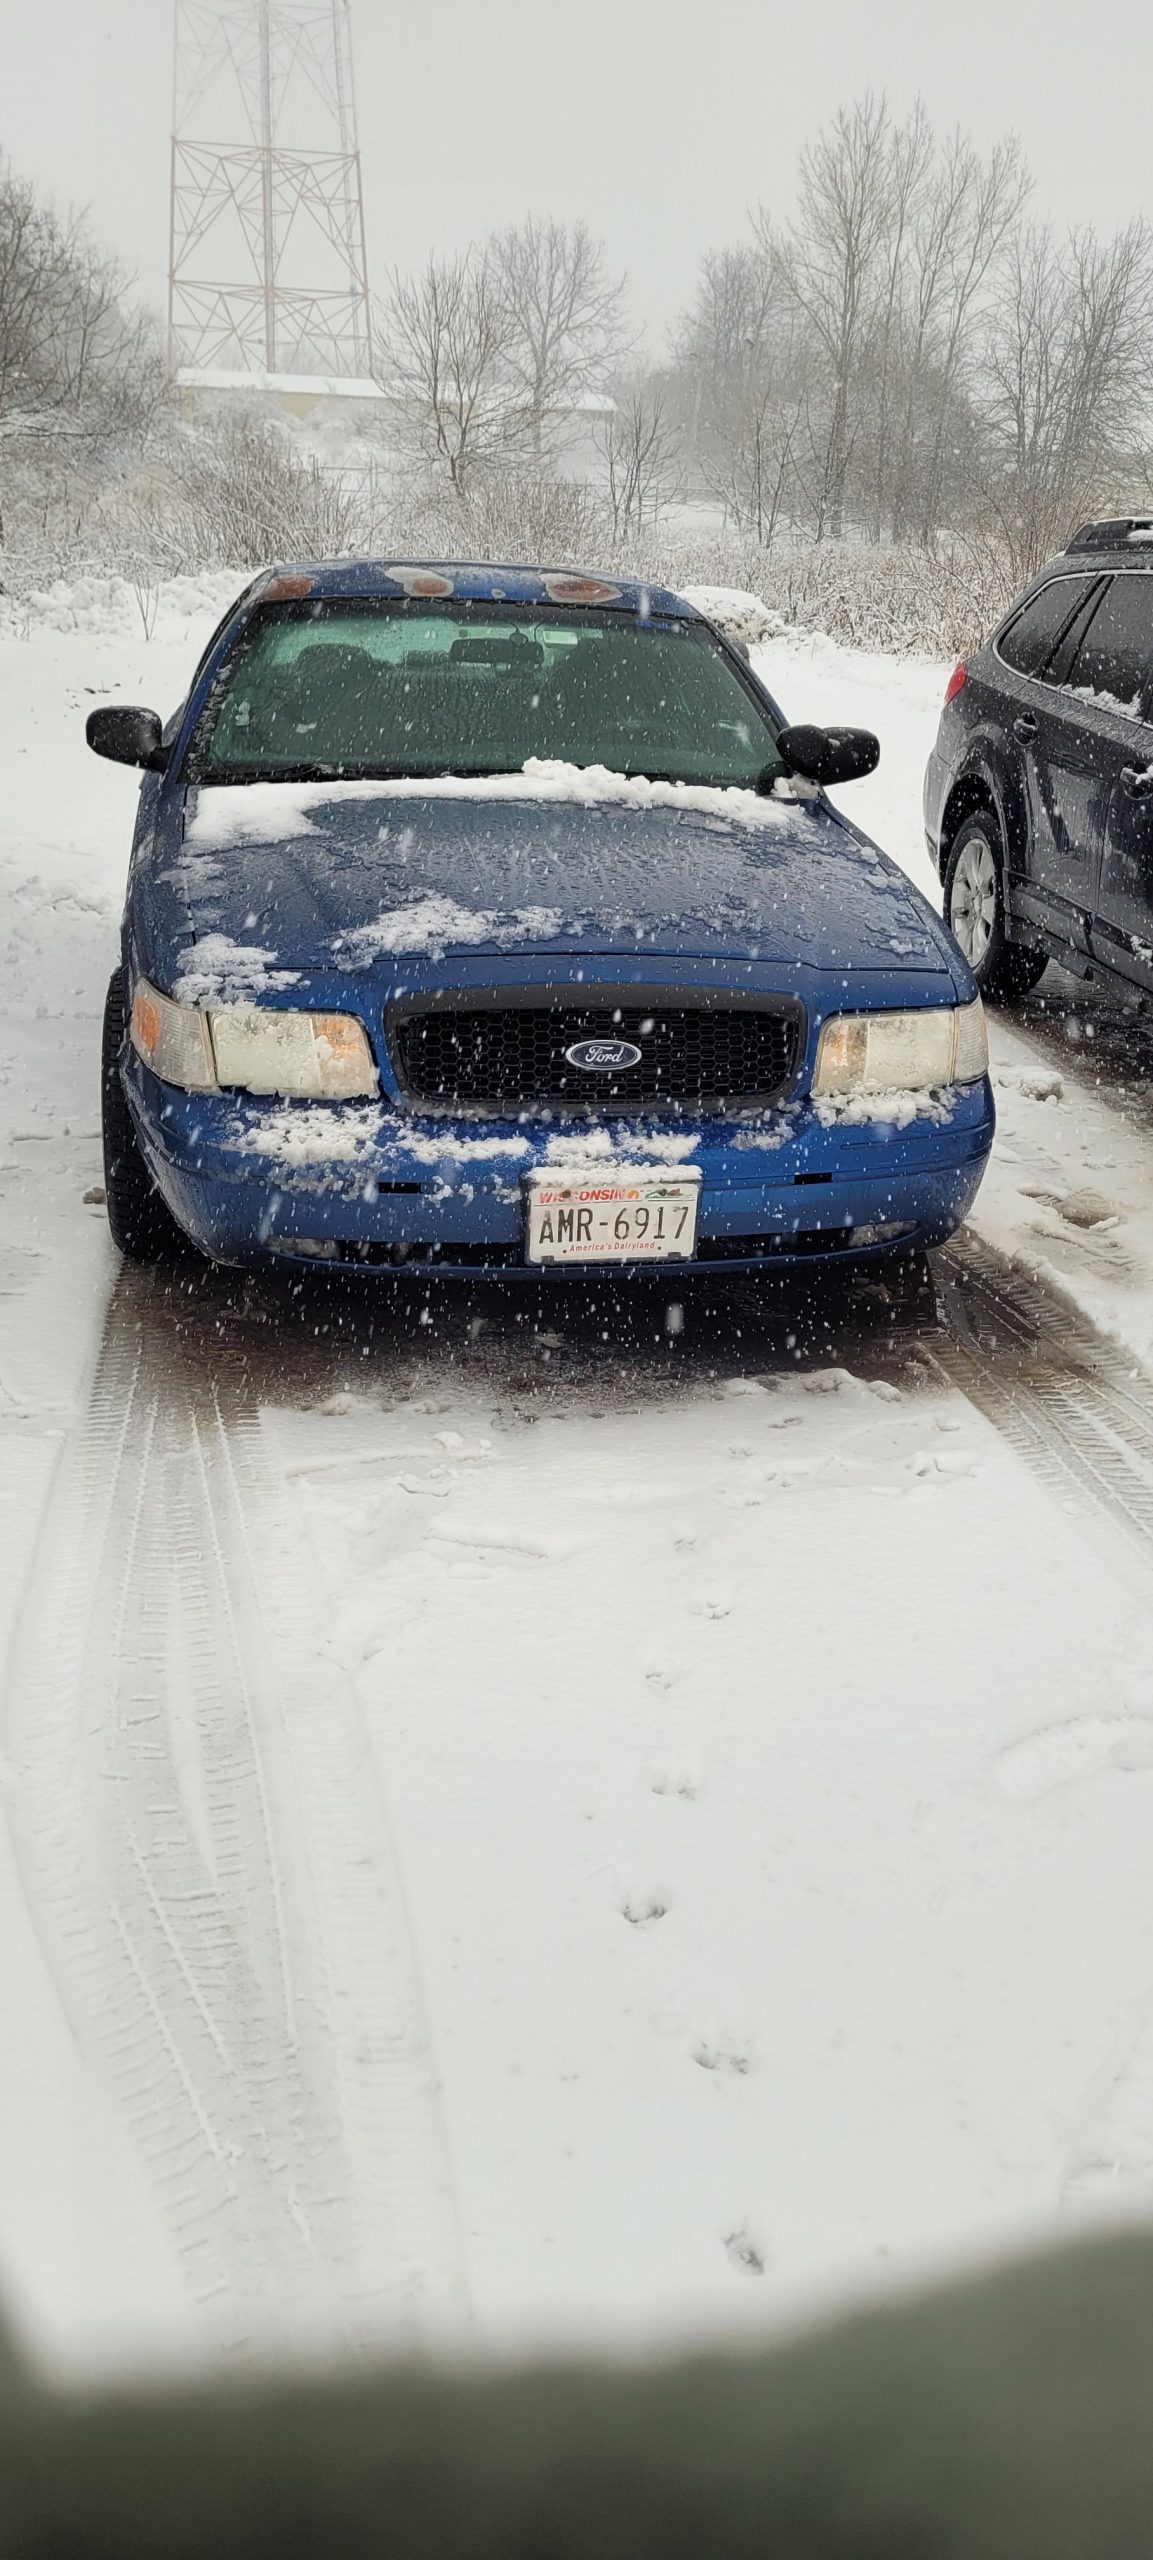
the start of the install. the subwoofer itself while I am laying out the wiring. The main harness is long enough to reach the head unit itself but the ground and 12v signal wire was too short. Thankfully I had a previous wiring kit that had enough length for the 12v power signal wire to the head unit to power on and off the subwoofer. The ground wire thankfully had enough slack to find a sufficient ground. Which was under the driver seat that was bare metal, there was a 10mm bolt that I used to tie the ground wire.near the passenger side floor air vent was enough room to fish the Coax and signal wires through to the head unit. Annoyingly it was a very tight spot to get the wires through, but I was determined to get it running. In the same wiring kit that I had laying around had these coax connectors included. Had to cut and splice the wires together so that the subwoofer would get the proper signal. Honestly not the cleanest run in my opinion but it’s making enough proper contact on the positive to power the unit itself. I will be replacing these old and tired terminal connectors since the negative is still loose on the battery even though it is closed all the way. To fish the 12v power wire to the battery, there is a rubber grommet that connects to the firewall goes under the blower motor fan which was really easy pull through. where the subwoofer resides since the seating hardware doesn’t allow it to be hidden under the seat. But overall this unit is amazing and well worth the money I paid for a used refurbished unit which was $160 (US currency.) It plays the lows so well that I needed to turn the bass dial down since my voltage meter in the dash went crazy when it kicked in. Almost stalled the car since my alternator had a heart attack with HOW much bass it was outputting cranked up. For a compact 10 inch stowaway 100Watt peak subwoofer with a built in amp, it was well worth the 2 hours it took to wire in. before the road was plowedafter another 6 inches of snow that dropped over nightsnow was up to my anklesfirst 6 inches of snow the previous dayhad to dig the vic out from its slumber since it was stuck and spinning the tiresafter digging the vic out